Here is a delicious and super quick recipe for a Vanilla Milkshake Without Ice Cream. Once you have made the ice cubes, it will only take 5 minutes to create – it is just so speedy and easy!
This recipe is a fun summer treat to cool you down and satisfy any sweet tooth cravings. It is made with only four healthy ingredients you probably already have at home.
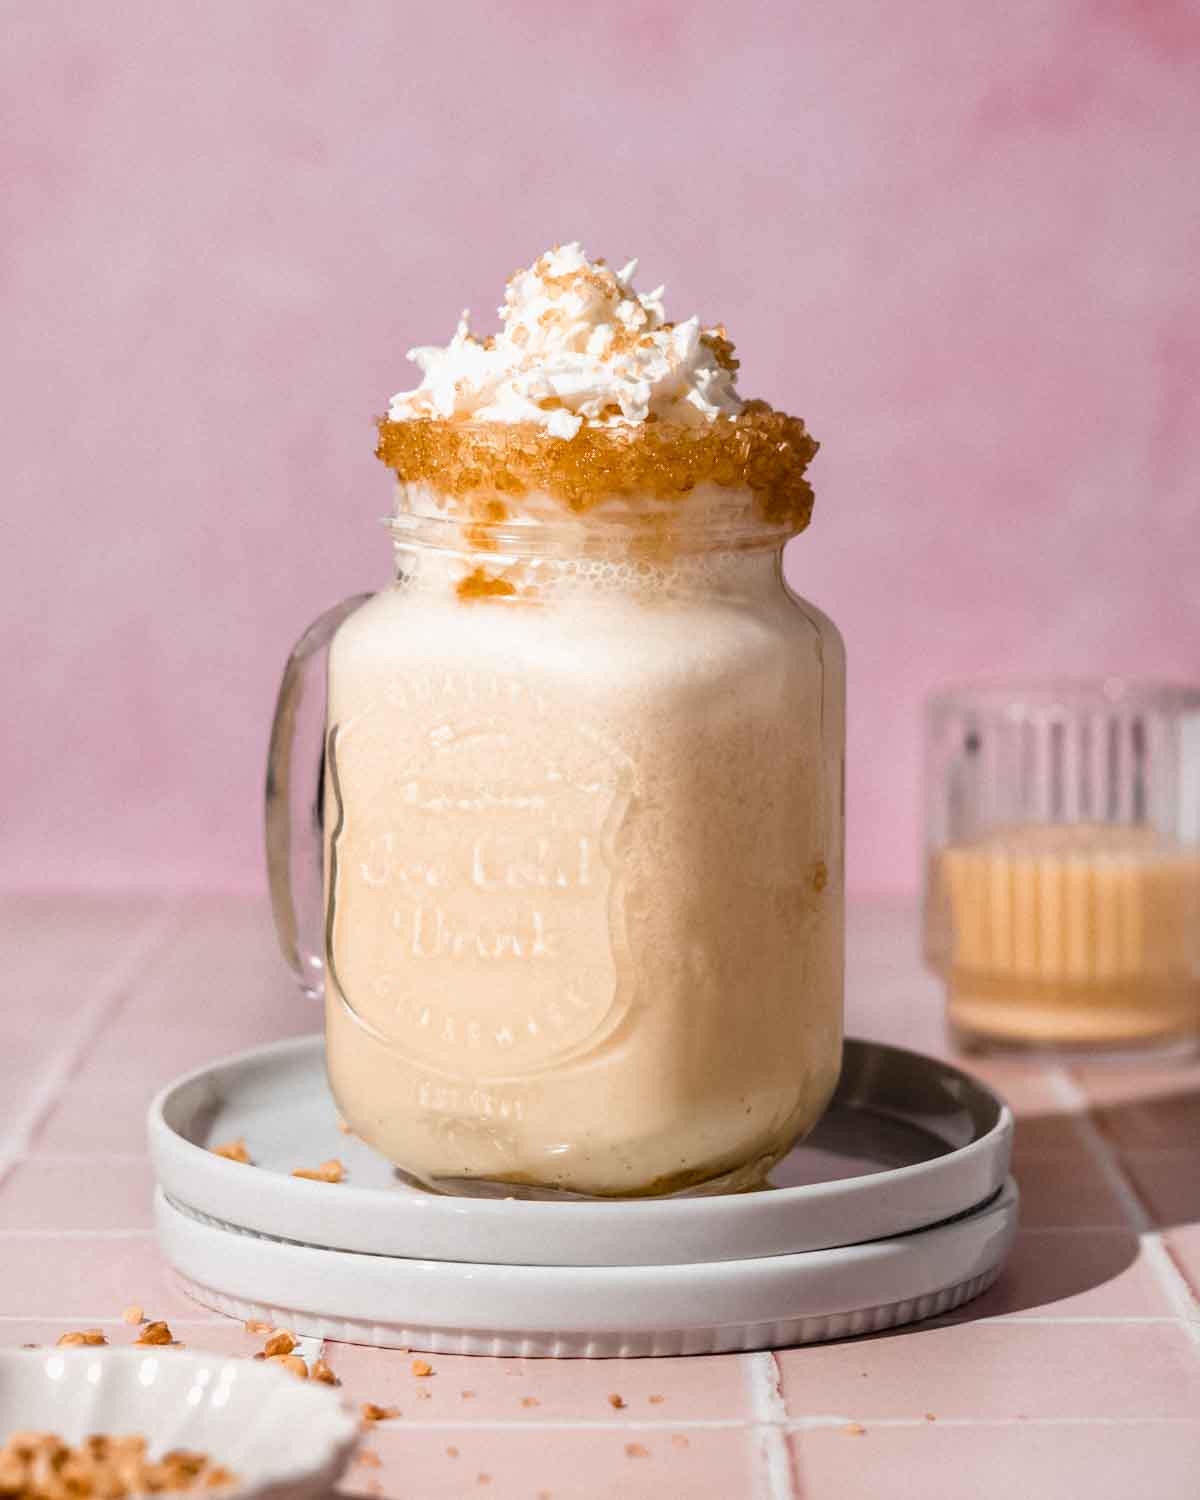
The beauty of this no ice cream milkshake is that you’ll get the rich, creamy texture of a regular milkshake without ice cream! It’s a great way to curb cravings on a hot summer day and all you’ll need is a blender, an ice tray and some basic ingredients and you’ll have the perfect milkshake.
This already gluten-free recipe is simple to turn into a dairy-free or vegan version so everyone can enjoy it.
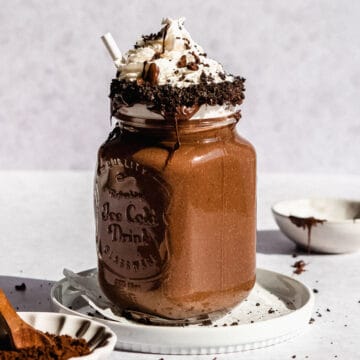
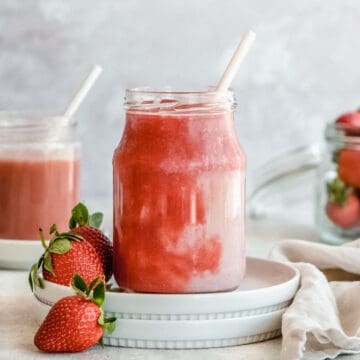
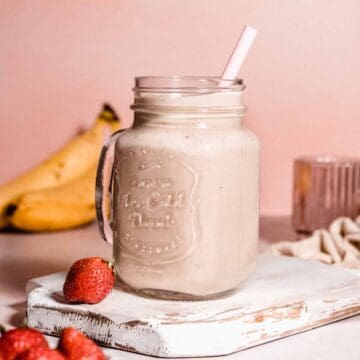
If you love finding recipes for healthy, silky milkshakes without ice cream, try this Chocolate Milkshake, Strawberry Milkshake or Banana Milkshake recipe. Both are just as delicious and simple to whizz up.
Why make a milkshake without ice cream
- Food allergies: Perfect if you have a lactose intolerance or dairy allergies
- Reduced sugar: There is less sugar in a milkshake without ice cream
- Health considerations: A milkshake without ice cream contains more natural and healthier ingredients.
- Availability and convenience: This is an excellent option if you don’t have access to ice cream
- Lower calories: Caloric intake is lower without ice cream.
Ingredients & substitution notes

- Vanilla (soy) milk: A vanilla-flavored soy or oat milk adds a layer of vanilla taste to this vanilla milkshake recipe. Turning these into ice cubes is what gives the slushy milkshake texture. I wouldn't replace it for other milk options such as almond milk, oat milk or regular whole milk because we need those vanilla flavors!
- Maple syrup: Good substitutes include honey, agave nectar, or regular granulated sugar. You can adjust the sweetness of the milkshake by adding more or less maple syrup.
- Vanilla extract: Vanilla bean extract deepens the vanilla flavor of the milkshake. Use pure vanilla if you can.
- Vanilla yogurt: Vanilla yogurt adds creaminess and body to your drink. It’s one of the key ingredients to give it a slightly thick consistency. Greek yogurt and regular yogurt are both great options. If you prefer a dairy-free option, you can use a plant-based vanilla yogurt made from almond, coconut, or soy milk.
See recipe card for quantities.
How to make a vanilla milkshake without ice cream

STEP 1: Make 12 vanilla milk ice cubes. Pour the milk into an ice tray and freeze them overnight.

STEP 2: Place the ice cubes, vanilla milk, maple syrup, and vanilla yogurt into a blender. Blend everything until smooth. Adjust sweetness and texture.
Top tips
- Blend long enough: The cold part will separate at the beginning, so keep blending until it reaches a creamy, smooth blend.
- Blend in stages: Go slowly and in stages to reach your desired consistency.
- Used chilled ingredients: Aside from the ice (of course), use cold milk and yogurt to extend how long the slushy consistency lasts.
- But don’t over-blend the ingredients: Or the ice will begin to melt, and the result will be runnier.
- Chilled serving glass: Serve the milkshake in a chilled serving glass or mason jar to keep it cooler for longer.
- Serve immediately: The consistency will change as it warms up and starts to melt.
- Top it off: With fun toppings to keep it interesting.
- Use a high-quality yogurt: This will impact the result and the overall consistency.
Variations
- Vegan: Use a vegan yogurt like soy yogurt to turn this into a vegan milkshake recipe.
- Low fat/ Low calorie: Choose a low-fat milk and yogurt.
Equipment
- Blender: You'll need a fairly strong blender (the stronger the better) to make this milkshake.
- Ice Cube Tray
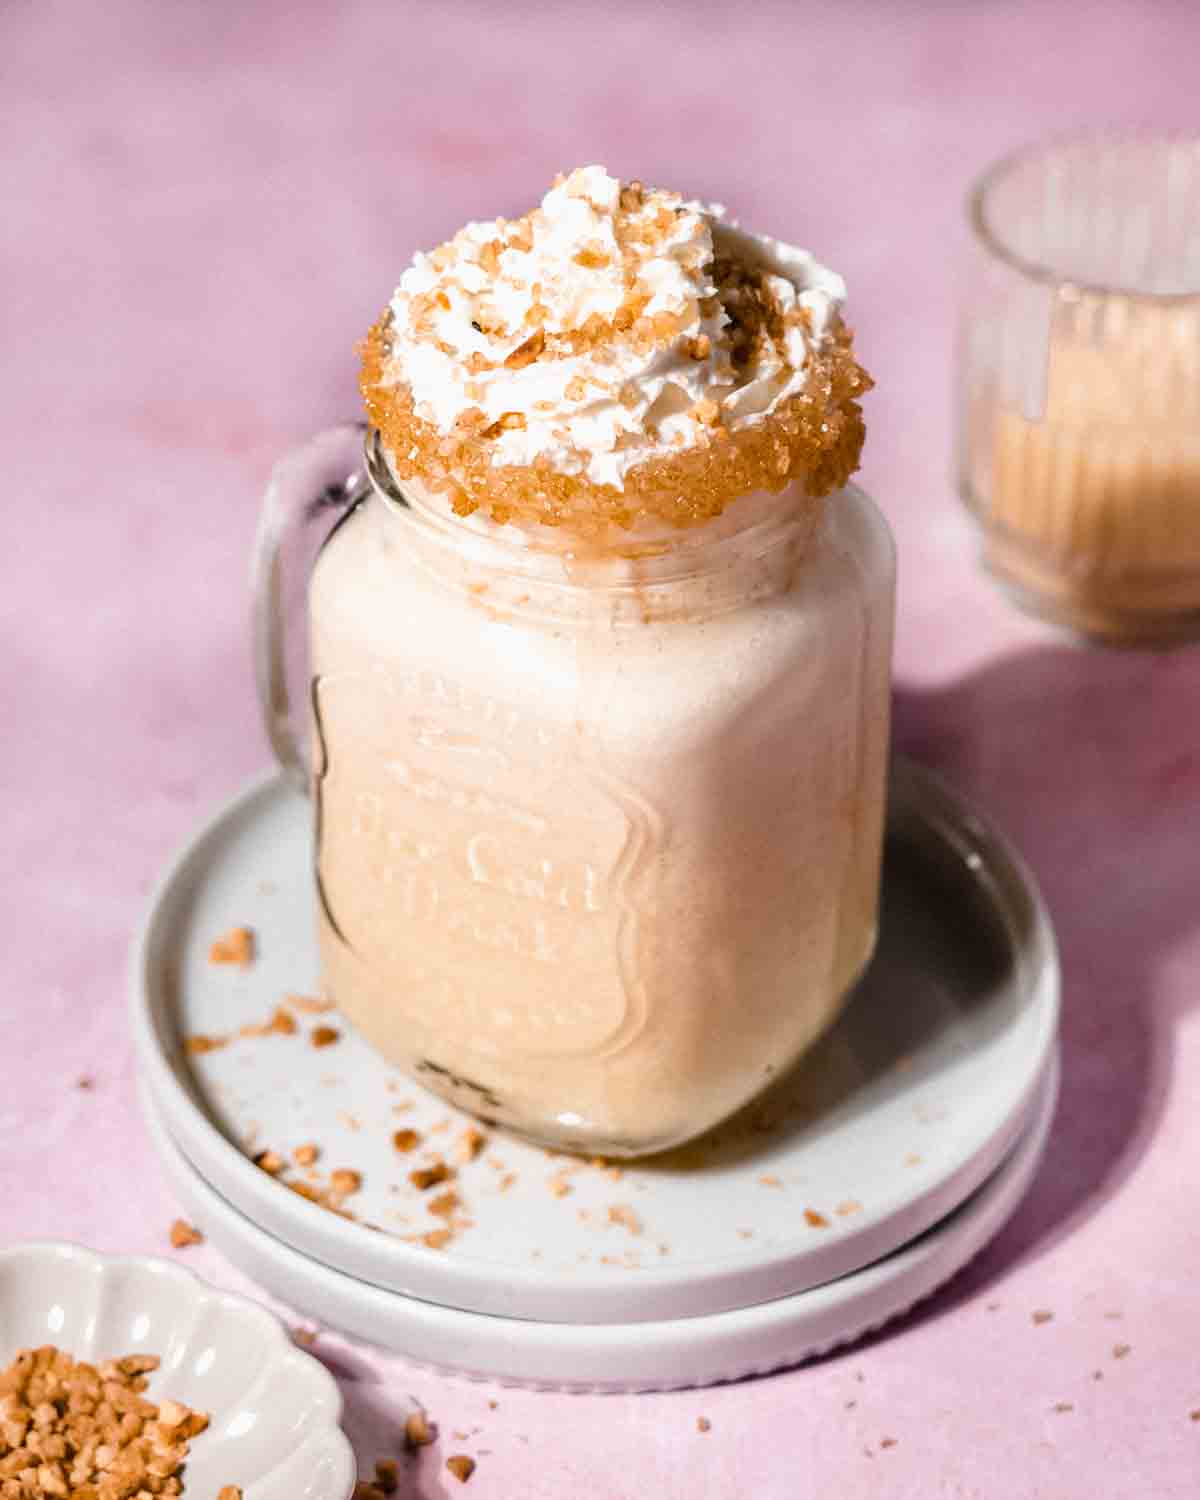
Optional add-ins
- Frozen banana for a creamier texture and more filling milkshake
- Fruits like frozen berries, mango, pineapple, avocado, and any other seasonal fruits. Freezing them beforehand will maintain the slushy consistency.
- Chocolate: Use chocolate soy milk and/or add in some cocoa powder
- Spices: cinnamon, cardamom, nutmeg, or turmeric
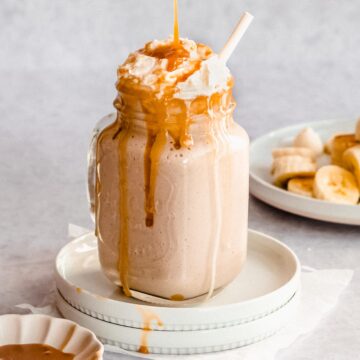
- Peanut butter & caramel: try my 2-ingredients Peanut Butter Caramel Sauce
- Chia seeds: add a tablespoon for extra protein and some healthy fats.
- Vanilla protein powder: add a scoop of vanilla protein powder for some extra protein.
- Heavy cream: I tried to keep this milkshake recipe fairly healthy but feel free to add some heavy cream if you like.
- Coconut milk for a more tropical flavor
- Espresso or some of this Cold Brew Concentrate
- Peppermint extract for a minty flavor
- Pumpkin or chai spice
- Citrus: Adding some fresh lemon or lime zest will brighten it up
Topping ideas
- Whipped cream: Try my Aquafaba Whipped Cream for a vegan version or regular whipped cream.
- Sprinkles – use red and green during the holidays!
- Strawberry or raspberry coulis – swirl it inside the glasses, too!
- Crushed cookies or cookie crumbs – like these Low-Cal Chocolate Chip Cookies
- Chocolate syrup or my Peanut Butter Caramel Sauce
- Granola and dried cranberries
- Mini marshmallows
- Chocolate chips
- Powdered sugar
- Maraschino cherries
- Shredded coconut
- Edible flowers
- Toasted or caramelized nuts
Pairing
Milkshake are generally a dessert on their own but there are several foods that can accompany them. These are my favorite dishes to serve with this no-ice cream vanilla milkshake:
- Burgers and fries: A classic American dinner combination.
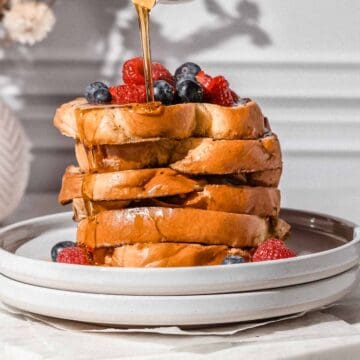
- Pancakes, waffles or french toast: Sweet on sweet can be a great pairing, especially for a breakfast or brunch scenario.
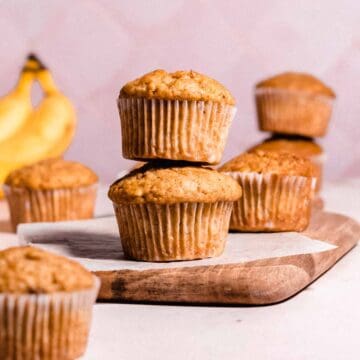
- Pastries, muffins or cookies: A cookie or a slice of banana bread can be a great addition especially if it has a bit of a crunch to it and the textures complement each other.
- Fruit or berry salad: To balance the richness of the milkshake, a light and fresh Fruit Salad or Cottage Cheese with Fruit can be a great option.
- Sandwiches: A cold milkshake can be a nice pairing with a warm sandwich. Try my Guacamole Sandwich or this Cottage Cheese Toast.
Storage
I recommend drinking your vanilla milkshake straight away. If you have leftovers, pop them in the fridge in a jar or bottle. It will be kept for 2-3 days. You might need to blend it up again if it has separated, and keep in mind the consistency will be different (much thinner and runnier).
Another option is to pour the leftovers into an ice tray to add to smoothies on another day.
FAQ
Vanilla soy milk is recommended for this vanilla shake as it complements the vanilla flavor of the recipe. If using other types of milk like cow's milk, almond milk, or oat milk, the vanilla flavors will be less prominent. Each milk variant will give a slightly different taste and result.
Yes, you can use ice cubes in your homemade milkshake. Keep in mind that they will water it down slightly as they melt.
To make the milkshake thicker, you can add in more frozen vanilla ice cubes or yogurt. You could add in a frozen banana. Alternatively, try adding less vanilla milk to the blender.
If you prefer a thinner milkshake, add in extra splash of milk.
Related
Looking for other recipes like this? Try these:
📖 Recipe

Vanilla Milkshake (NO ice cream)
Equipment
- 1 ice cube tray
- 1 blender
Ingredients
- ~⅔ cup vanilla milk for ice cubes *vanilla soy or oat milk
- ¾ cup vanilla milk for blender
- 2 tablespoon maple syrup
- 1 teaspoon vanilla extract
- 2 tablespoon vanilla yogurt
Instructions
- Make 12-15 vanilla milk ice cubes. Pour some vanilla soy milk into 12 ice cube tray compartments and freeze overnight.
- Add the vanilla ice cubes, ¾ cup vanilla soy milk, maple syrup, vanilla extract and vanilla yogurt into a blender.
- Blend until the mixture becomes frothy and the ice cubes are crushed to your preferred consistency (the cold part will separate at the beginning and become flaky so keep blending until it reaches a creamy, smooth blend).
- Taste and adjust sweetness and texture. Add more maple syrup for a sweeter milkshake or more vanilla ice cubes or yogurt for a thicker consistency. For a thinner texture, add a splash of vanilla milk.
Video
Notes
- Clean ice cube tray: Make sure your ice cube tray is clean to avoid any unwanted flavors.
- Don’t over-blend the ingredients: Or the ice will begin to melt, and the result will be runnier.
- Used chilled ingredients: Aside from the ice (of course), use chilled milk and yogurt to extend how long the slushy consistency lasts.
- Chilled serving glass: Serve the milkshake in a chilled serving glass or mason jar to keep it cooler for longer.
- Blend in stages: Go slowly and in stages to reach your desired consistency.
- Top it off: With fun toppings to keep it interesting.
- Serve immediately: The consistency will change as it warms up and starts to melt.
- Nutritional values calculated without whipped cream or other toppings.

Leave a Reply