Featuring a gluten-free crust, soft pumpkin filling made from velvety pumpkin puree and topped with a layer of chocolate for that extra indulgence- these no bake pumpkin cheesecake bars are simple, delicious, and super yummy!
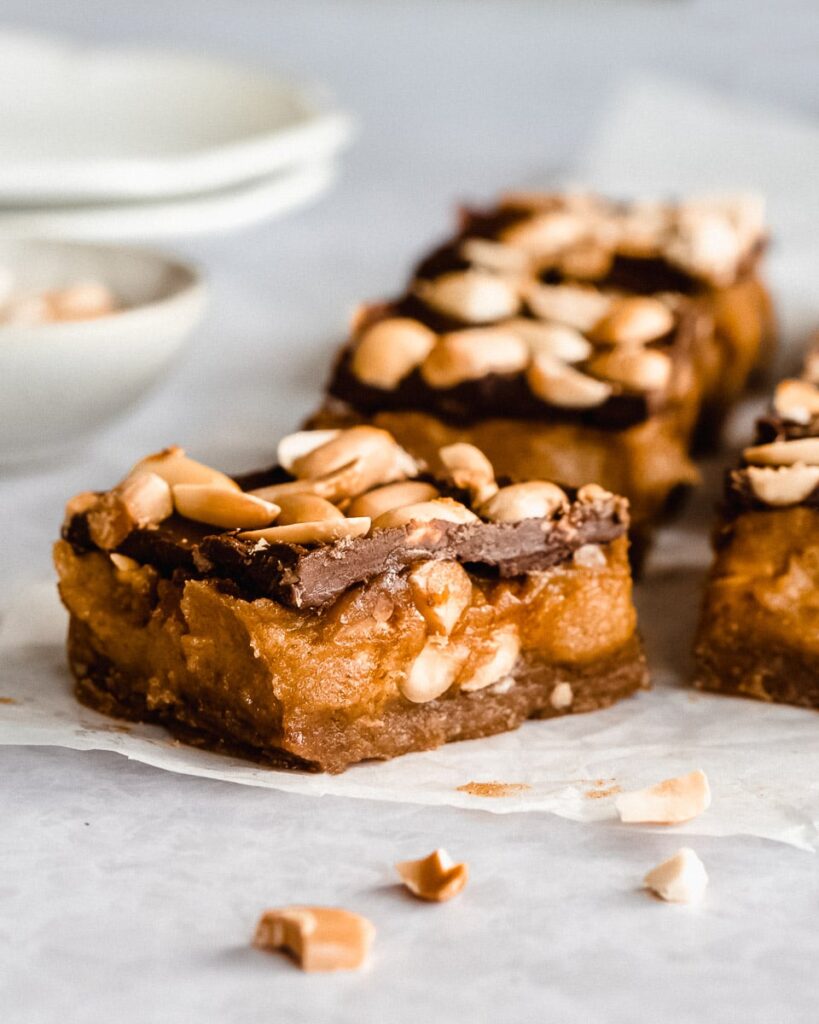
Why You'll Love This Recipe
- It makes the perfect fall dessert or can serve as a delicious healthy(ish) snack (maybe after your thanksgiving dinner?)!
- It’s a great make-ahead dessert that can easily be stored in the fridge for a couple of days.
- It’s also a no-bake recipe which means that there’s no oven required, making this a minimal effort recipe. (try these Vegan Pumpkin Brownies for some baked pumpkin deliciousness)
- In contrast to more traditional caramel pumpkin cheesecake bars, these include a lot of healthy, wholefood ingredients. Instead of a cream-cheese mixture, this recipe calls for coconut cream instead. It's also gluten-free and refined sugar-free.
Ingredients & Substitution Notes
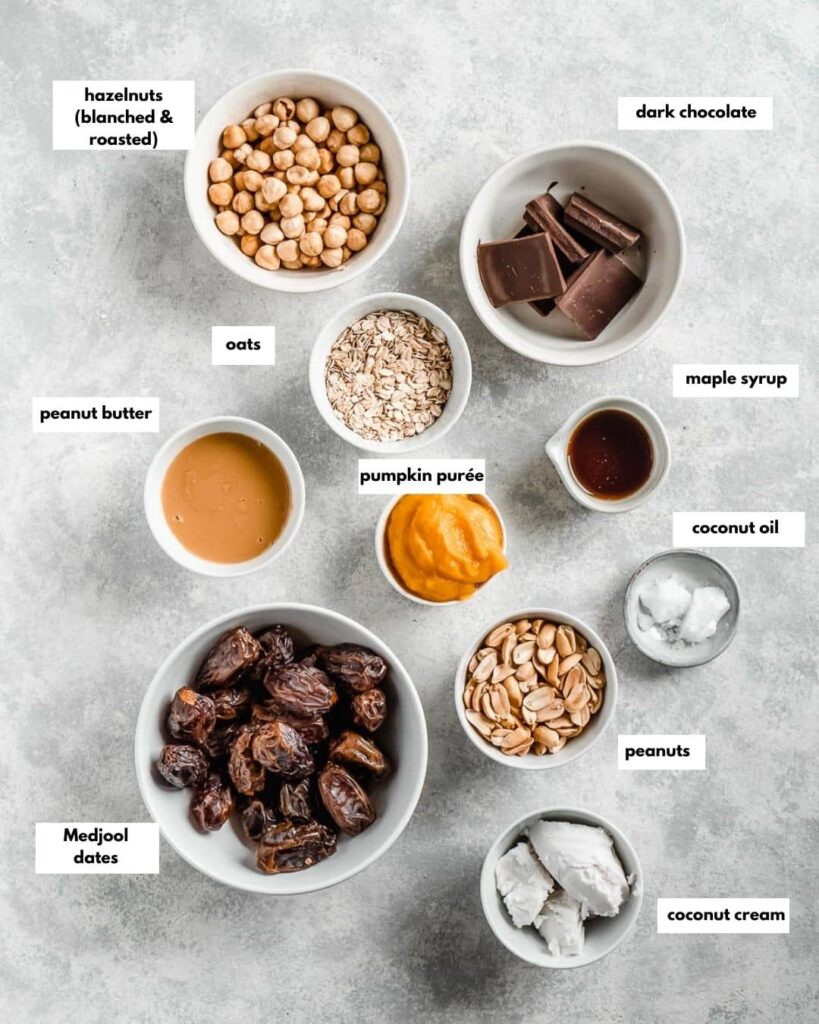
- Hazelnuts (roasted & blanched): These could also be replaced with peanuts instead. You could also use almond flour instead but I highly recommend using roated hazelnuts because of the flavor they add!
- Oats: I used steel-cut oats in this recipe. Feel free to use gluten-free oats.
- Pumpkin Purée: Naturally, these pumpkin cheesecake bars call for pumpkin purée. You could use store-bought but I highly recommend trying my Homemade Pumpkin Puree for some extra flavorful tastes. For this recipe I went with a homemade one and found that the flesh of about ½ a large hokkaido pumpkin provided just the right amount of pumpkin puree.
- Medjool Dates: These will give this recipe a caramel-like flavour and add some delicious gooeyness. You could also use “regular, small” dates but you might need to soak them in hot water first and the texture won’t be the same. Also you will need a higher amount of dates.
- Coconut cream: Make sure to put your coconut milk in the fridge the evening/day before you want to make this recipe. Full fat coconut milk, when put in the fridge, separates into two layers: a solid cream at the top and liquid water at the bottom. For this recipe to work, it is really important that you only use the white, solid part of the coconut milk.
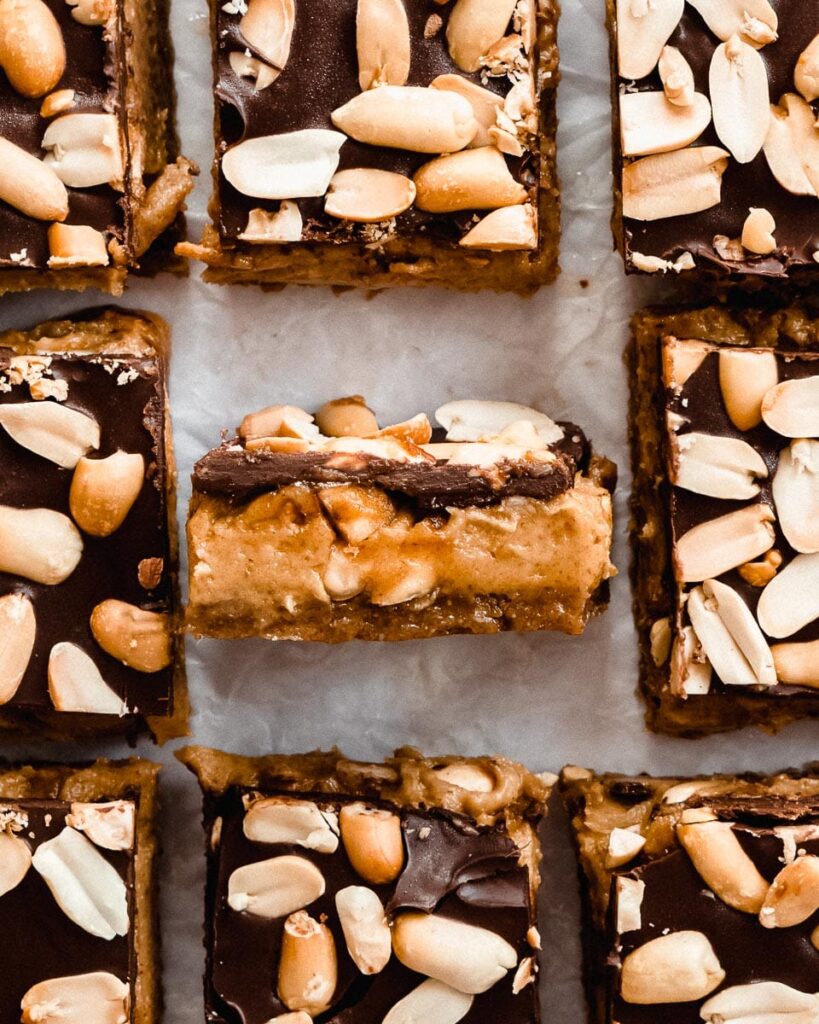
Step-by-step photos: How to make these bars
To achieve the best results when preparing these delicious pumpkin cheesecake bars you’ll need a (fairly strong) food processor. Especially breaking down ingredients like dates might give a simple hand mixer a very hard time.
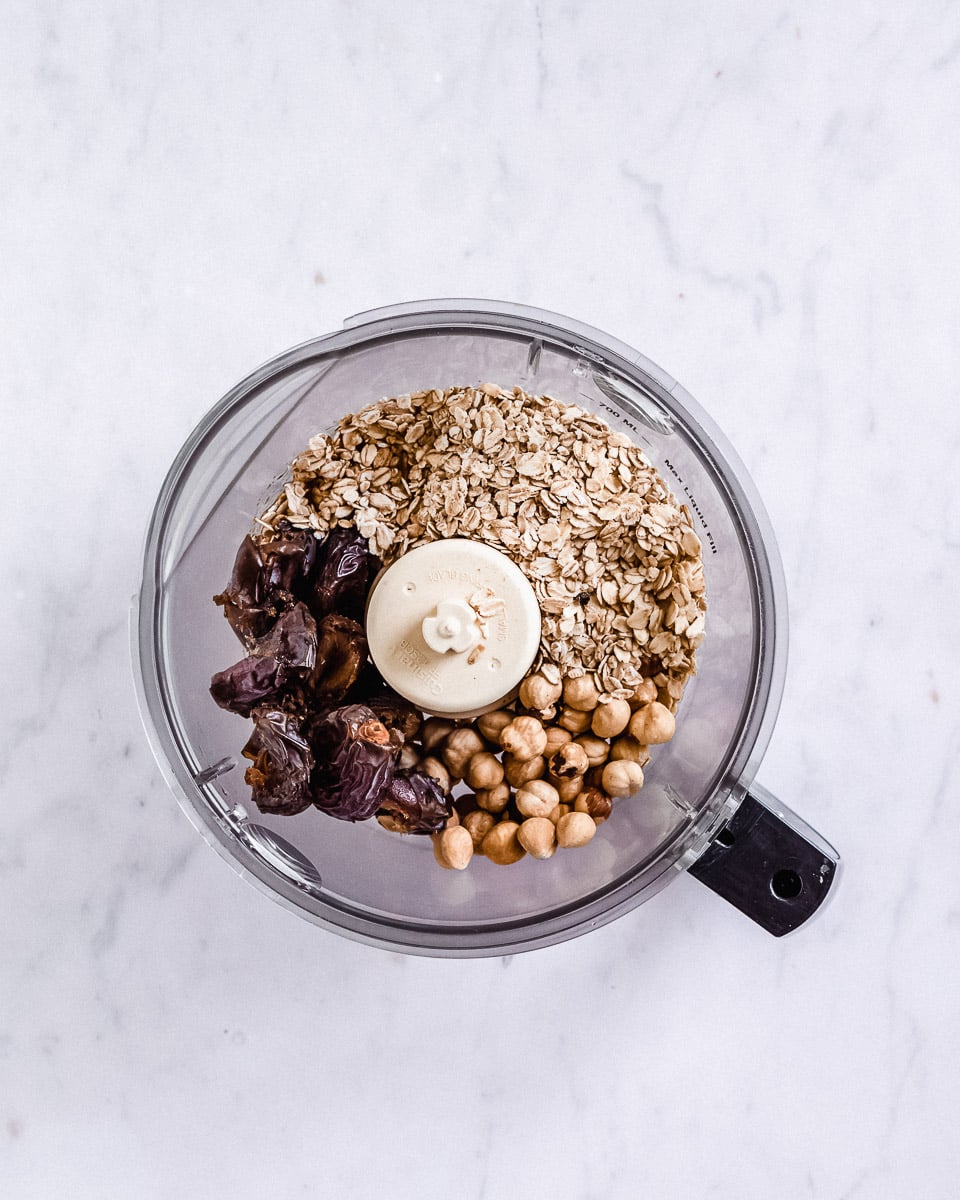
STEP 1: Start by soaking the cashews in very hot water and set aside. Throw all of the crust ingredients into a food processor and blend until a sticky mass forms. Stop and scrape down the sides of the bowl every now and then.
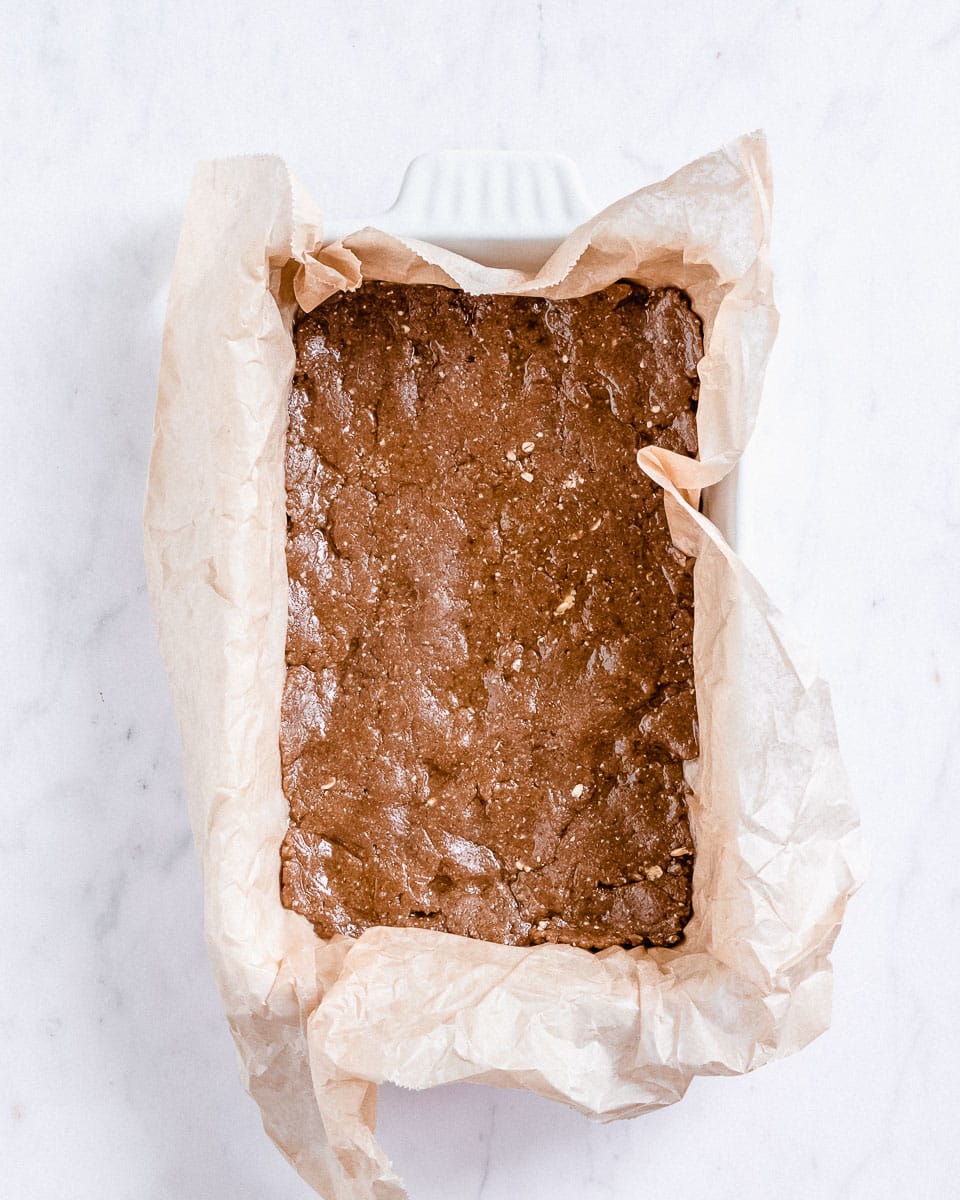
STEP 2: Once everything got broken down into fine crumbs, line a baking dish with parchment paper and press the crust into the tin using a spoon or your fingers.
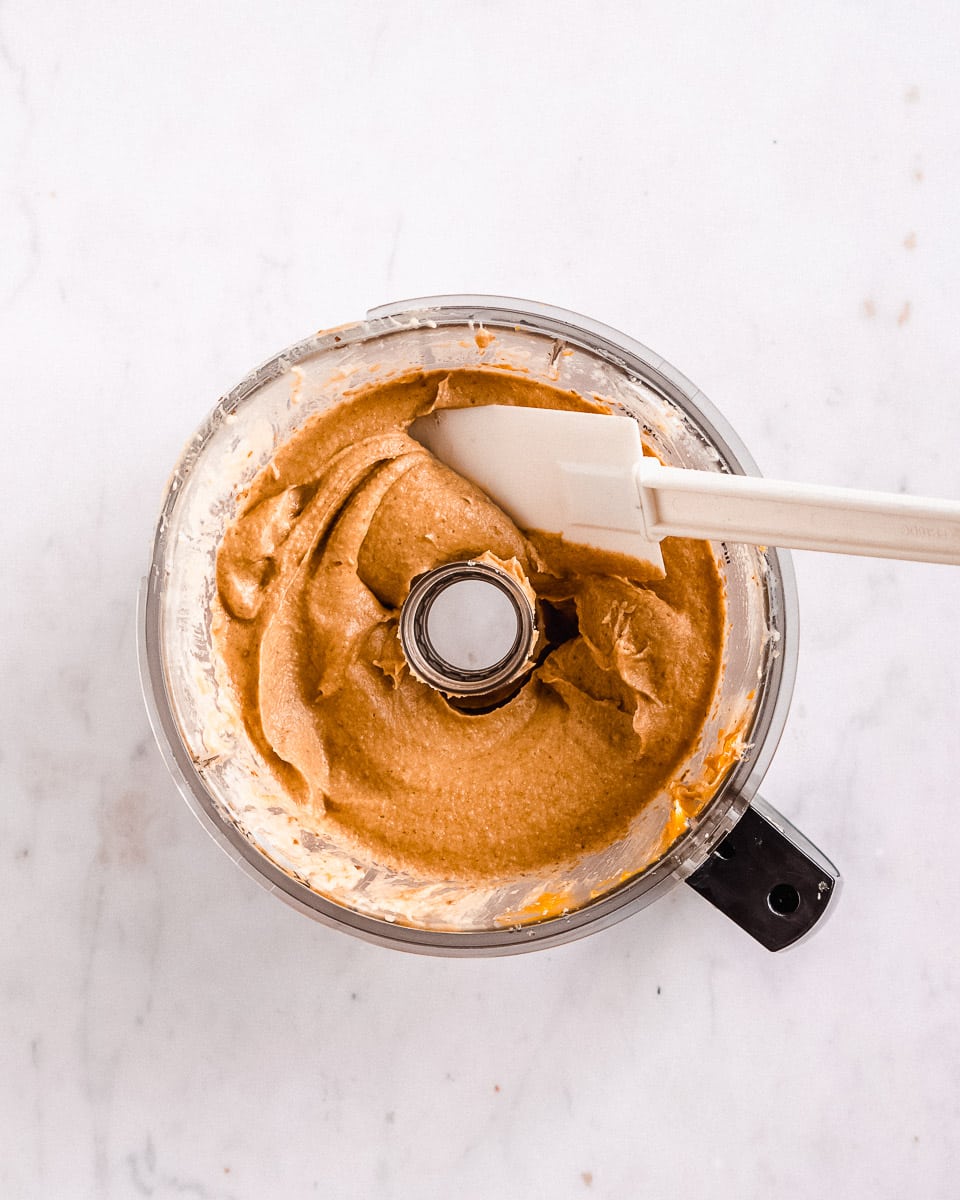
STEP 3: Go on preparing the creamy cheesecake layer. Again, simply throw all of the ingredients, except for the peanuts, into your food processor and blend everything into a smooth mass.
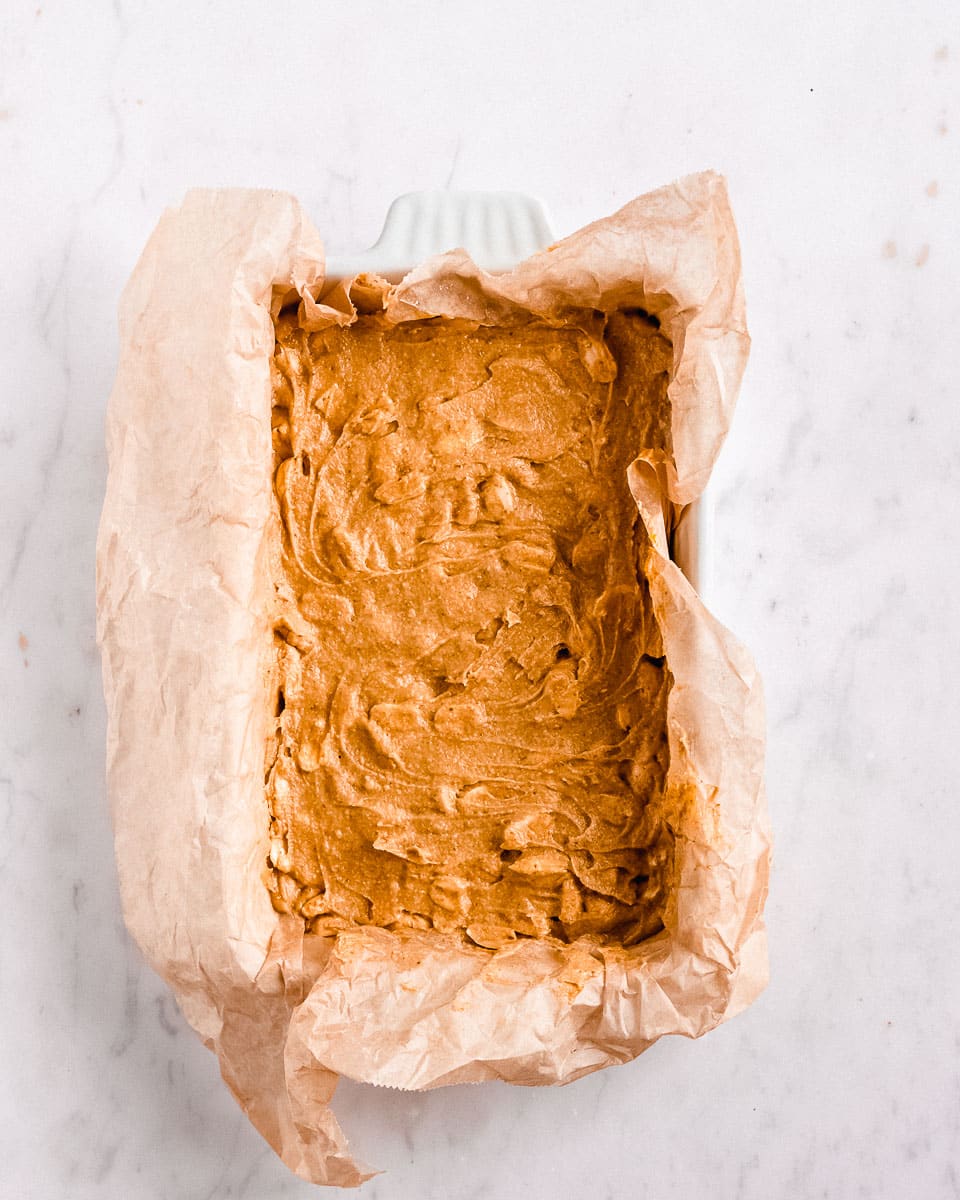
STEP 4: Pour the cheesecake filling on top of the crust. Sprinkle peanuts on top, then put it in the fridge to set.
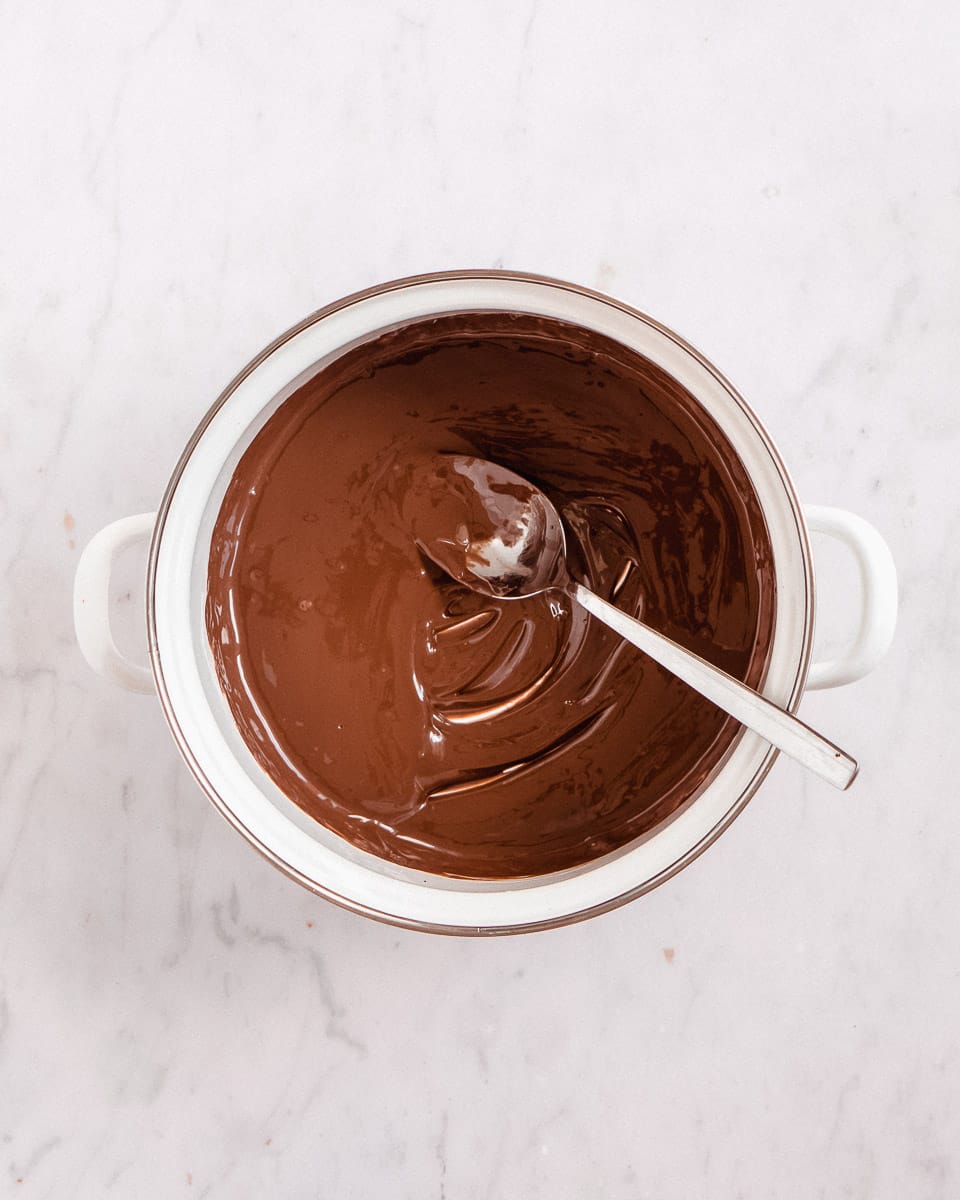
STEP 5: Start melting chocolate and coconut oil over very low heat in a saucepan.
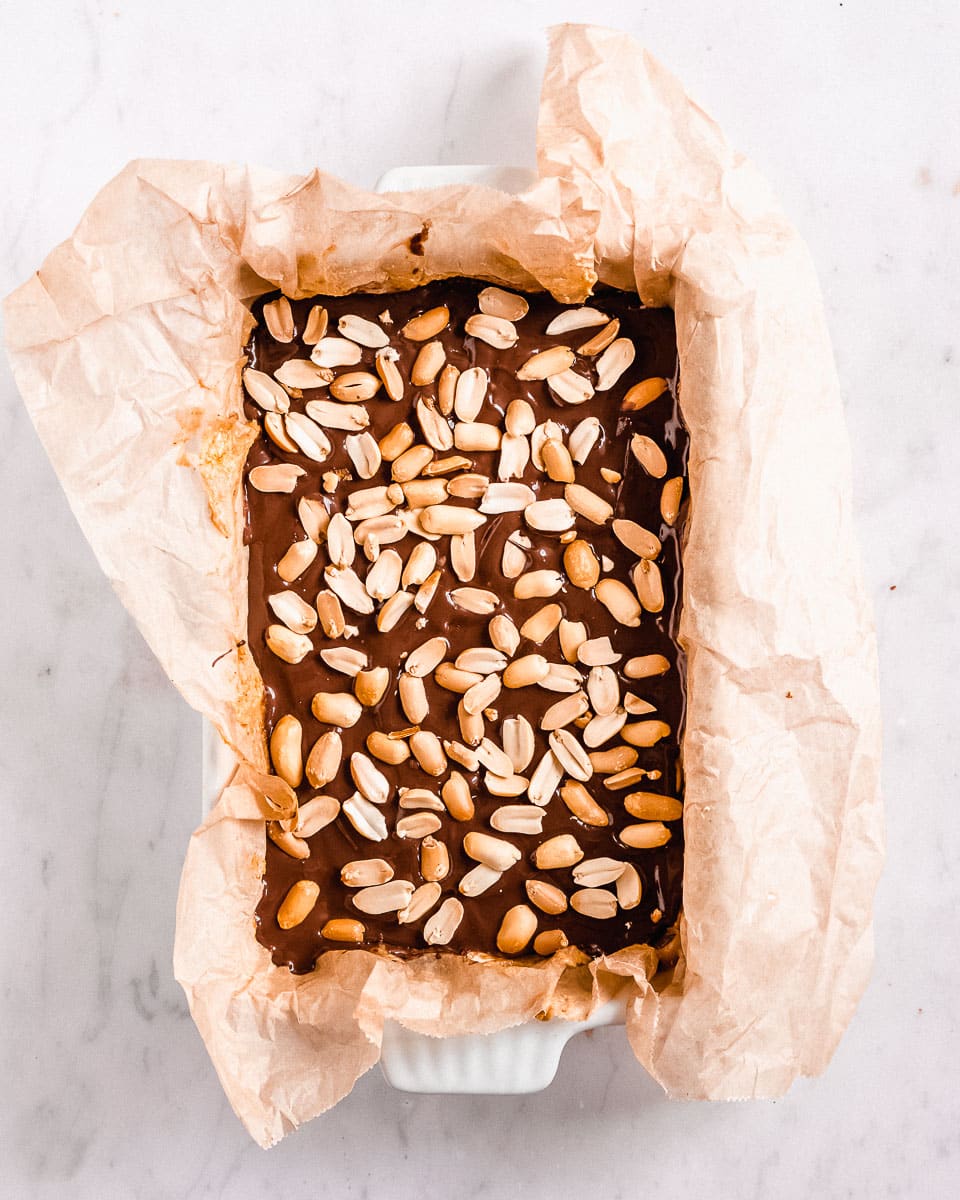
STEP 6: Pour onto the peanut layer, sprinkle with peanuts, then place it in the fridge to set.
Top tip
Choose a high-quality full-fat coconut milk with a high amount of coconut milk extract.
Other Fall & Pumpkin Recipes You Might Like
- Vegan Pumpkin Brownies
- Vegan Pumpkin Banana Bread
- Homemade Pumpkin Spice Latte
- Pumpkin Spice Oatmeal
📖 Recipe
Vegan No Bake Pumpkin Cheesecake Bars
Equipment
- 1 food processor
- 1 baking dish
- 1 spatula
- 1 saucepan
Ingredients
Crust
- ¾ cup hazelnut flour *or almond flour
- ¾ cup oats *use gluten-free to keep it gf
- 8 Medjool dates
- 2 tablespoon coconut oil
- 3 tablespoon maple syrup
Cheesecake Filling
- ½ cup cashews
- ½ cup pumpkin puree *storebought or homemade
- ⅓ cup peanut butter
- 17 Medjool dates
- ¾ cup (6,3 oz) coconut cream *see notes
- pinch of salt *see notes
- pinch of pumpkin pie spice (optional)
- ½ cup peanuts
Chocolate Layer
- 5,3 oz dark chocolate *vegan choc. to keep it vegan
- 2 tablespoon coconut oil
- ⅓ cup peanuts
Instructions
- Soak cashews in very hot water. Set aside.
Crust
- Add all the crust ingredients to a food processor and blend until it becomes a sticky mass (scrape down the sides every now and then).
- Line a baking tray with parchment paper or grease with coconut oil and press crust onto the bottom of the tin using your fingers.
Cheesecake Filling
- Next, place all of the pumpkin pie filling ingredients, except for the peanuts into a food processor and blend until smooth.
- Pour the pumpkin mixture onto the pie crust. Sprinkle over ½ cup of peanuts and put everything in the fridge to set for about 2 hours.
Chocolate Layer
- To prepare the chocolate layer, put chocolate and coconut oil into a medium saucepan. Start melting the chocolate on very low heat and constantly stir with a whisk or spoon. (alternatively you could melt it in a water bath).
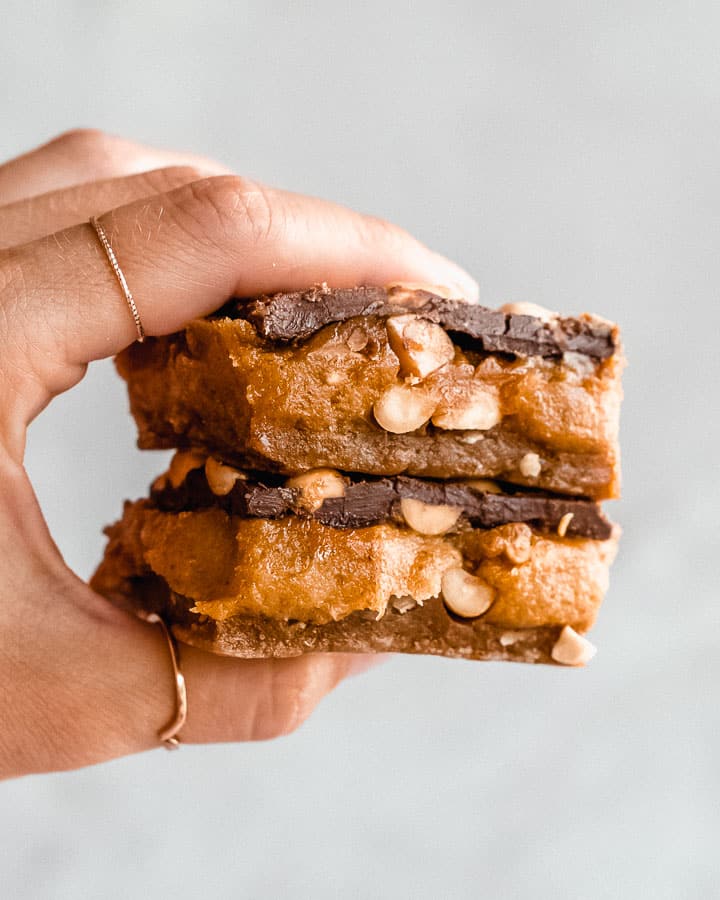
- Pour chocolate layer onto your peanut butter layer, sprinkle with more peanuts and put it back in the fridge to set. For even more caramel flavors you could even go a step further and add another layer of my 2-Ingredient Caramel Sauce on top!
- They can be stored in an airtight container in the fridge for up to a week.
Notes
- Pumpkin Puree: You could use store-bought pumpkin puree but I highly recommend checking out my Homemade Pumpkin Puree recipe. No oven or cutting included!
- Coconut Cream: Make sure to put your coconut milk in the fridge the evening/day before you want to make this recipe. Coconut cream is the white part that remains at the top of the can if full-fat coconut milk is cool enough. Itis really important that your coconut milk is a full-fat milk and has a high content of coconut extract, otherwise there won’t be a lot of cream on top. I prefer using a coconut milk that contains 90% coconut extract, whereas I also tried using a 55% version and it didn’t work.
- Food Processor: Even if you use a strong food processor, breaking down the ingredients might take a couple of minutes- so be patient and don’t forget to scrape down the sides of the bowl. I do not recommend using a hand mixer.
- Salt: Make sure to not go overboard with the salt- only include a little bit or leave out completely.

Leave a Reply