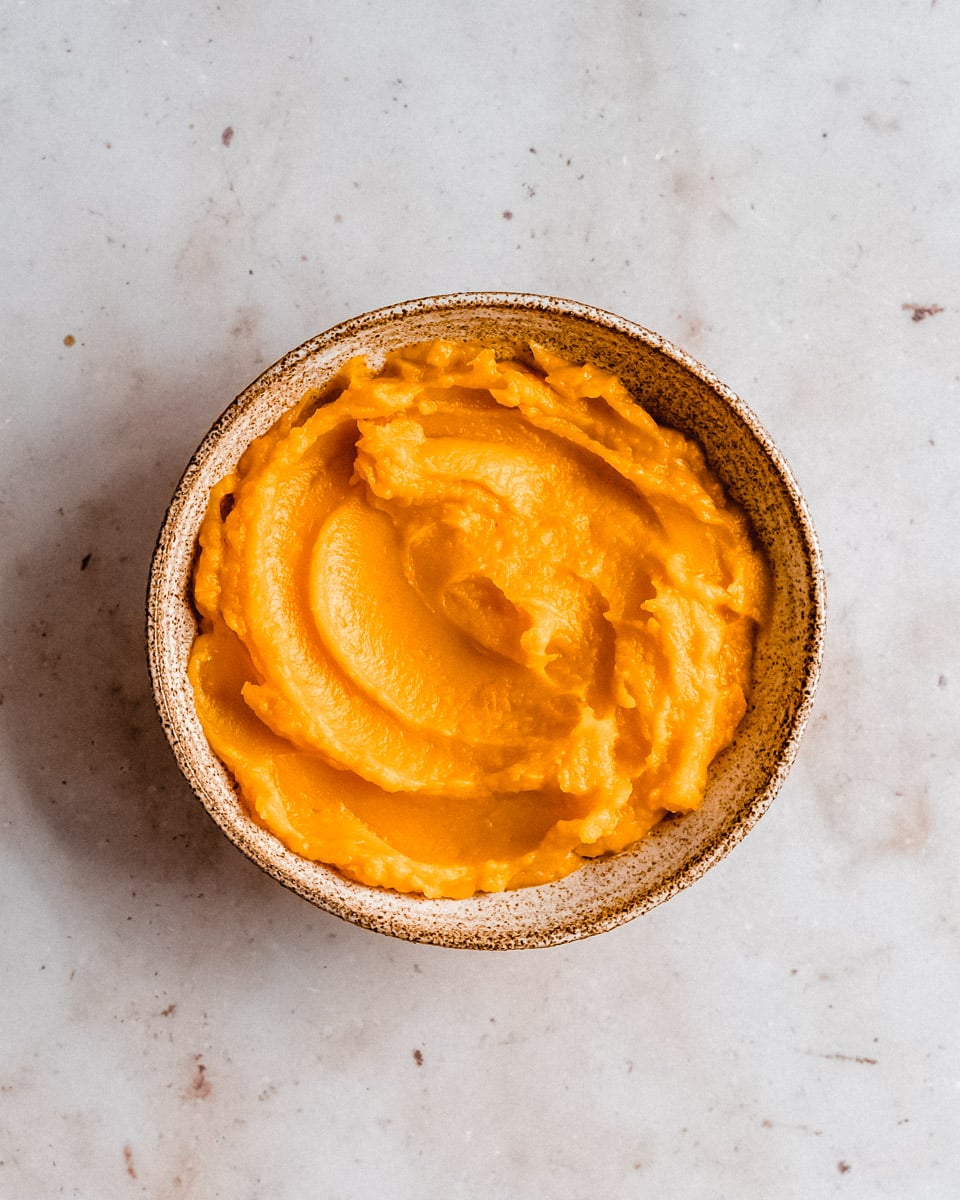
Making homemade Pumpkin Puree from scratch is not only super quick and simple but also tastes more delicious than store bought. This pumpkin puree is made from fresh pumpkin and without roasting. You’ll see that you can easily make creamy and smooth pumpkin puree at home, even without an oven!

Jump to:
Why You'll Love This Recipe
- Both methods are quick and easy!
- It tastes great in sweet recipes such as our Pumpkin Spice Latte or Vegan Pumpkin Banana Bread.
- It can also be used for savory recipes such as our Vegan Mac and Cheese (without cashews) or Vegan Curried Pumpkin Lentil Soup.
Ingredients & Substitution Notes
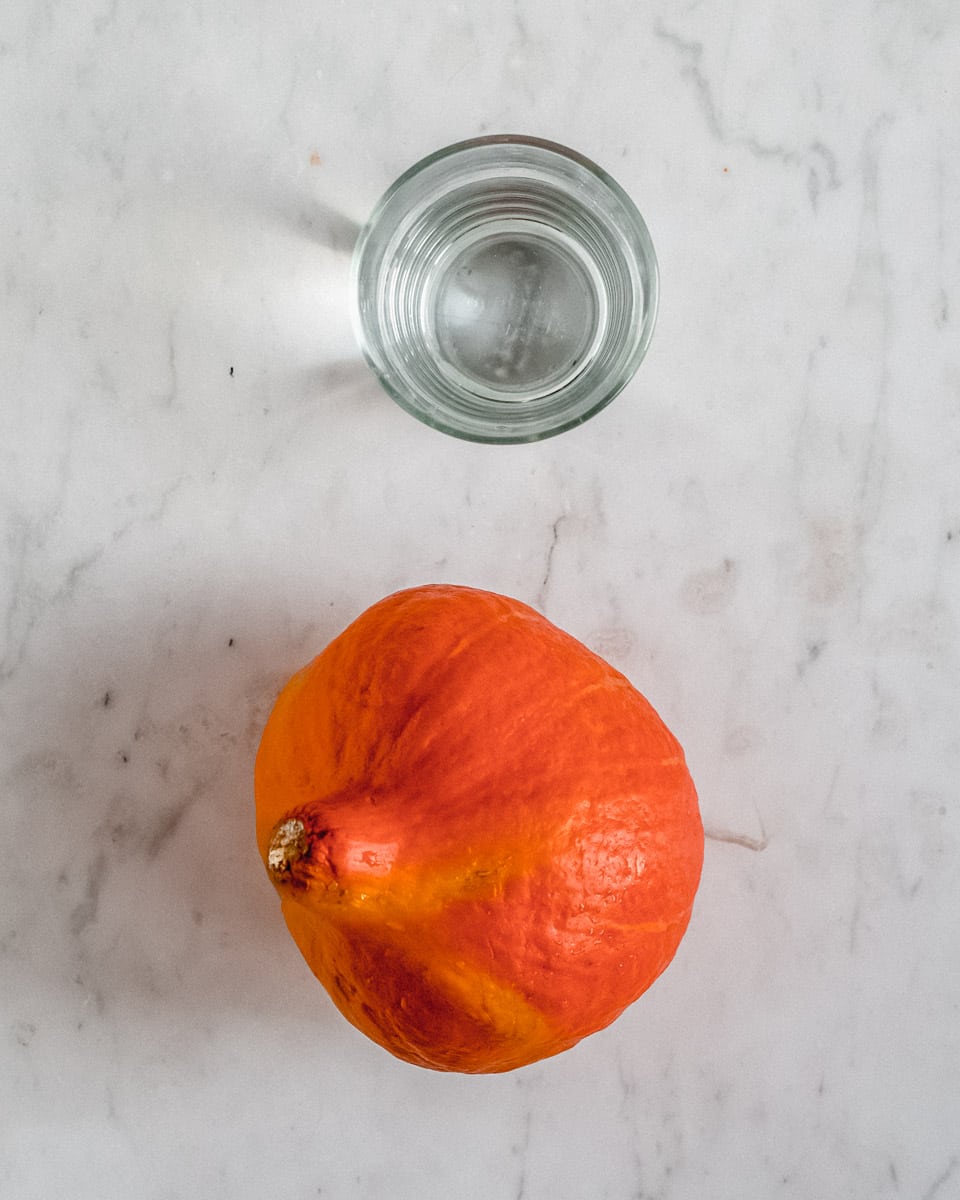
- Pumpkin: Choose a small Hokkaido (Red Kuri) pumpkin that fits into your instant pot (if you prefer this method). They are different from carving pumpkins in size and taste. They usually hold less water and taste a little sweeter than carving pumpkins. You could also use a small sugar pumpkin (= pie pumpkin) instead or try using butternut squash.
- Water: With both methods, the pumpkin flesh is steamed so we need a little water.
How to Make Pumpkin Puree Without Oven
Below you'll find two different ways for making pumpkin puree without an oven. Both are described in detail and include advantages and disadvantages.
Either way you'll end up with some delicious, fresh, homemade pumpkin puree!
How To Make Pumpkin Puree in the Instant Pot
Preparing pumpkin puree in a pressure cooker such as an Instant Pot is my preferred (and easiest) method.
Step 1: Clean pumpkin.
Give your pumpkin a good wash before starting. Pat dry with a towel before cutting it.
Step 2: Remove seeds.
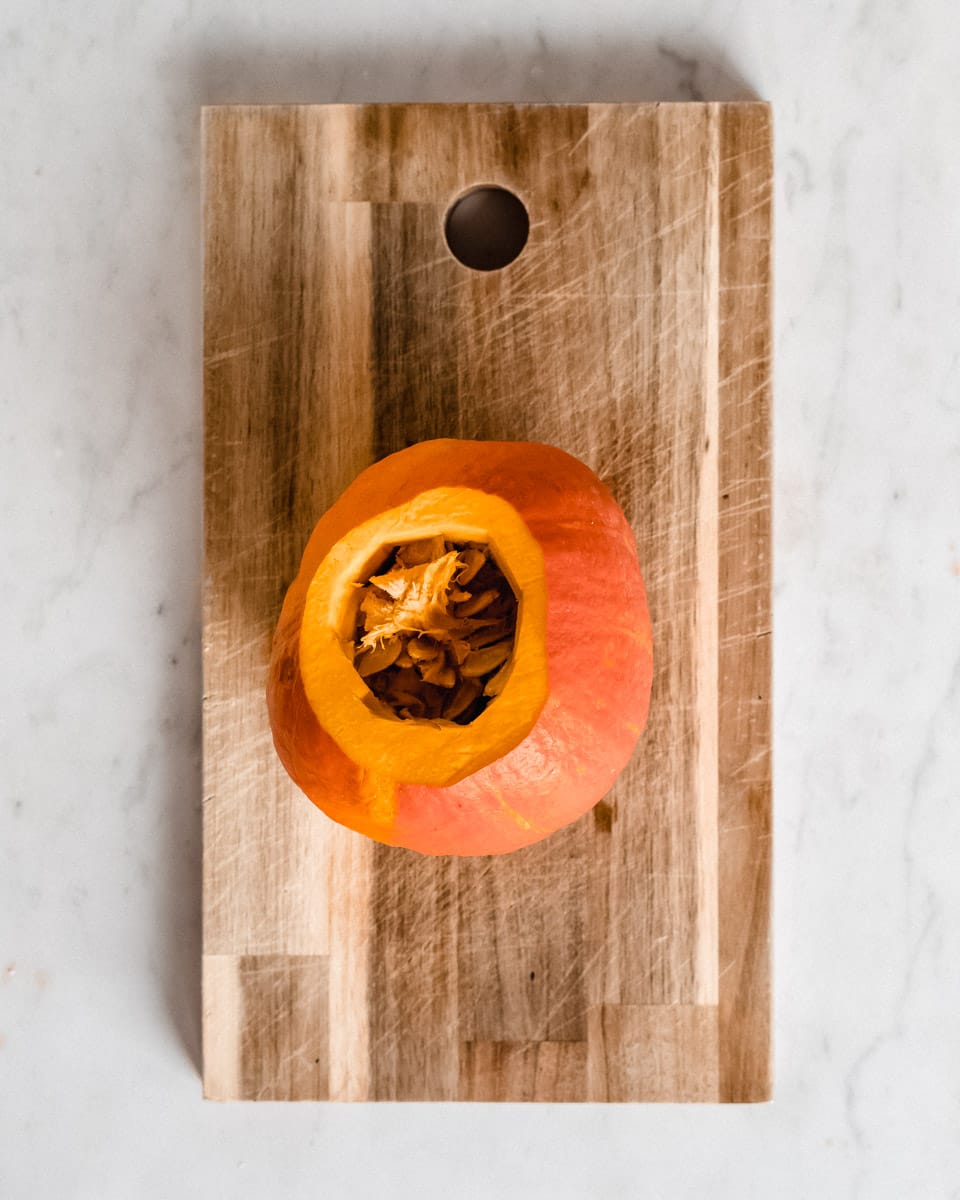
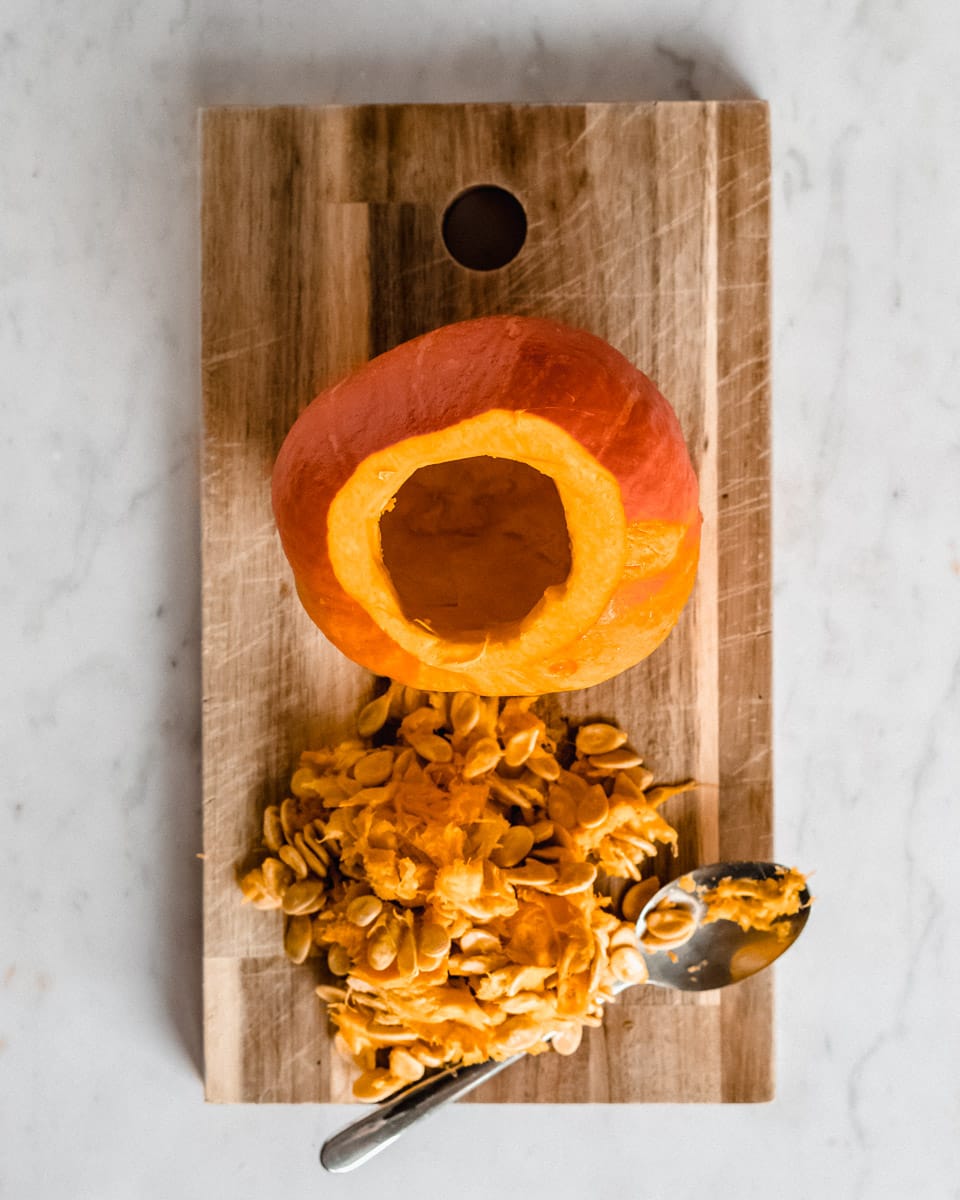
Cut a circle around the stem using a sharp knife. Discard the stem and use a spoon to scrape out the guts and the seeds.
Step 3: Pressure cook.
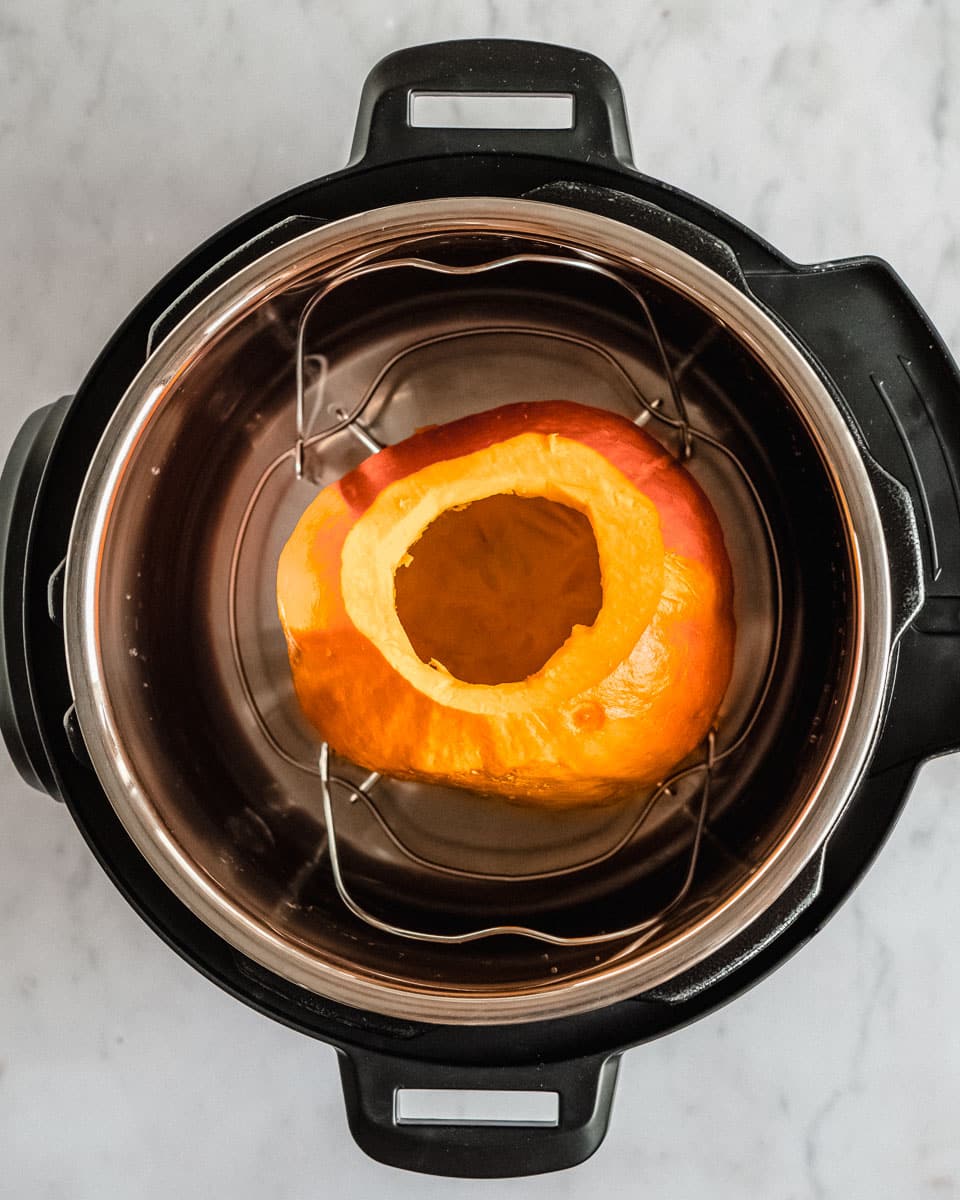
Add 1 cup (230ml) of water into your instant pot. Place the pumpkin cut-side-up on a wire rack (with the opening up) and put it into the pot. If your pumpkin is too large, simply cut it in half. Cover with the lid and cook for 15 minutes on high pressure (use the pressure cook setting). Don’t forget to set the pressure valve to seal!
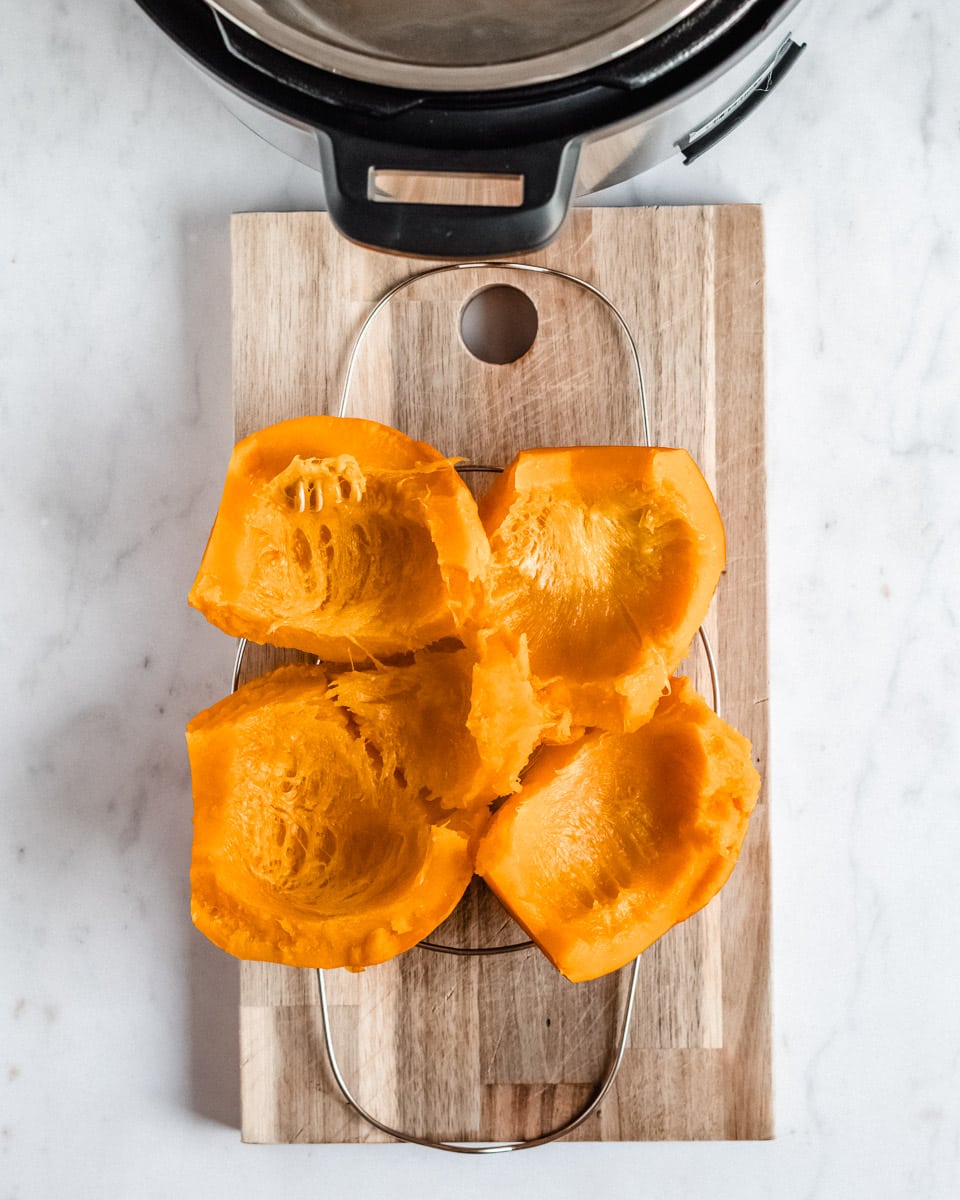
Step 4: Blend.
After the pumpkin was cooked, check if the pumpkin is ready. Pierce the pumpkin’s skin and flesh with a fork to check if it’s soft (fork-tender). If not, pressure cook for 5 more minutes.
Then pull the pumpkin out of the instant pot and place it onto a cutting board. Let cool for a couple of minutes. Then cut it in half lengthwise and scrape the pumpkin flesh away from the skin. Transfer it to a food processor and blend until smooth. Alternatively you could use a hand blender.
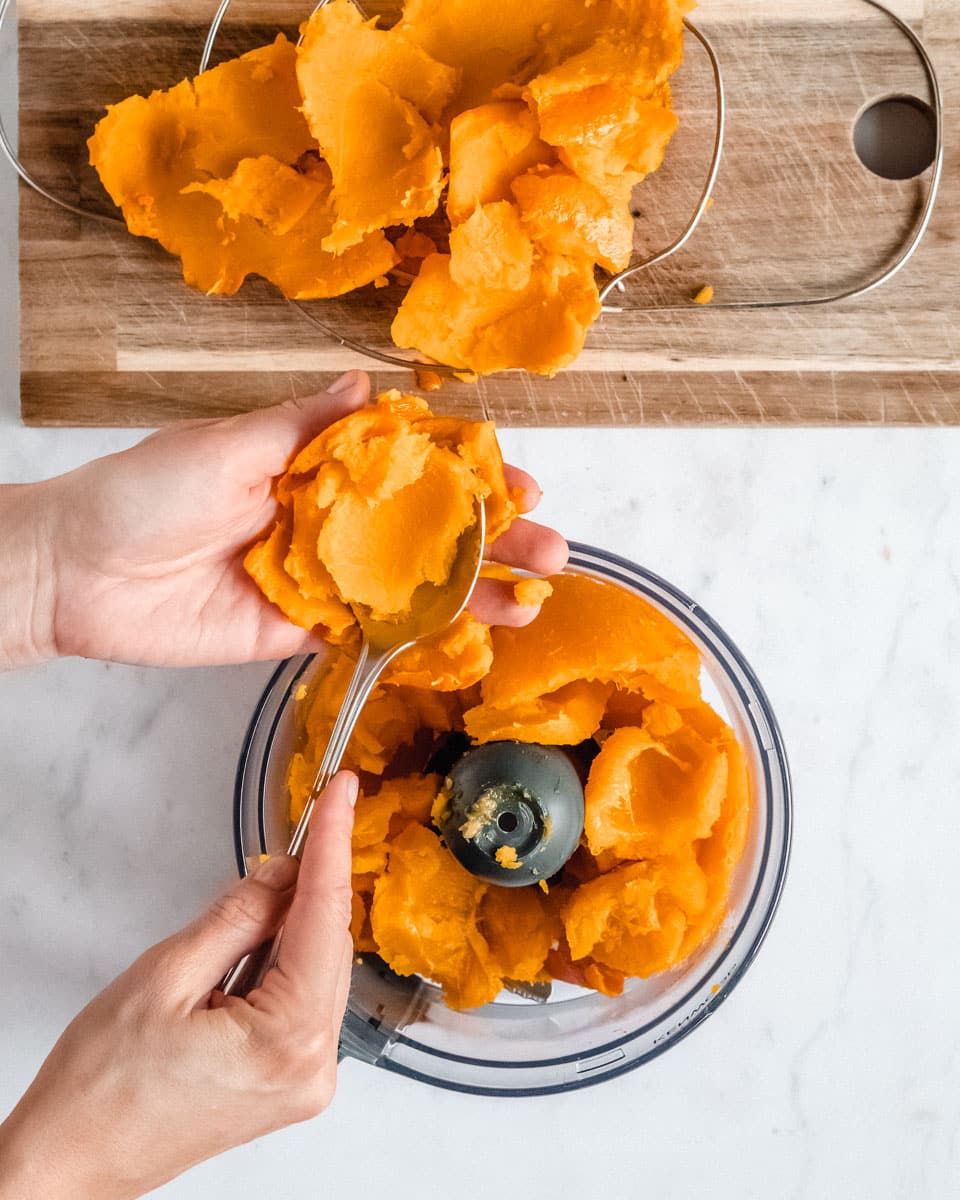
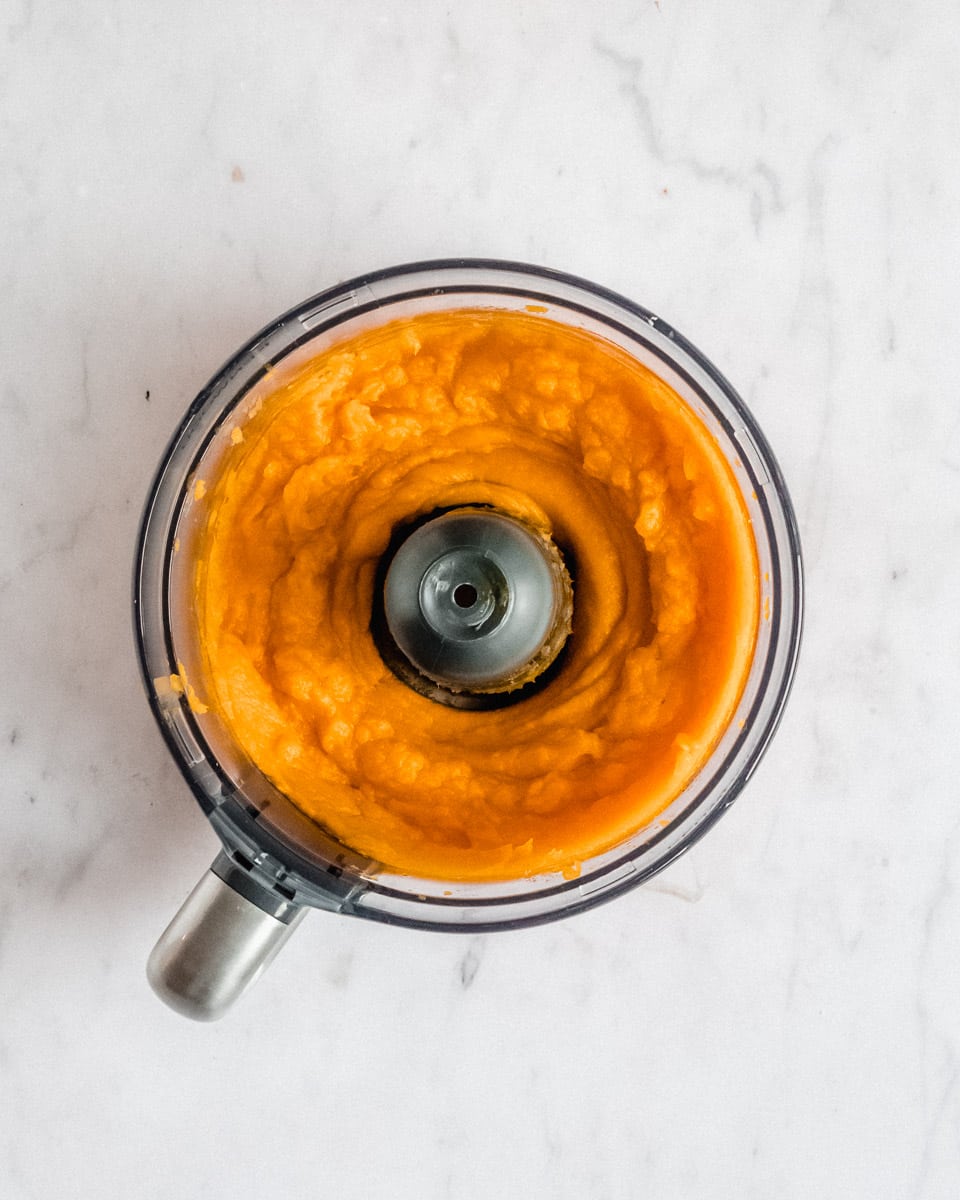
Step 5: Drain the puree (optional).
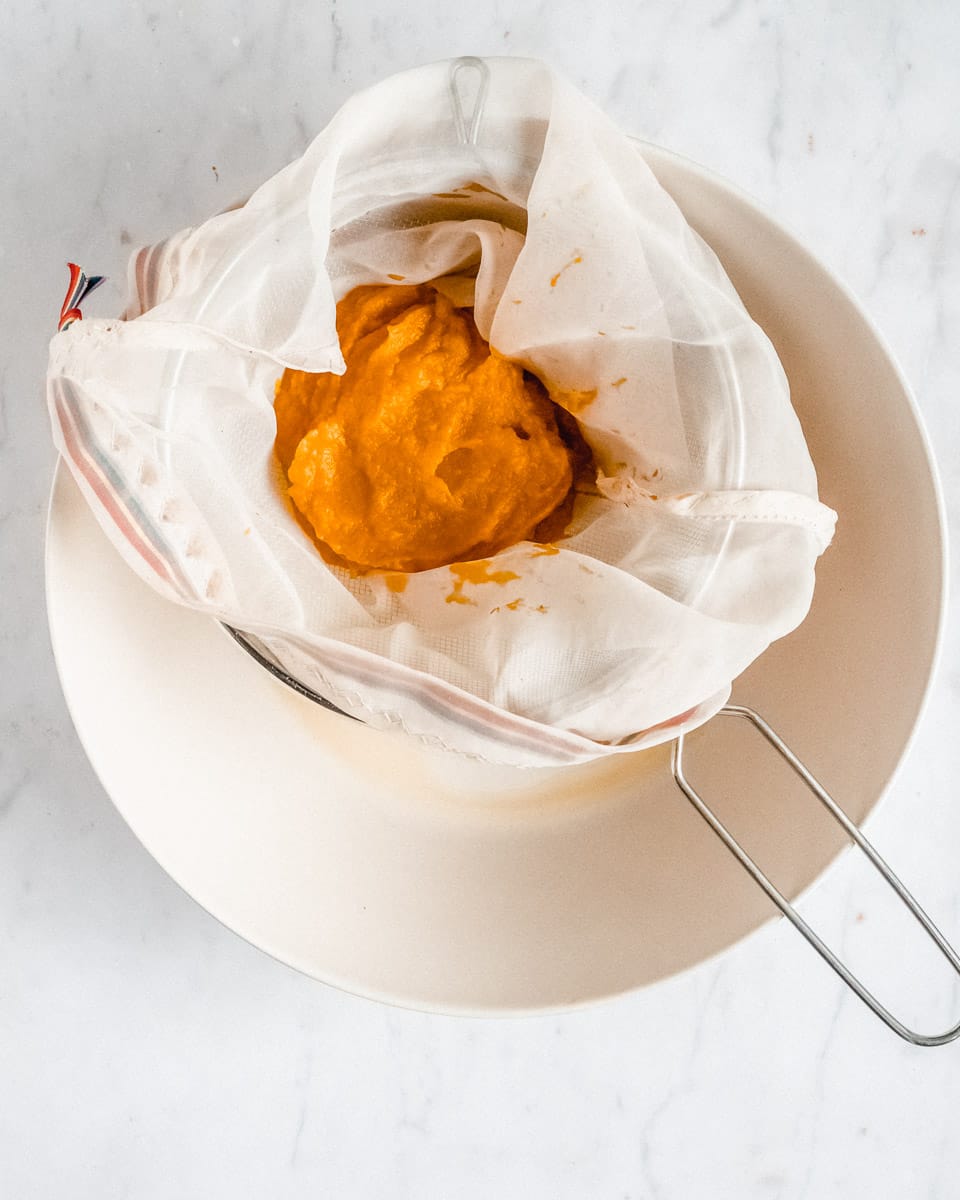
In my experience, there’s not much water to drain when using the instant pot. I usually just puree it and transfer it to an airtight container right away. If you feel that your puree is too watery though, make sure to drain it. Place a large sieve lined with a cheesecloth or nutmilk bag over a large bowl. Add the pumpkin puree and let drain for at least 1 hour (or overnight).
Advantages:
- No peeling and cutting required!
- Texture: I prefer the puree’s texture that you get in an instant pot over the stovetop one. It’s less watery! This means that you usually won’t need to drain the puree after blending.
Disadvantages:
- You’ll need an instant pot/ crock pot/ pressure cooker to be able to make the recipe.
How To Make Pumpkin Puree on Stovetop
Pumpkin Puree can also easily be made on the stovetop. All you’ll need is a small saucepan (with a lid) and some water.
Step 1: Clean pumpkin.
Same as with the instant pot method- we would want to clean our pumpkin before using it!
Step 2: Remove seeds.
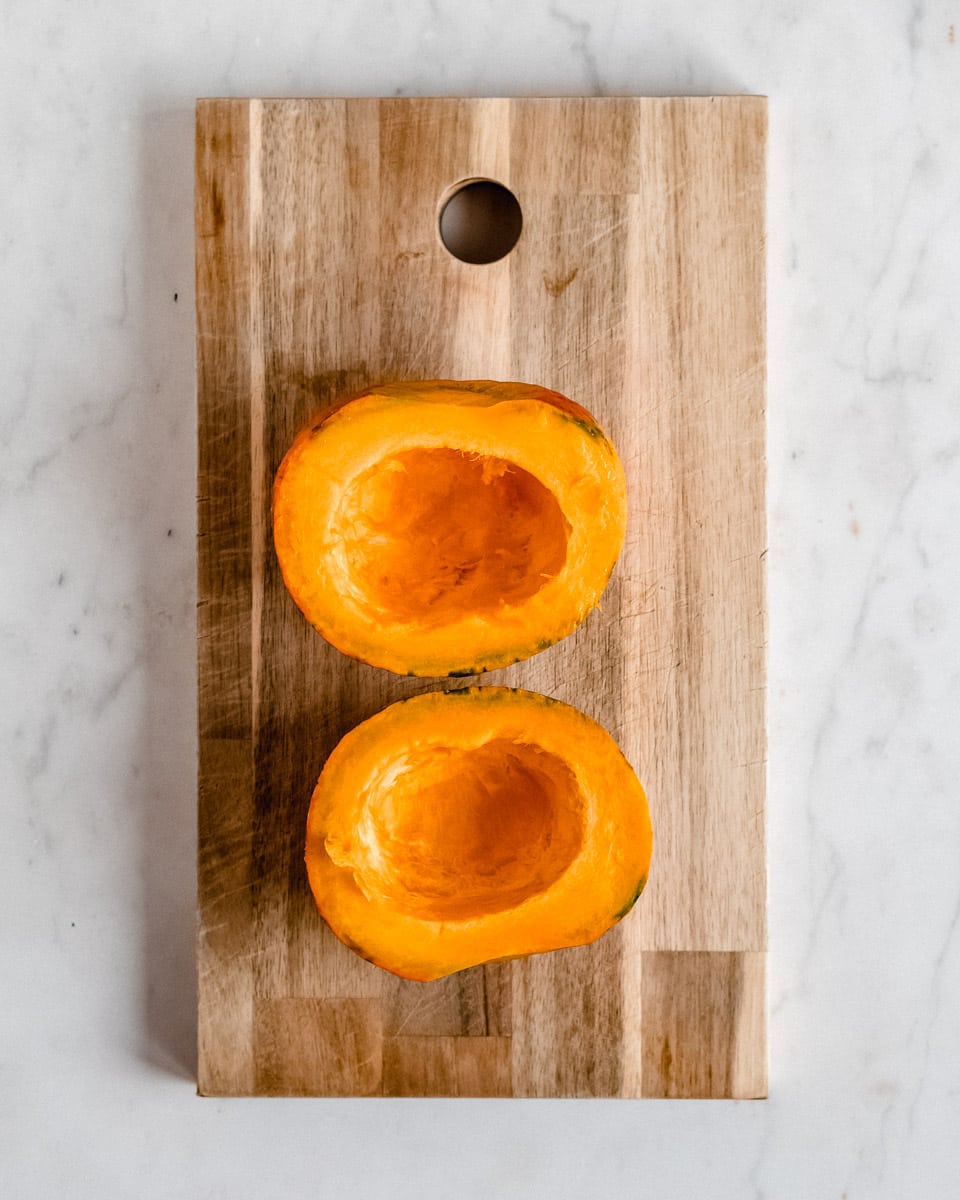
This time, cut your pumpkin in half (we won’t need the pumpkin as a whole). Scrape out guts and seeds.
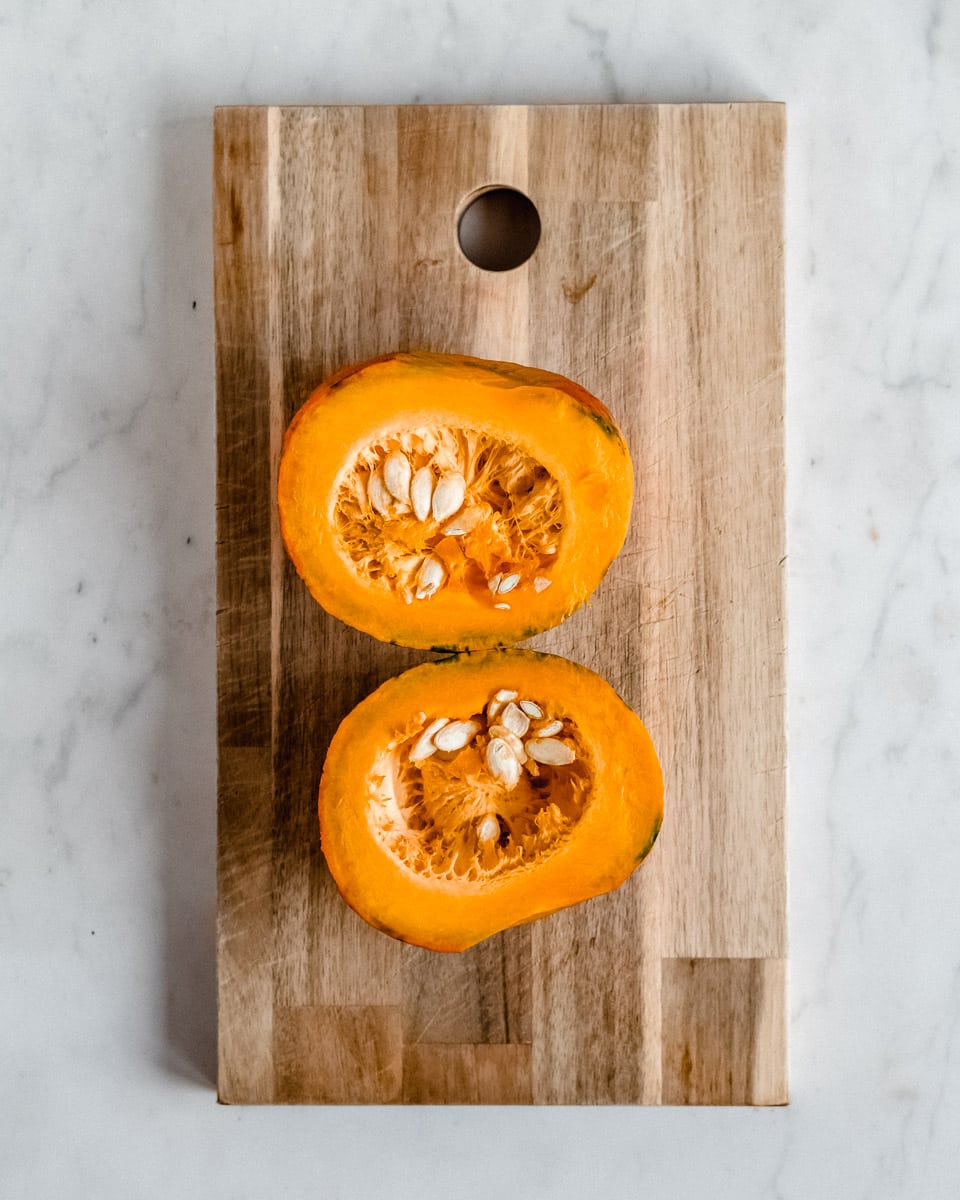
Step 3: Cook/ steam it.
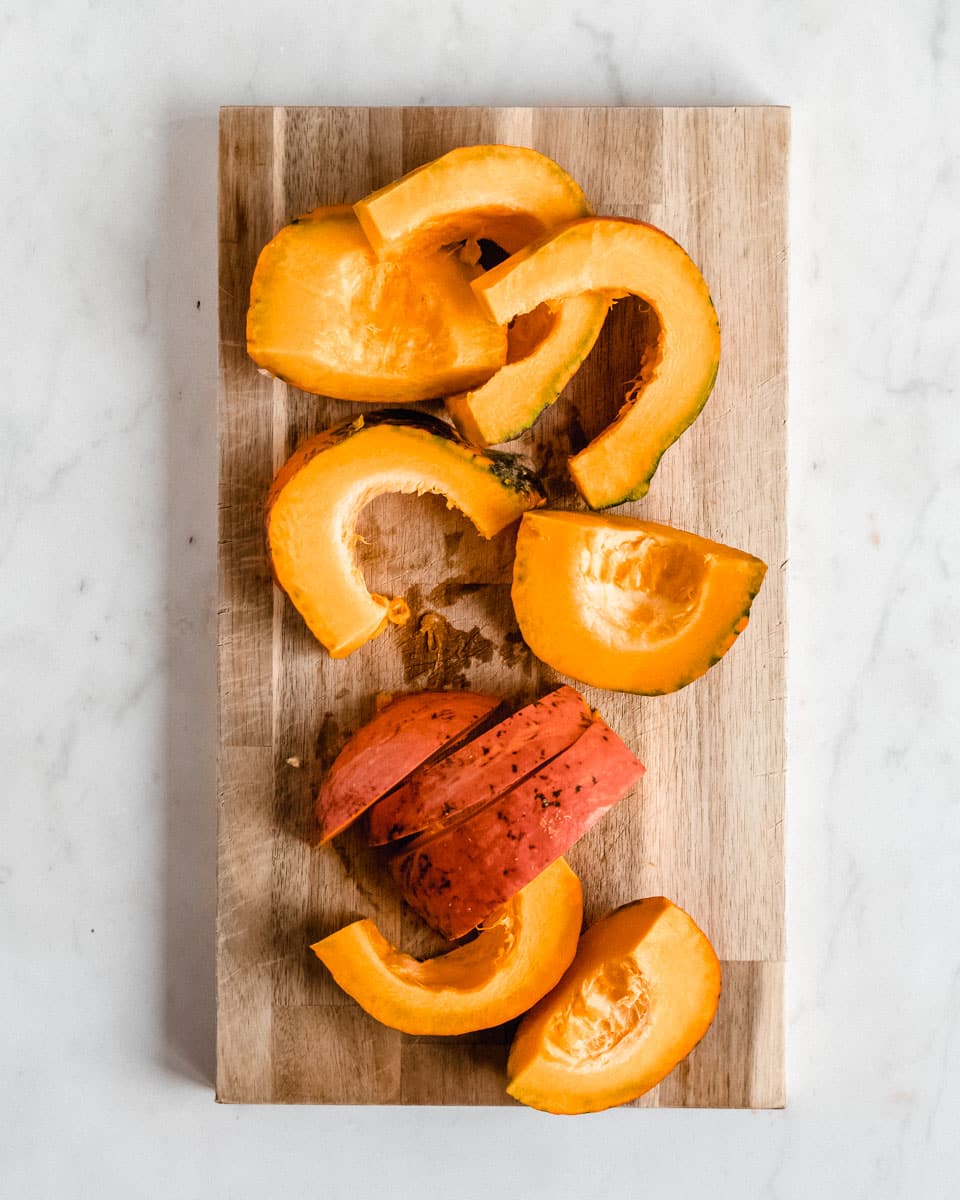
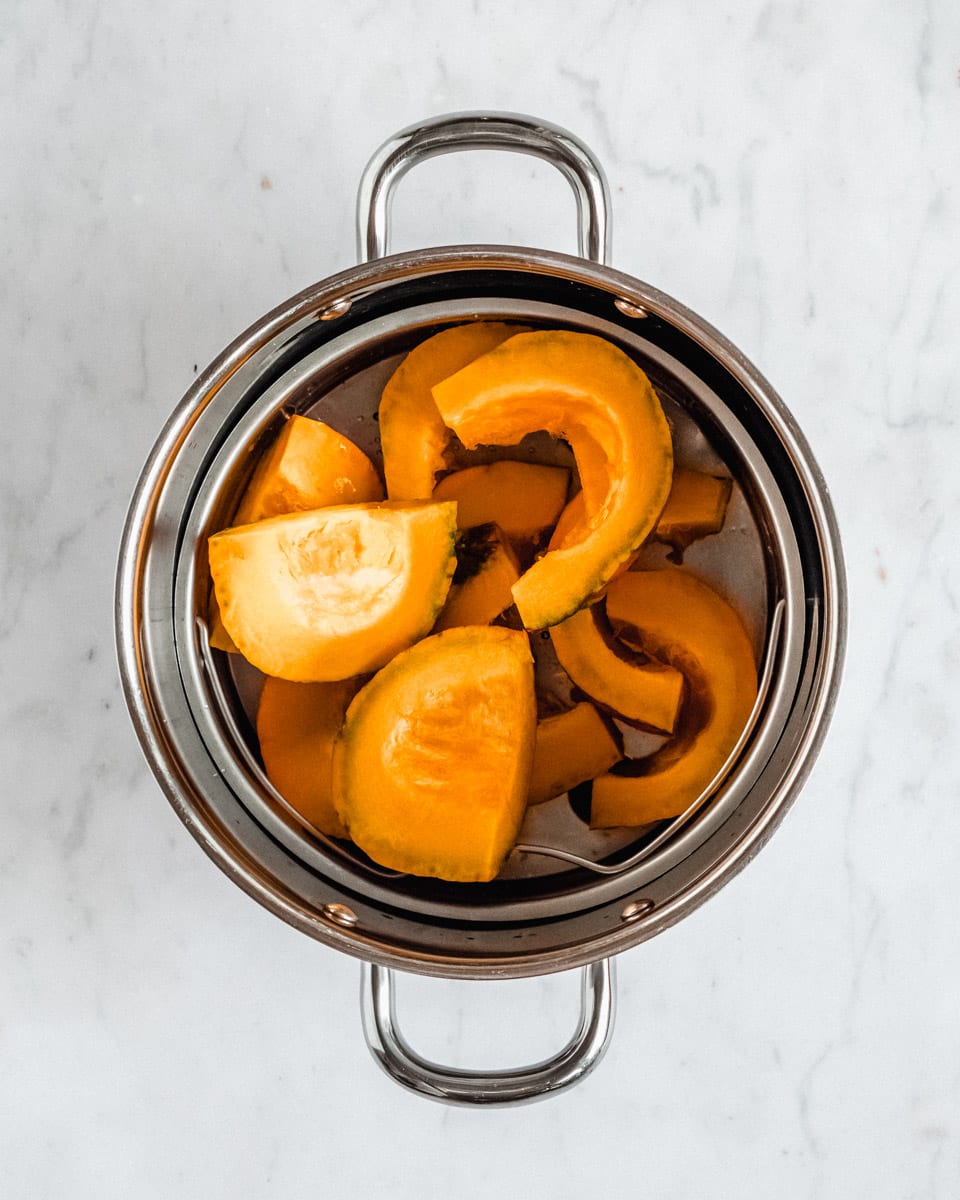
Cut the pumpkin into slices. There’s no need to remove the skin- we will do that after steaming it. Add ½ cup of water to a large saucepan. If you own a steamer basket, add it to your saucepan. Place your pumpkin slices into the saucepan and cook for 20-25 minutes with a lid on.
Check every couple of minutes- you might need to add a splash of water here and there.
Step 4: Puree pumpkin.
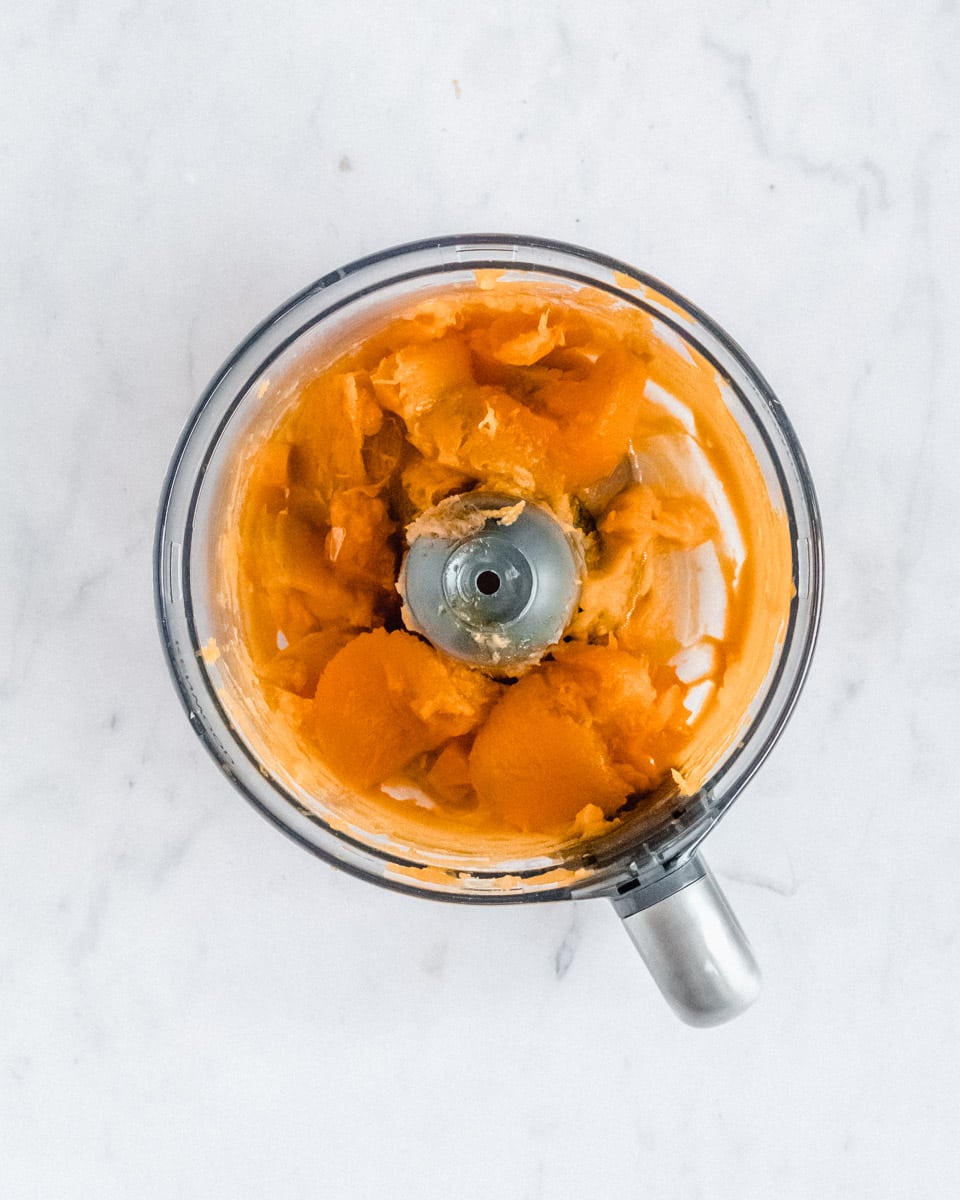
After the pumpkin is cooked and cold enough to handle, scrape the pumpkin flesh away from the skin and blend until smooth using a food processor or hand blender.
Step 5: Drain the puree.
The puree might still be a bit water at that point. To achieve the preferred consistency, make sure to drain it! Place a large sieve lined with a cheesecloth or nutmilk bag over a large bowl. Pour in the pumpkin puree and let it drain for at least 1 hour (or overnight).
Tips for Making Perfect Pumpkin Puree
- Good quality pumpkin: Check if the pumpkin sounds very hollow when tapped! You will want to choose one that does not sound too hollow.
- Small pumpkin: Smaller pumpkins such as Hokkaido (Red Kuri) or sugar pumpkins are usually less watery and packed with flavour.
- Don’t use too much water: Especially when using the stovetop method, make sure to not use too much water. We want to rather steam than boil the pumpkin to bring out that delicious pumpkin flavour!
- Drain excess water: When using the instant pot method, excess amount of water won’t be much of an issue. When steaming the pumpkin on the stovetop though, you might end up with a slightly more watery texture. It’s crucial to let the water drain from the pumpkin puree to achieve the perfect texture!
What Can Pumpkin Puree Be Used For?
- In Cakes and Breads: Homemade pumpkin puree can just be used like canned pumpkin. Try our Vegan Pumpkin Banana Bread as an example
- In Drinks: This homemade pumpkin puree would work great in my Pumpkin Spice Latte recipe.
- In Oatmeal: Stir it into your favorite oatmeal or try my Pumpkin Spice Oatmeal.
- In Soups: Homemade pumpkin puree tastes great in soups such as this Vegan Curried Pumpkin Soup.
- In Pasta: Try my Vegan Mac and Cheese (without cashews) recipe to see how delicious pumpkin and pasta could taste together
Storing
Keep your homemade puree in an airtight container in the fridge for up to 5 days.
Yes, store it in an airtight container or zip bag and put it in the freezer for later use. Let thaw in the fridge or on the kitchen counter overnight.
FAQs
Flavour! Homemade pumpkin puree made from fresh pumpkin tastes even more delicious and fresh than canned pumpkin! The colour of your puree may vary depending on your pumpkin!
I prefer using Hokkaido (Red Kuri) pumpkin. You could also use a sugar or pie pumpkin. They are sweeter and than carving pumpkins and are perfect for homemade pumpkin puree. Butternut squash will also work!
You can thicken your homemade pumpkin puree by getting rid of the excess water. Simply drain the water by placing the puree into a sieve lined with a cheesecloth or nutmilk bag. Let drain for at least 1 hour (or overnight).
📖 Recipe

Pumpkin Puree without oven (2 ways)
Ingredients
- 1 Hokkaido (Red Kuri) pumpkin *see notes
- 1 - 1½ cups water
Instructions
How to make pumpkin puree in the INSTANT POT
- Give your pumpkin a good wash before starting.
- Use a sharp knife to cut a circle around the stem. Discard the stem and use a spoon to scrape out the guts and the seeds.
- Add 1 cup (230ml) of water to the instant pot.
- Place the pumpkin cut-side-up on a wire rack (with the opening up) and put it into the pot. If your pumpkin is too large, simply cut it in half. Cover with the lid and cook for 15minutes on high pressure (use the pressure cook setting). Don’t forget to set the pressure valve to seal!
- Once the pumpkin is finished cooking, natural release for 5 minutes, then quick release.
- Check if the pumpkin is ready. Pork a fork into the pumpkin’s skin and flesh to check if it’s soft (fork-tender). If not, pressure cook for another 5 minutes.
- Then pull the pumpkin out of the instant pot and place it onto a cutting board. Let cool for a couple of minutes.
- Then cut it in half lengthwise and scrape the pumpkin flesh away from the skin.
- Add it to a food processor and blend until smooth. Alternatively you could use an immersion blender.
How to make pumpkin puree on STOVETOP
- Thoroughly clean your pumpkin before using it.
- Cut your pumpkin in half and scrape out guts and seeds.
- Cut the pumpkin into slices.
- Add ½ cup of water to a large saucepan. If you own a steamer basket, add it to your saucepan.
- Place your pumpkin slices into the saucepan and cook for 20-25 minutes with a lid on.
- Check every couple of minutes- you might need to add a splash of water here and there.
- After the pumpkin is cooked and cold enough to handle, scrape the pumpkin flesh away from the skin and blend until smooth using a food processor or hand blender.
How to thicken your puree
- In case the puree still feels a bit watery (usually the case with stovetop method) makes sure to drain it!
- Place a large sieve lined with a cheesecloth or nutmilk bag over a large bowl. Pour in the pumpkin puree and let it drain for at least 1 hour (or overnight).
Video
Notes
- Pumpkin types to use: Smaller pumpkins such as hokkaido (red kuri) or sugar pumpkins are usually less watery and packed with flavour. They also need less cooking time. I prefer using Hokkaido (Red Kuri) pumpkin. You could also use a sugar or pie pumpkin. Butternut squash will also work!
- Don’t use too much water: Especially when using the stovetop method, make sure to not use too much water. We want to steam, not boil the pumpkin to bring out that delicious pumpkin flavour!
- Let sit in colander: When using the instant pot method, excess amount of water won’t be much of an issue. When steaming the pumpkin on the stovetop though, you might end up with a slightly more watery texture. It’s crucial to let the water drain from the pumpkin puree to achieve the perfect texture!
- Storing: Store pumpkin puree in an airtight container in the fridge for up to 5 days. You could also freeze it!
Nutrition






Leave a Reply