What could be better than a delicious side dish from freezer to fork in very little time?
This roasted frozen cauliflower recipe will result in a tasty tray of cauliflower that's tender on the inside with a crispy exterior. Super convenient, full of goodness and a great source of fiber and flavor.
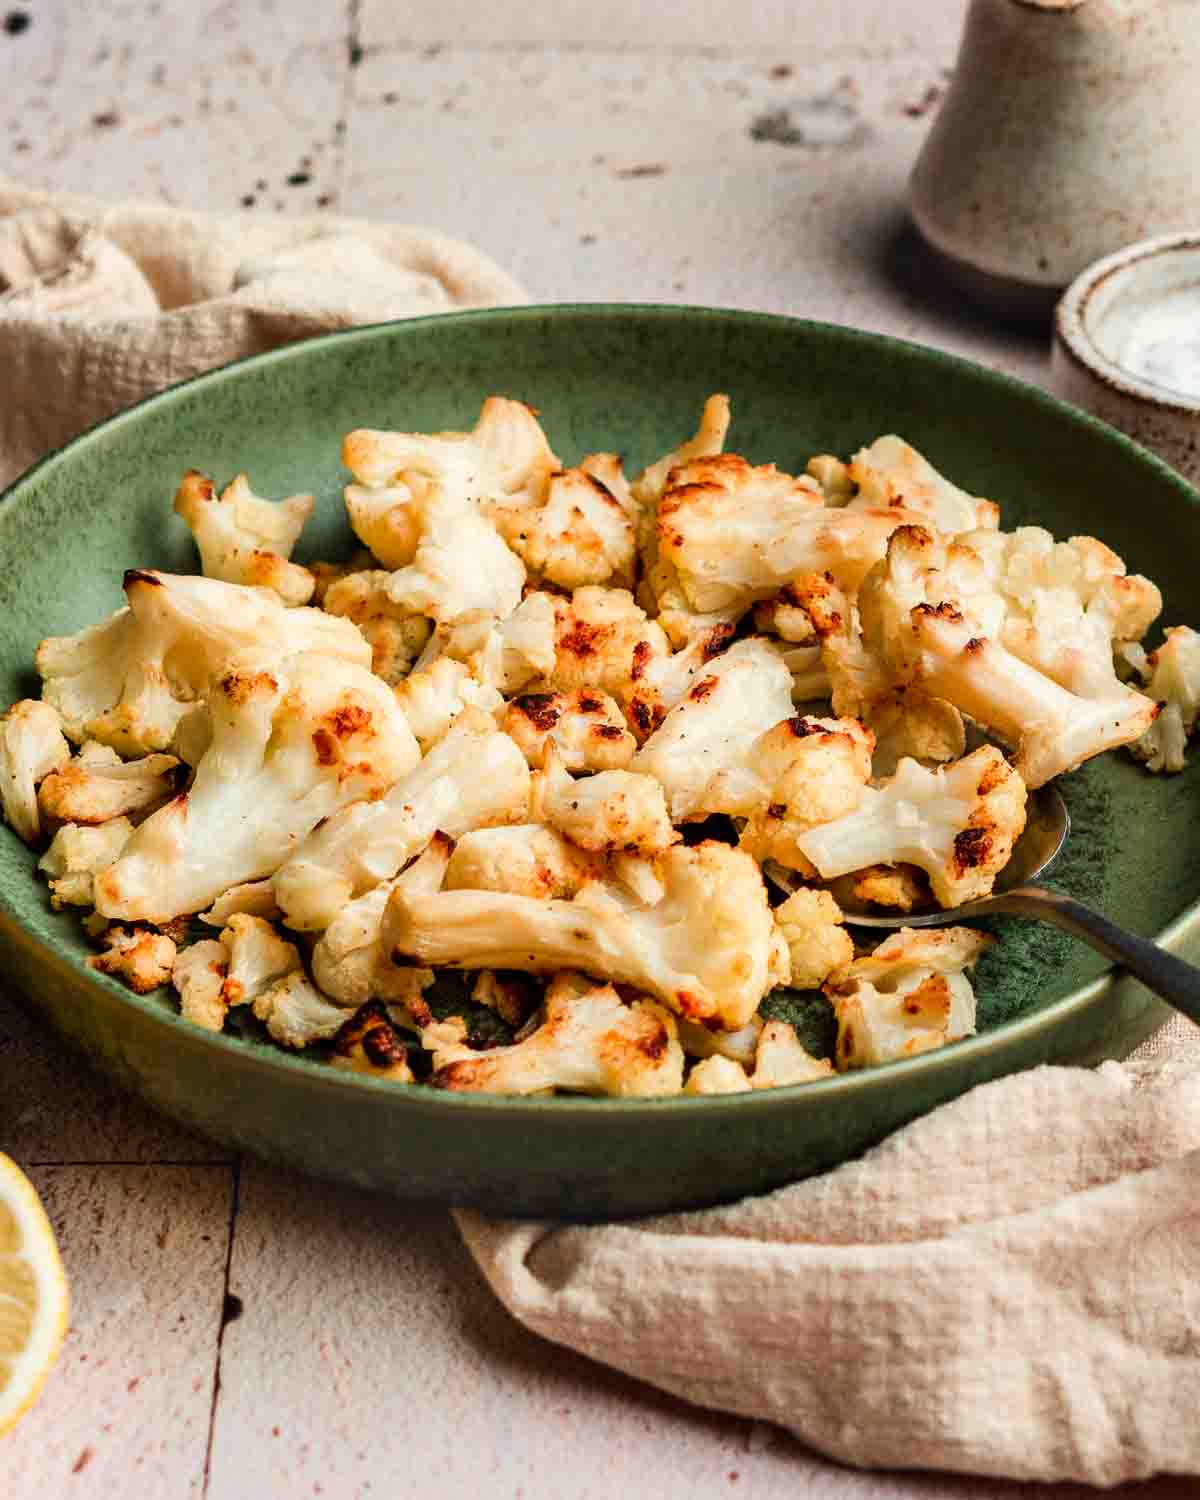
This cauliflower recipe can be whipped up in just over 30 minutes and gives you an easy side dish (or whole meal) every time.
Cauliflower is a popular vegetable because it’s low in calories but can fill you up. The best part about this veggie is that it takes on any extra flavor that you add to it, really graciously. This recipe will give you a perfect texture every time, so long a you roast on a high heat and goes alongside countless of dishes.
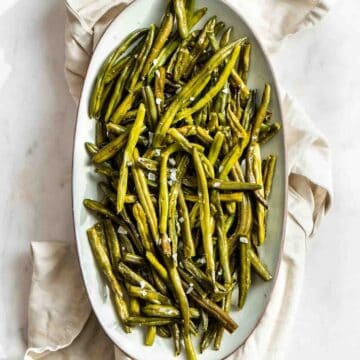
This was inspired by my Roasted Frozen Brussels Sprouts or Roased Frozen Green Beans recipe on this site.
Why you'll love this recipe
- This is a healthy side dish that is really simple to make.
- Frozen vegetables are often cheaper than fresh veggies and have a much longer shelf-life in your freezer.
- Frozen cauliflower is available in the frozen food aisle which is really convenient.
- Can be made in large batches as part of your food prep for the week.
Ingredients & Substitution Notes
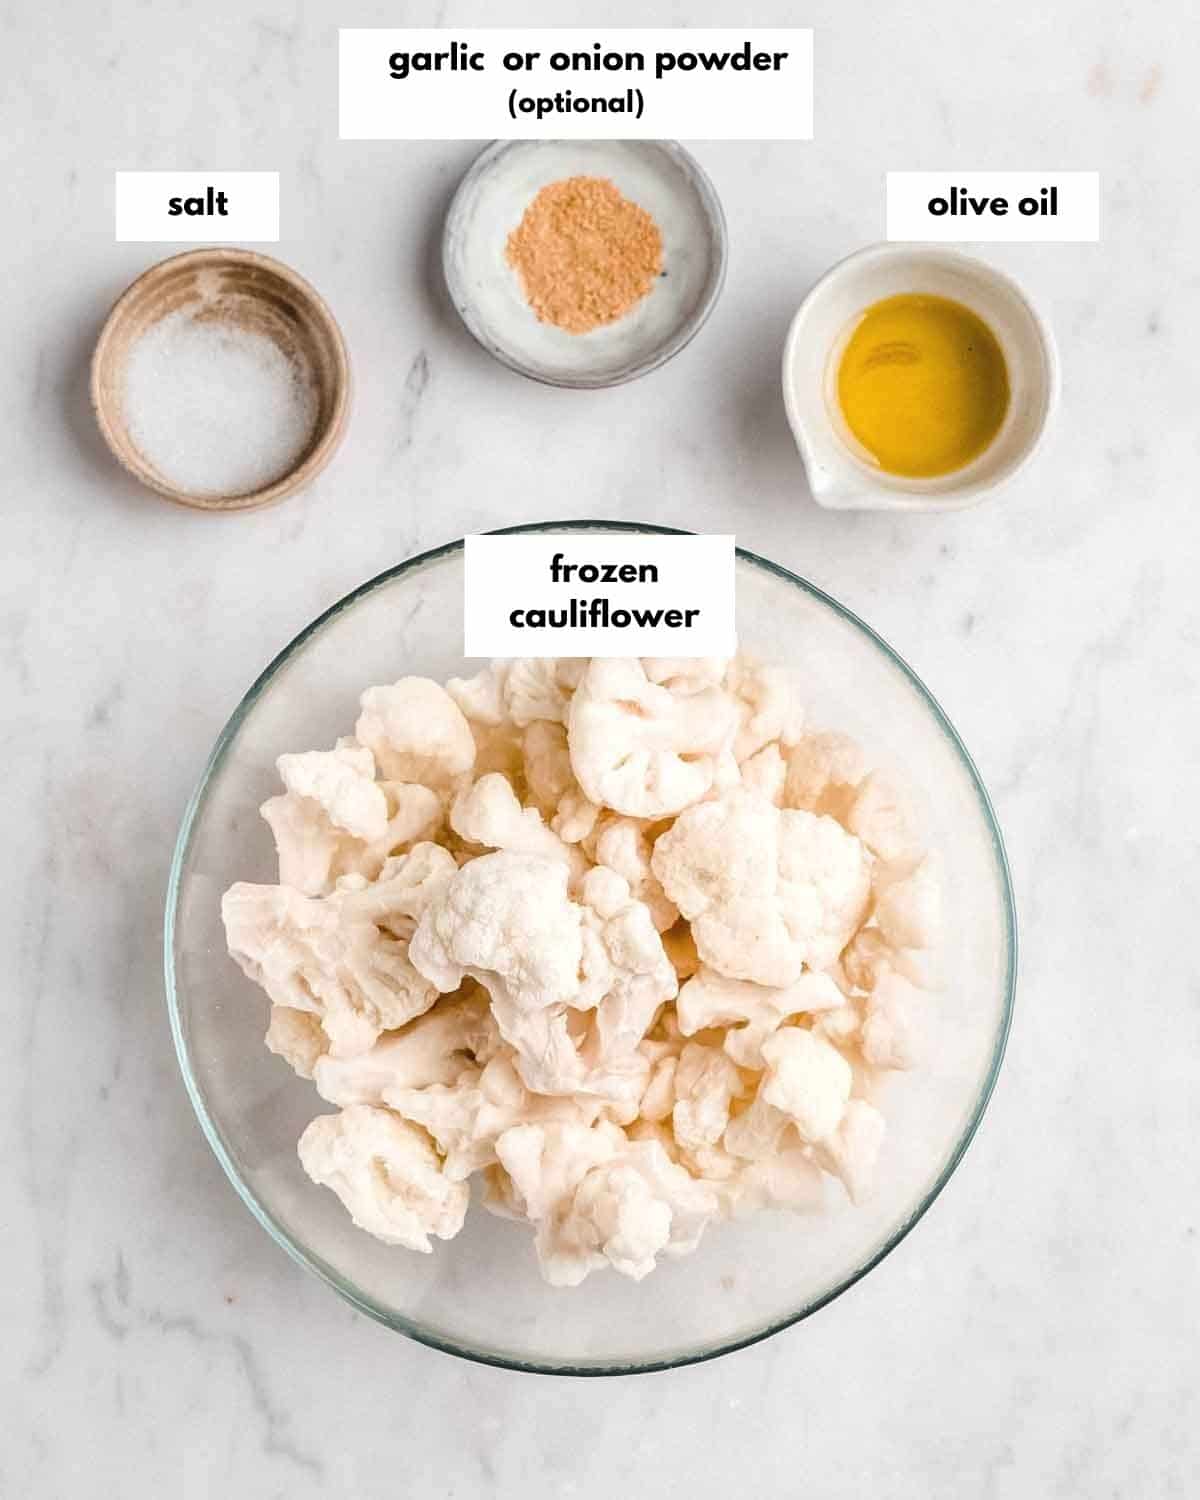
- Frozen Cauliflower
- Olive oil: you can use any neutral-flavored oil such as sunflower or avocado oil. Sesame oil will give the dish a lovely nutty taste. Olive oil spray will work if you want to stay away from drenching the frozen florets in oil.
- Onion/ garlic powder: enhances the flavors and brings out the goodness of the cauliflower. You can absolutely leave the powders out if you’d prefer.
- Parmesan cheese (optional): This gives the dish a lovely mild flavor with savory notes. This is a great addition but can be left out or replaced with nutritional yeast for a vegan version.
See recipe card for quantities.
How to roast frozen cauliflower
This frozen cauliflower recipe requires only 2 steps and is made from a couple of simple ingredients.
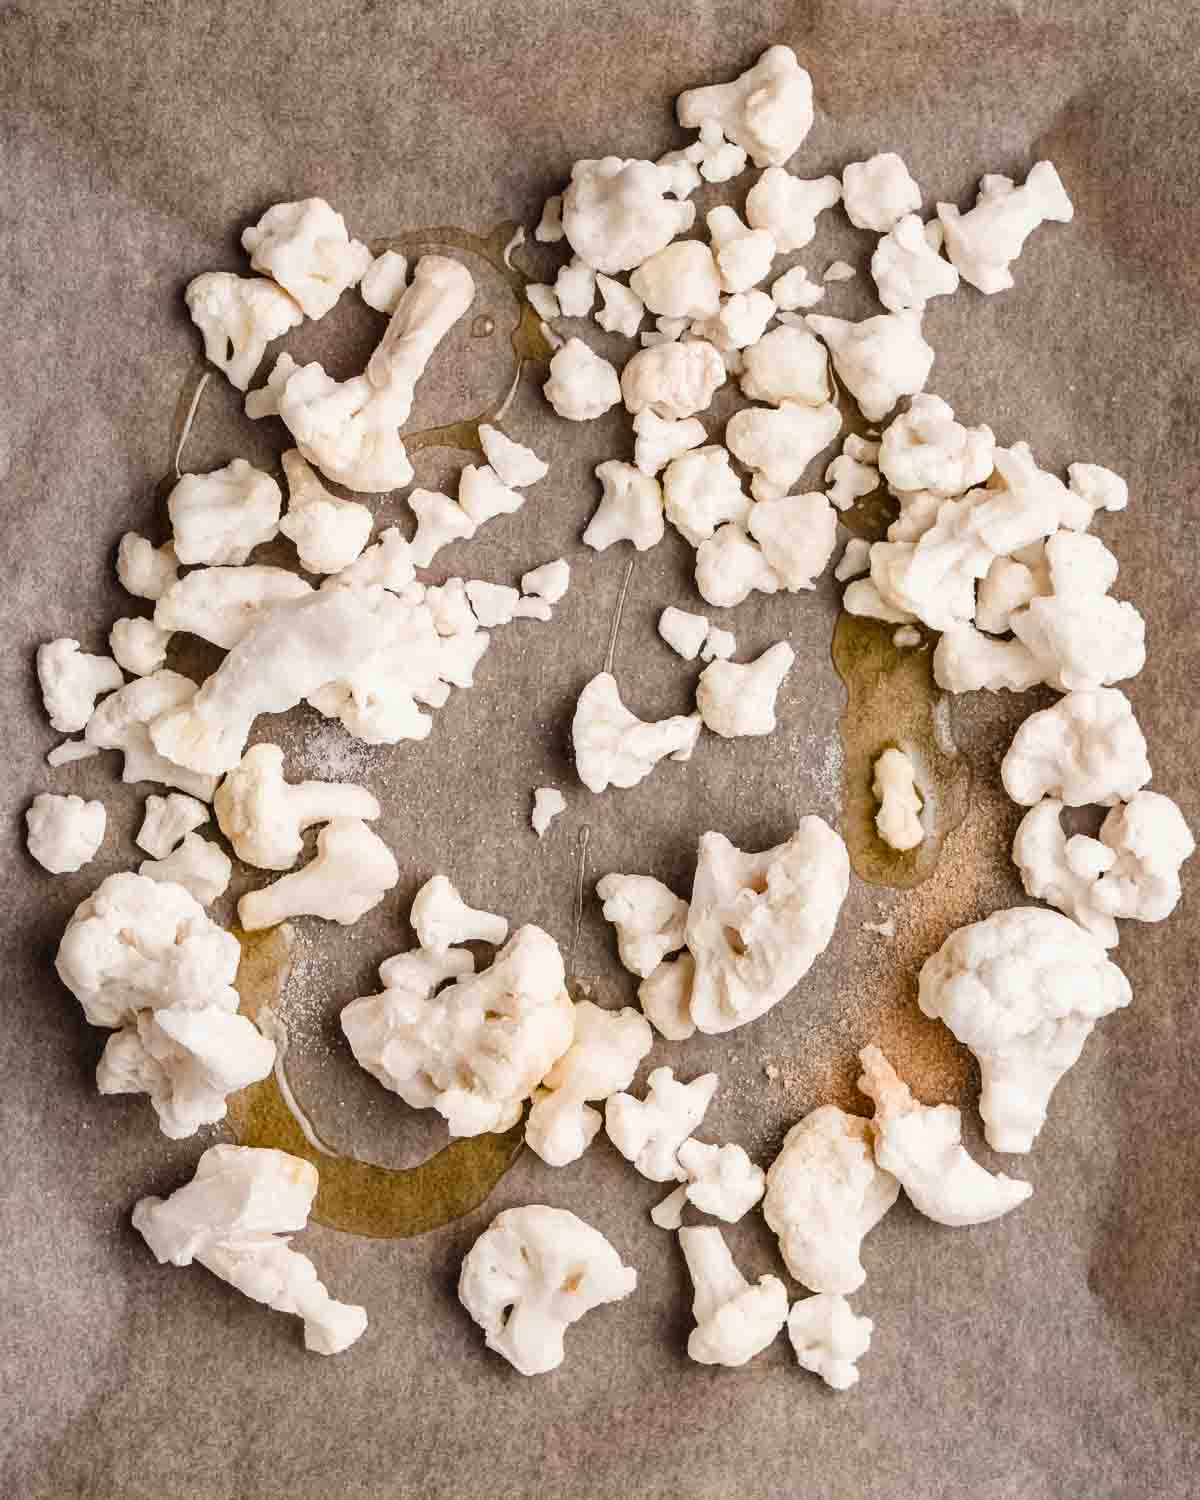
STEP 1: Prepare the florets. Lay out the frozen cauliflower florets on a sheet pan lined with parchment paper. Spread them out in an even layer. Season them with salt, onion/garlic powder, and olive oil, and give them a good mix so that the florets are coated evenly.
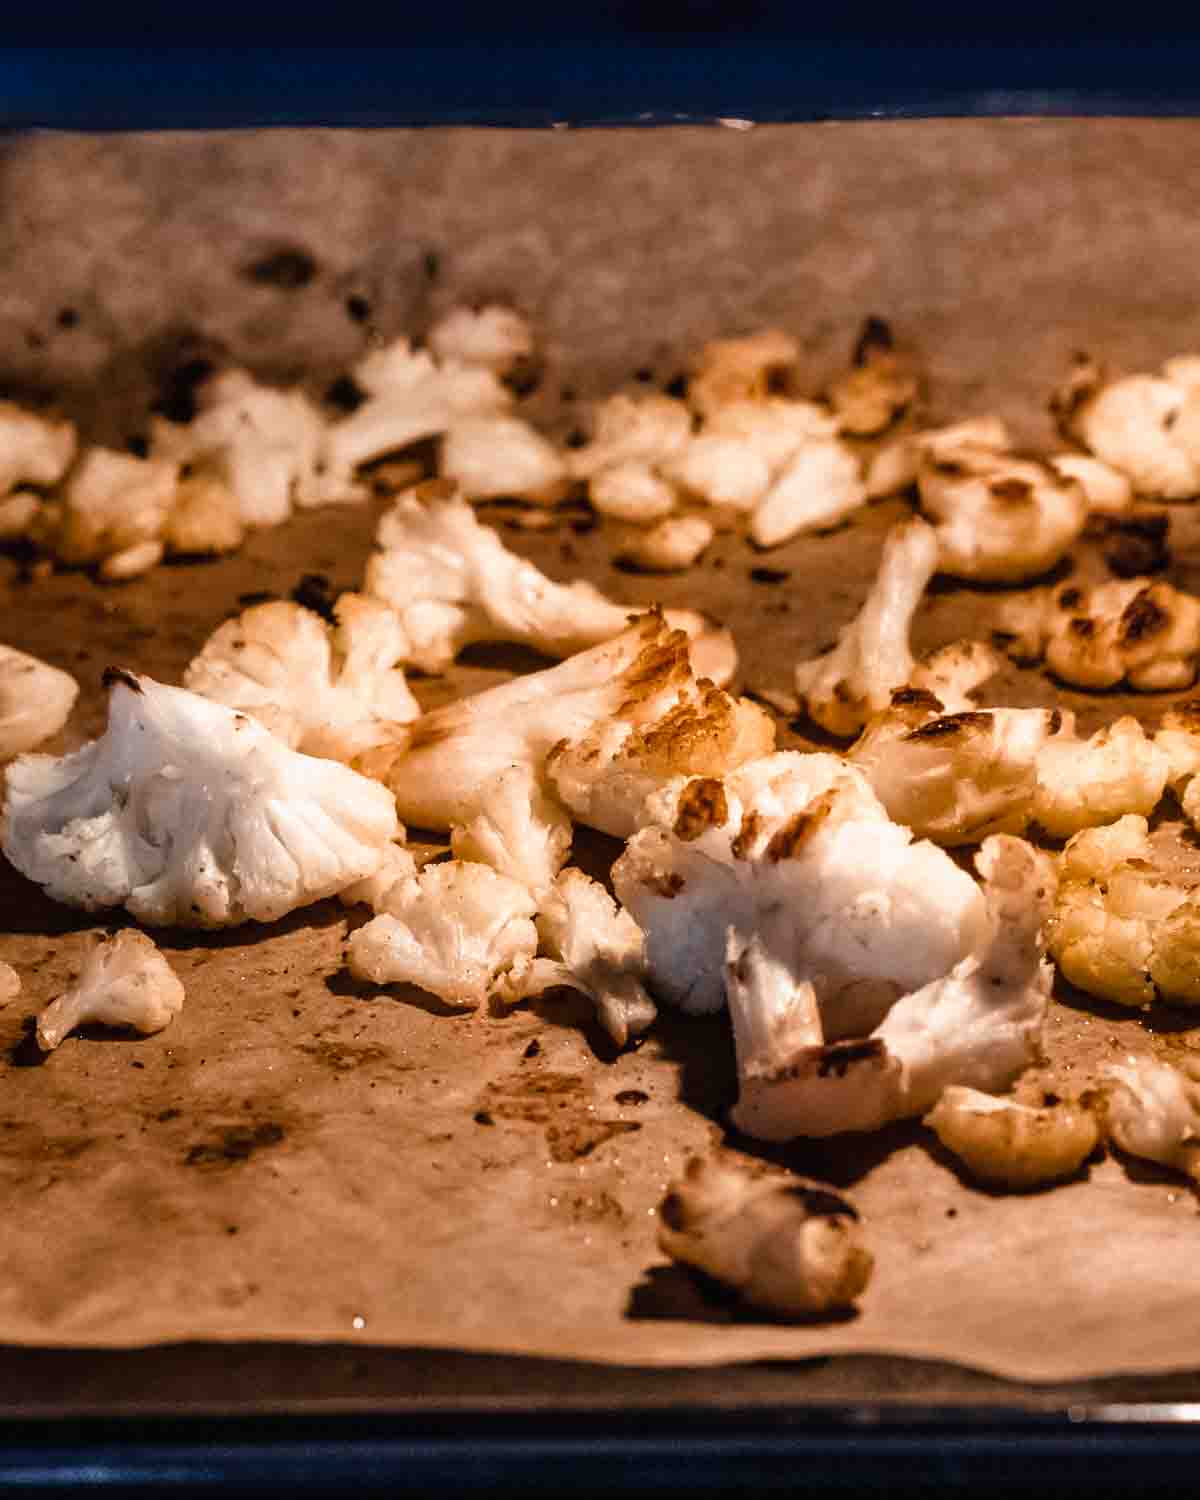
STEP 2: Cooking time. Roast the florets in a hot oven that has been preheated to 430°F/230°C. Roast the florets for 15 minutes and then stir everything around—roast for a further 15 minutes. Remove from the oven and flip all the pieces around. Add in the Parmesan cheese at this point (optional). Roast for a further 10 minutes and then remove from the oven.
Top Tips
- Oven temperature: A high oven temperature is crucial to avoid eating mushy vegetables. You want them crunchy on the outside and tender on the inside.
- Oil application: Don’t glug over the oil and then cook them without tossing and coating the florets in the oil first. This will ensure they cook evenly.
- Spread them out: try to ensure each piece or floret has its own space. This will prevent the elements from steaming and becoming mushy as they squash up alongside each other.
Flavor variations
- Cheese: such as parmesan or cheddar. Nutritional yeast is a tasty vegan addition.
- Spices: choose a teaspoon of your favorite spice mix or spices such as curry powder, smoked paprika, garam masala, or cumin powder. A little mustard powder will be a very tasty alongside the cheese.
- Italian seasoning: mixed herbs such as basil, oregano, or mixed Italian herbs will bring all those lovely vegetable notes out.
- Lemon Juice: Sprinkle lemon juice on top of cauliflower shortly before serving for some refreshing flavors.
- Fresh herbs: sprinkle with fresh herbs after baking. Freshly torn and topped Italian parsley, cilantro, or basil will be a bright addition to your perfect vegetable side dish.
- Pepper: Crack on either some fresh black pepper or white pepper for a little bit.
- Chile: toss through some finely chopped chile pepper or some chile powder if you’re looking for that kick.
Serving Ideas
- Side Dish: This oven roasted cauliflower makes super versatile side dish. Try it alongside our Vegetarian Stuffed Acorn Squash or Vegetarian Wellington.
- Pasta: make a creamy pasta sauce or a red Napolitana-type sauce and top the pasta with a portion of these cauli florets
- Salad: Alongside our Roasted Asparagus Salad with fresh crunchy greens, toasted seeds, and Parmesan shavings. You can use these roasted florets in place of croutons.
- Healthy bowl: In a bowl with quinoa, toasted seeds, avocado, roasted bell peppers and this Yogurt Curry Sauce. This is a sure and great way to get in your veggies!
Storage
- To store: store in an airtight container in the fridge for up to 3 days. Allow the vegetables to cool completely before storing them to avoid them getting mushy.
- To reheat: reheat on low temperature in an oven, microwave or air fryer.
FAQ
No, it is not necessary to thaw them first. In fact, cooking them frozen adds to the great texture that we are after with this dish.
At high temperatures. This flashes the outside with heat, ensuring a crisp exterior with a tender interior.
More side dish ideas
📖 Recipe

Roasted Frozen Cauliflower
Ingredients
- 12 oz frozen cauliflower florets
- 1 tablespoon olive oil
- ½ teaspoon salt
- ½ teaspoon onion powder or garlic powder (optional)
- ¼ cup grated parmesan (optional) (optional)
Instructions
- Preheat oven to 430°F (230°C).
- Add the frozen cauliflower florets onto a baking sheet lined with parchment paper.
- Season with olive oil, salt and onion powder and give it a good stir so that all the florets are coated evenly.
- Spread the florets out on the tray and try to ensure that each piece or floret has its own space.
- Bake for 15 minutes. Stir with a spatula or large spoon and bake for another 10 minutes.
- Stir again, trying to flip as many florets as possible. If you want to add some grated parmesan, now would be the time. Sprinkle it evenly over the cauliflower. Bake for another 5-10 minutes.
Video
Notes
- Oven temperature: A high oven temperature is crucial to avoid eating mushy vegetables. You want them crunchy on the outside and tender on the inside.
- Spread them out: try to ensure each piece or floret has its own space. This will prevent the elements from steaming and becoming mushy as they squash up alongside each other.





Leave a Reply