Chocolate lovers, lookout! These impossible-to-resist chocolate walnuts make a delicious sweet treat, snack or dessert.
Made with just 3 ingredients, these pretty bites get wrapped in a silky coat of chocolate and are super easy to make.

Jump to:
Whether you're looking for a sweet treat to satisfy your cravings or a special gift for a loved one, these chocolate walnuts are sure to please.
You can also customize these walnuts by using different types of chocolate or adding different types of nuts or dried fruits. This makes the recipe versatile and allows you to experiment with different flavor combinations.
If you loved my Chocolate Covered Grapes, Chocolate Covered Apple Slices or my Chocolate Dates then these Chocolate Covered Walnuts are for you.
Why you'll love this recipe
- Delicious Treat: Chocolate and walnuts are a classic combination that creates a delicious, rich flavor.
- Nutritious Snack: Walnuts are packed with nutrients like protein, fiber, and healthy fats and fatty acids. Adding a layer of dark chocolate on top of the walnuts provides some antioxidants and minerals.
- Great for Sharing: Chocolate covered walnuts make a perfect gift for friends and family (think Christmas gift idea!).
- Perfect for Parties: Chocolate covered walnuts are special occasion worthy.
- Easy to make: Nothing tricky about this recipe, its super easy to make.
- A Tasty and Fun Activity: Making chocolate covered walnuts can be a fun activity to do with friends or family and kids.
Ingredients & substitution notes
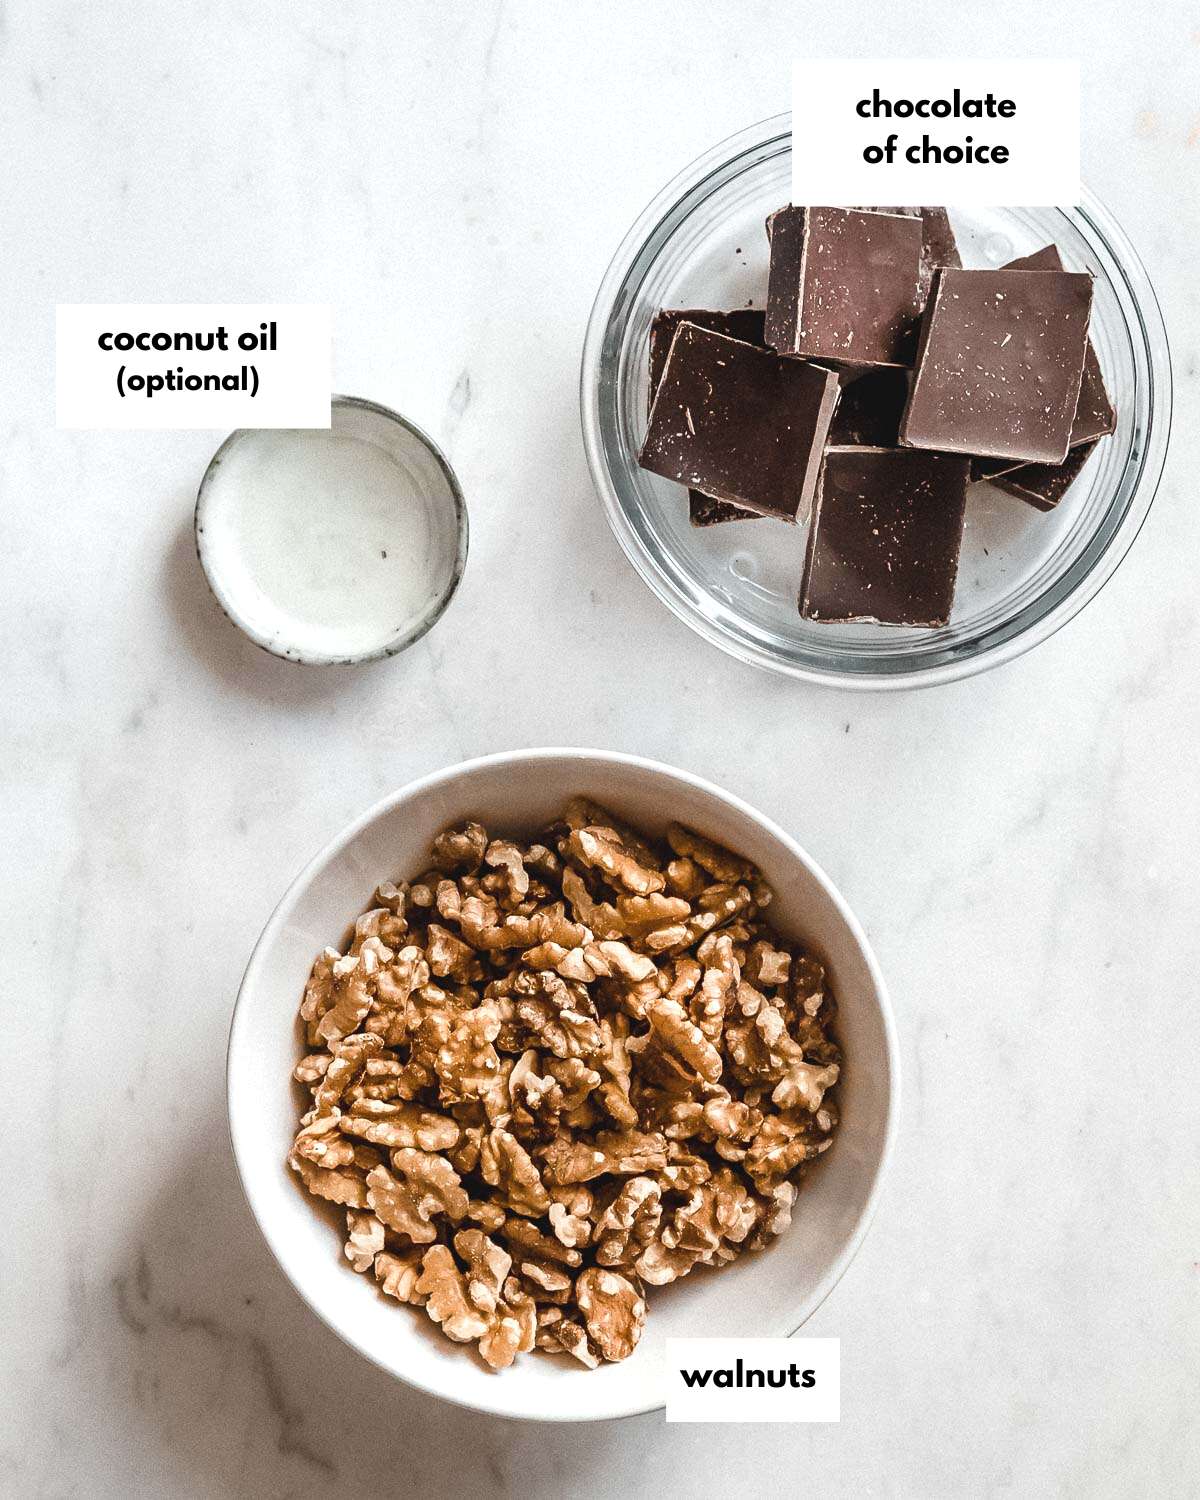
- Chocolate: You can use any type of chocolate for this recipe, such as dark, creamy milk chocolate, or white chocolate. You can also use semi-sweet chocolate, chocolate chips or chopped chocolate bars. If you prefer a dairy-free or vegan option, you can use dairy-free chocolate.
- Walnuts: Organic walnuts are preferred for this recipe as they are grown without synthetic pesticides or fertilizers. However, if you can't find organic walnuts, regular walnuts will work just fine. You can also make a dark chocolate almond version or try making these with pecans.
- Coconut Oil: Coconut oil is used in this recipe to help melt and thin out the chocolate. If you don't want to use oil, you can melt the chocolate in a double boiler or in the microwave with small intervals until melted. However, the chocolate may be thicker and harder to work with if you don't use oil.
See recipe card for quantities.
Step-by-step instructions
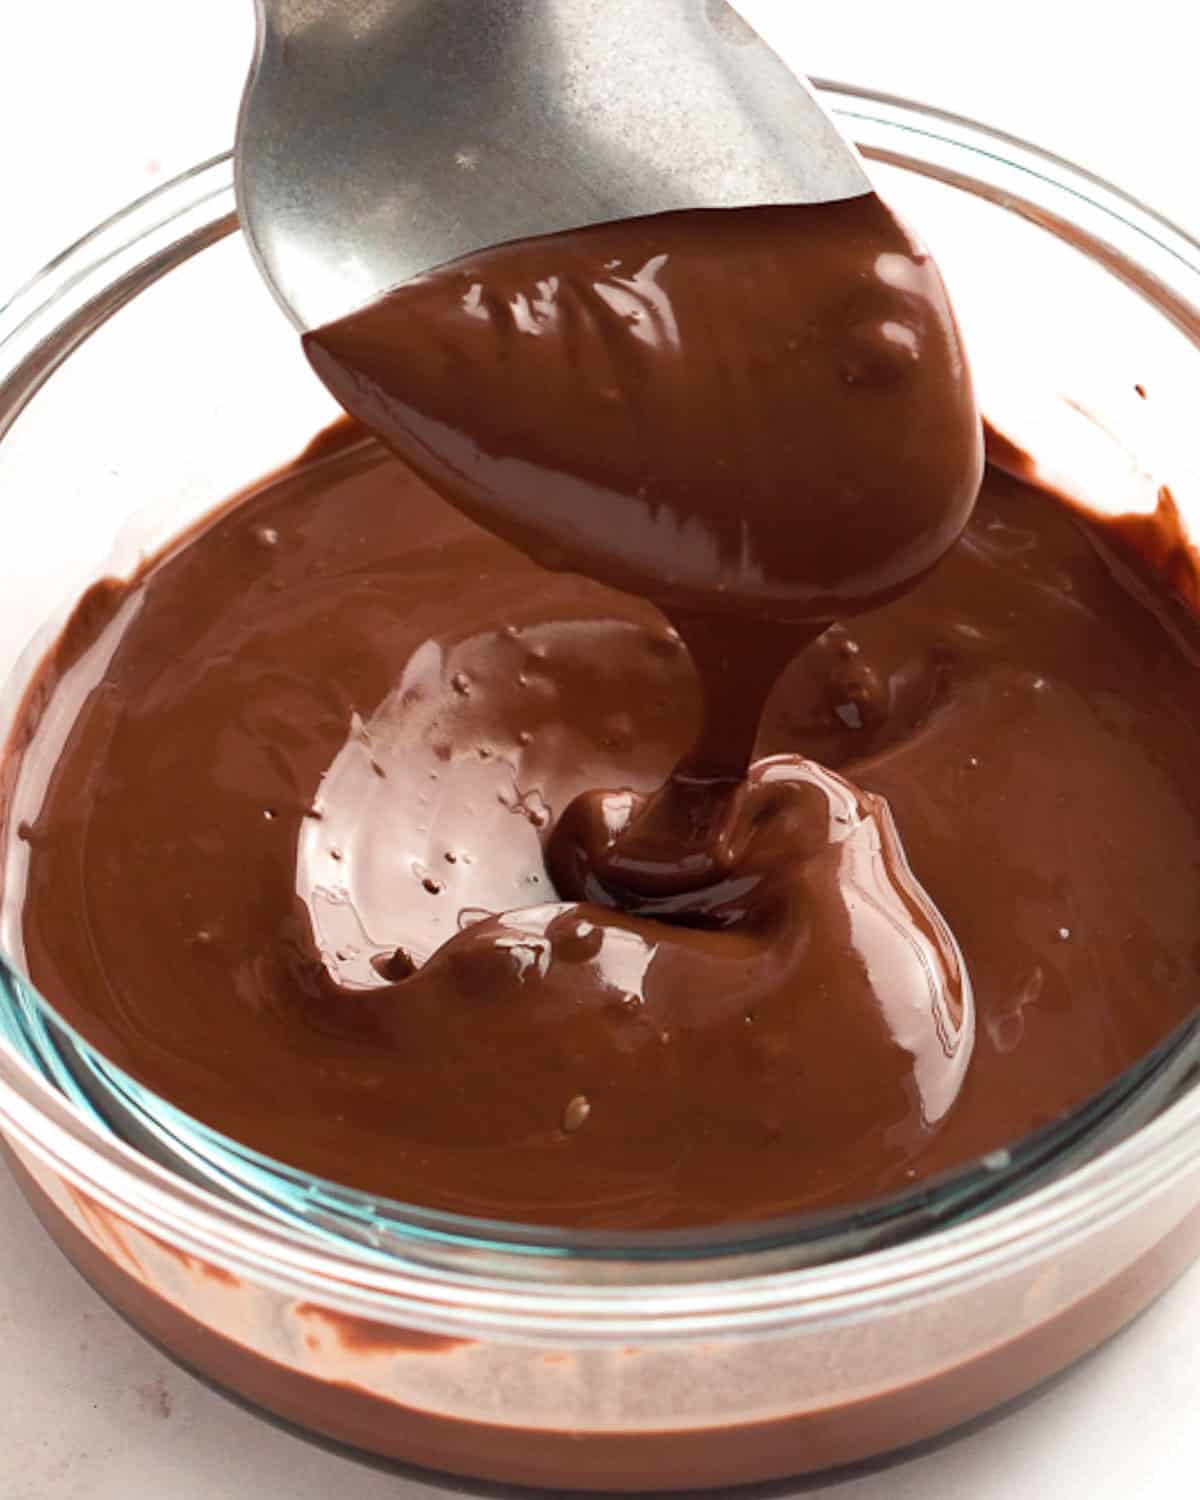
STEP 1: If you are using chocolate bars, first, you'll break them up into smaller pieces. Add them or your chips to a microwave-safe bowl and add the coconut oil. Melt the two ingredients together on a low heat (see notes).
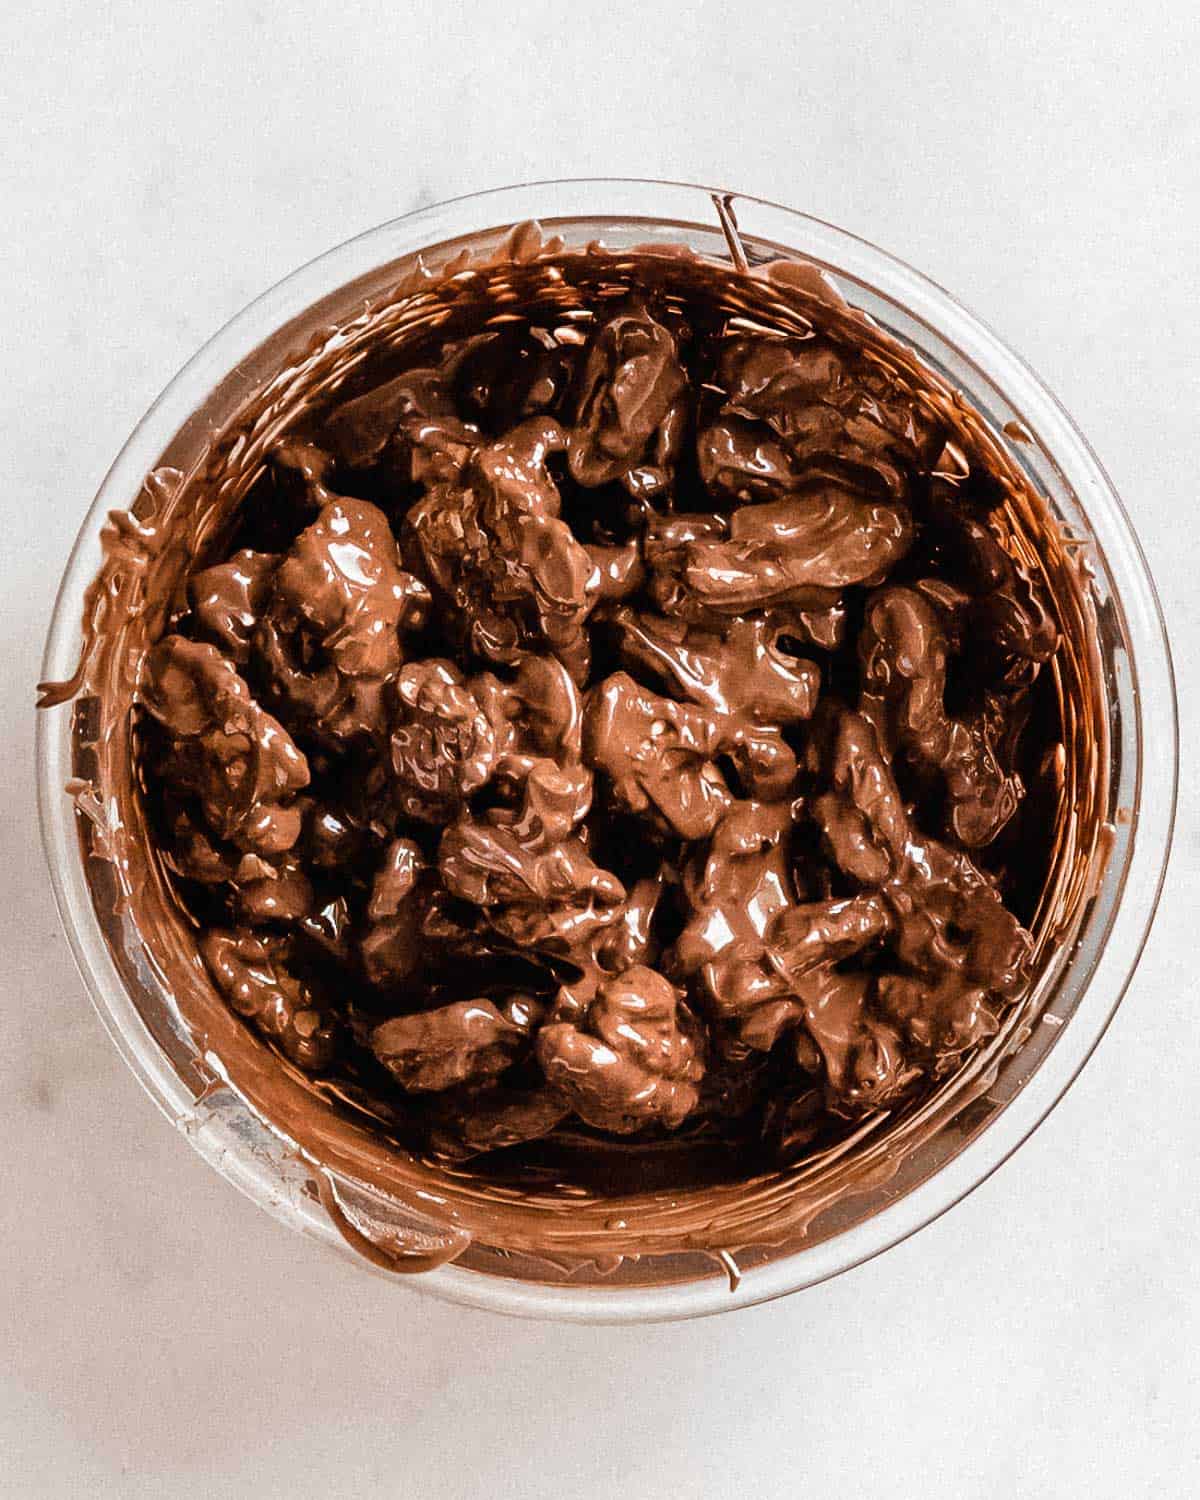
STEP 2: Add the walnuts and mix them through the soft, silky chocolate so that they are coated completely.
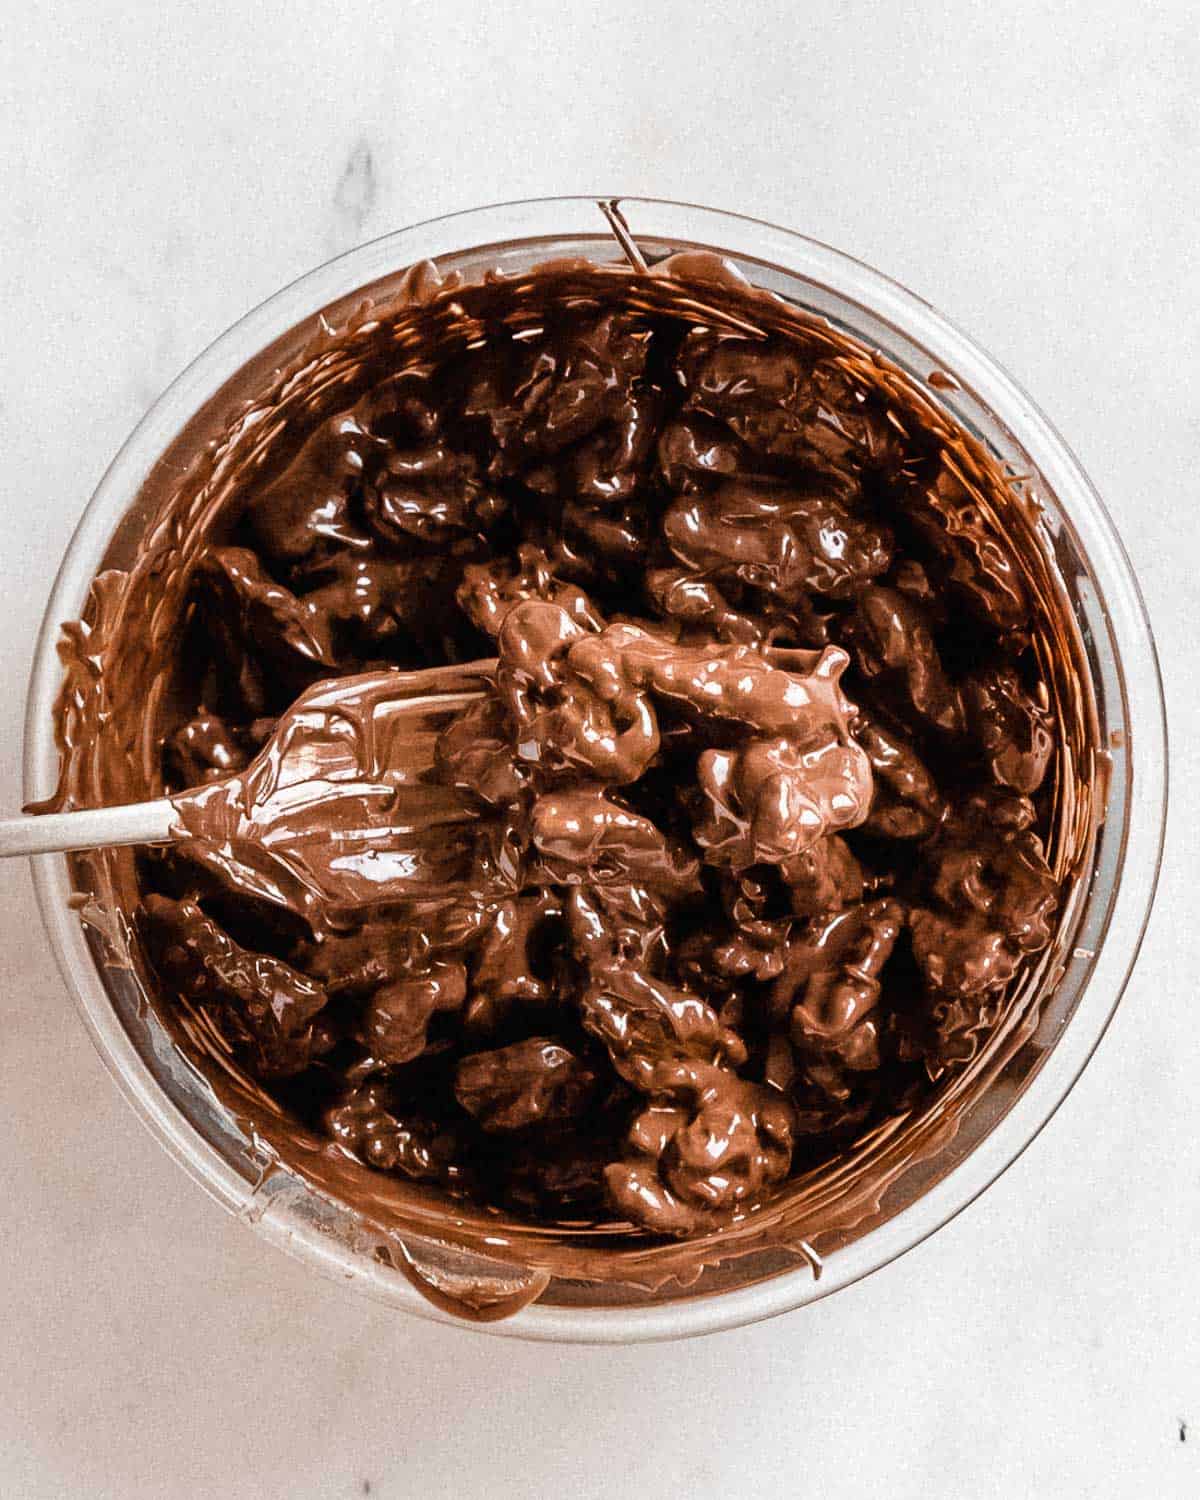
STEP 3: Using a fork, remove the walnuts one at a time or in small groupings. Drain the chocolate walnuts as you lift them up.
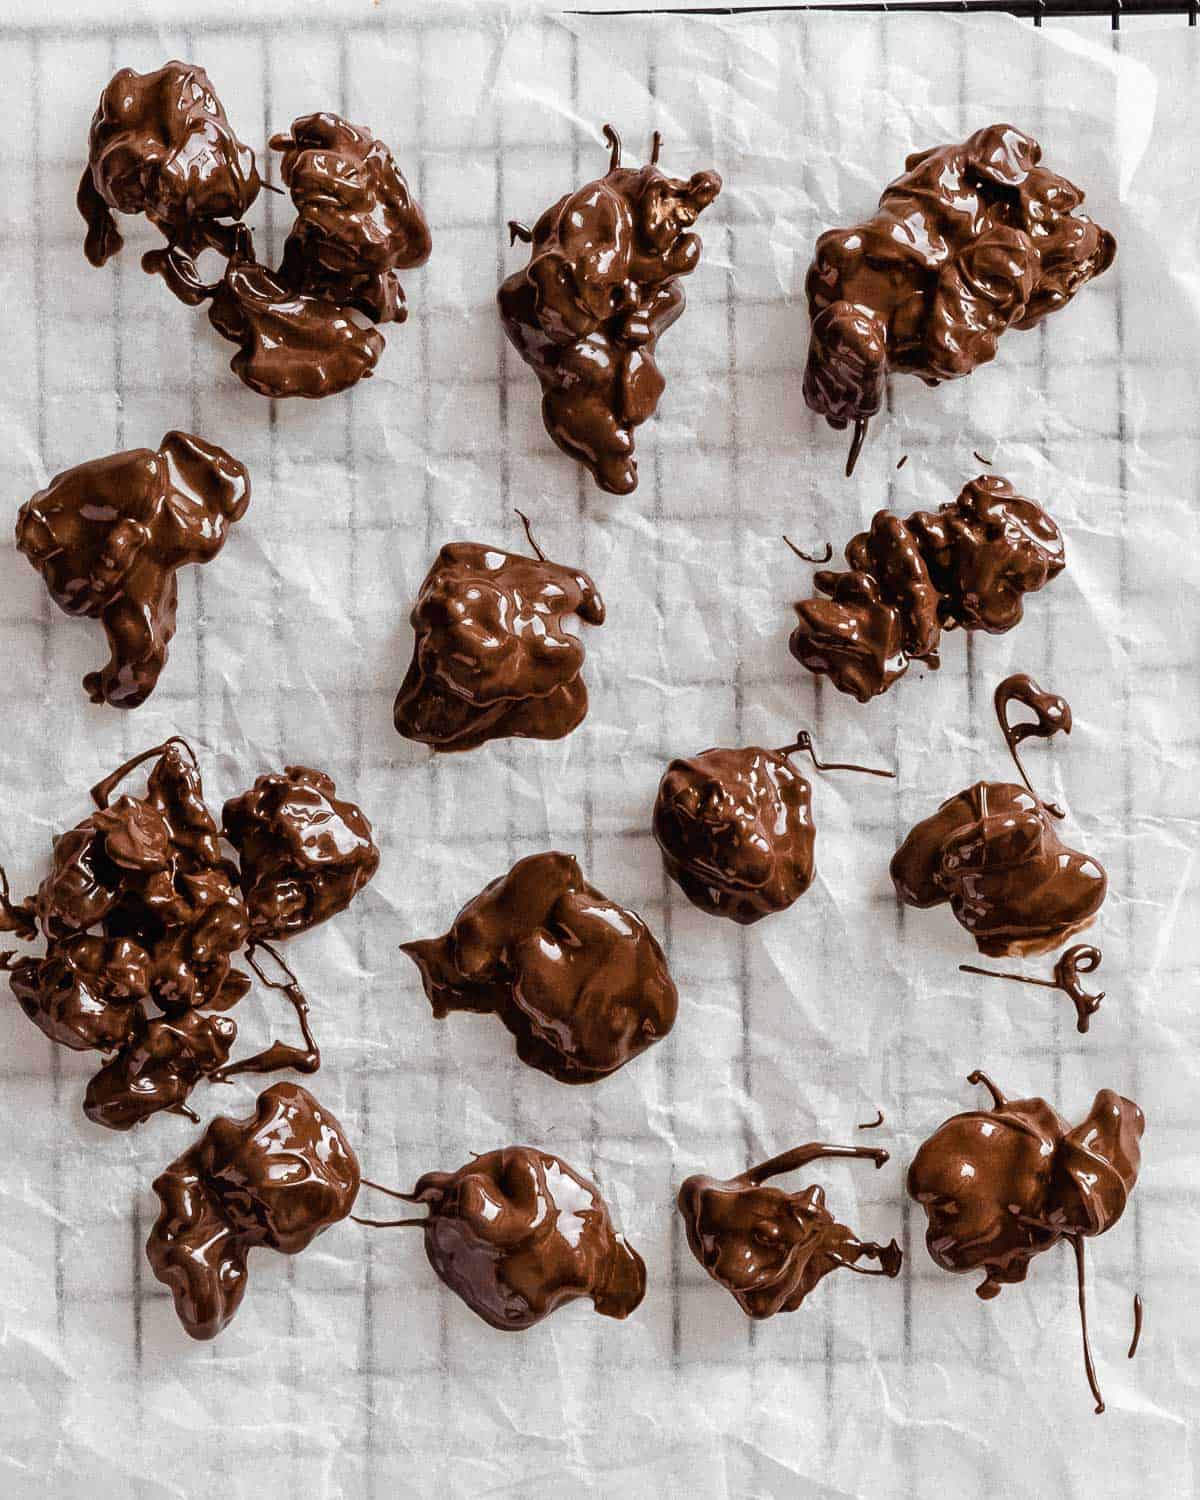
STEP 4: Place the coated nuts onto a surface lined with parchment paper and allow them to set in the fridge for 30 minutes - 1 hour.
Katie's tips
- Use high-quality ingredients: To get the most delicious snack possible, it's important to use high-quality chocolate (with a high cocoa content and minimal additives) and fresh, good quality nuts.
- Melt chocolate carefully: When melting the chocolate, do it slowly and carefully to avoid burning it. Use a double boiler or a microwave to melt the chocolate, and stir it frequently to ensure it melts evenly.
- Let excess chocolate drip off: This will prevent the chocolate from pooling and creating a messy appearance.
- Store in the fridge: Once the chocolate coated walnuts have cooled and hardened, store them in an airtight container in the fridge. This will help keep them fresh and prevent the chocolate from melting or becoming soft.
Variations
- Types of Chocolate: Pick your favorite type of chocolate and have a go experimenting with white, milk and dark…my favorite is a rich dark chocolate.
- Toasted Walnuts: To add a deeper nutty flavor, toast the walnuts in the oven for 5-6 minutes before dipping them in the chocolate. This will give the walnuts a delicious roasted flavor that enhances their natural sweetness.
- Vegan: For a vegan version of this recipe, use dairy-free chocolate and vegan-friendly toppings.
- Flavored: To add more flavor to the recipe, mix in some natural peanut butter, cinnamon or vanilla extract with the melted chocolate.
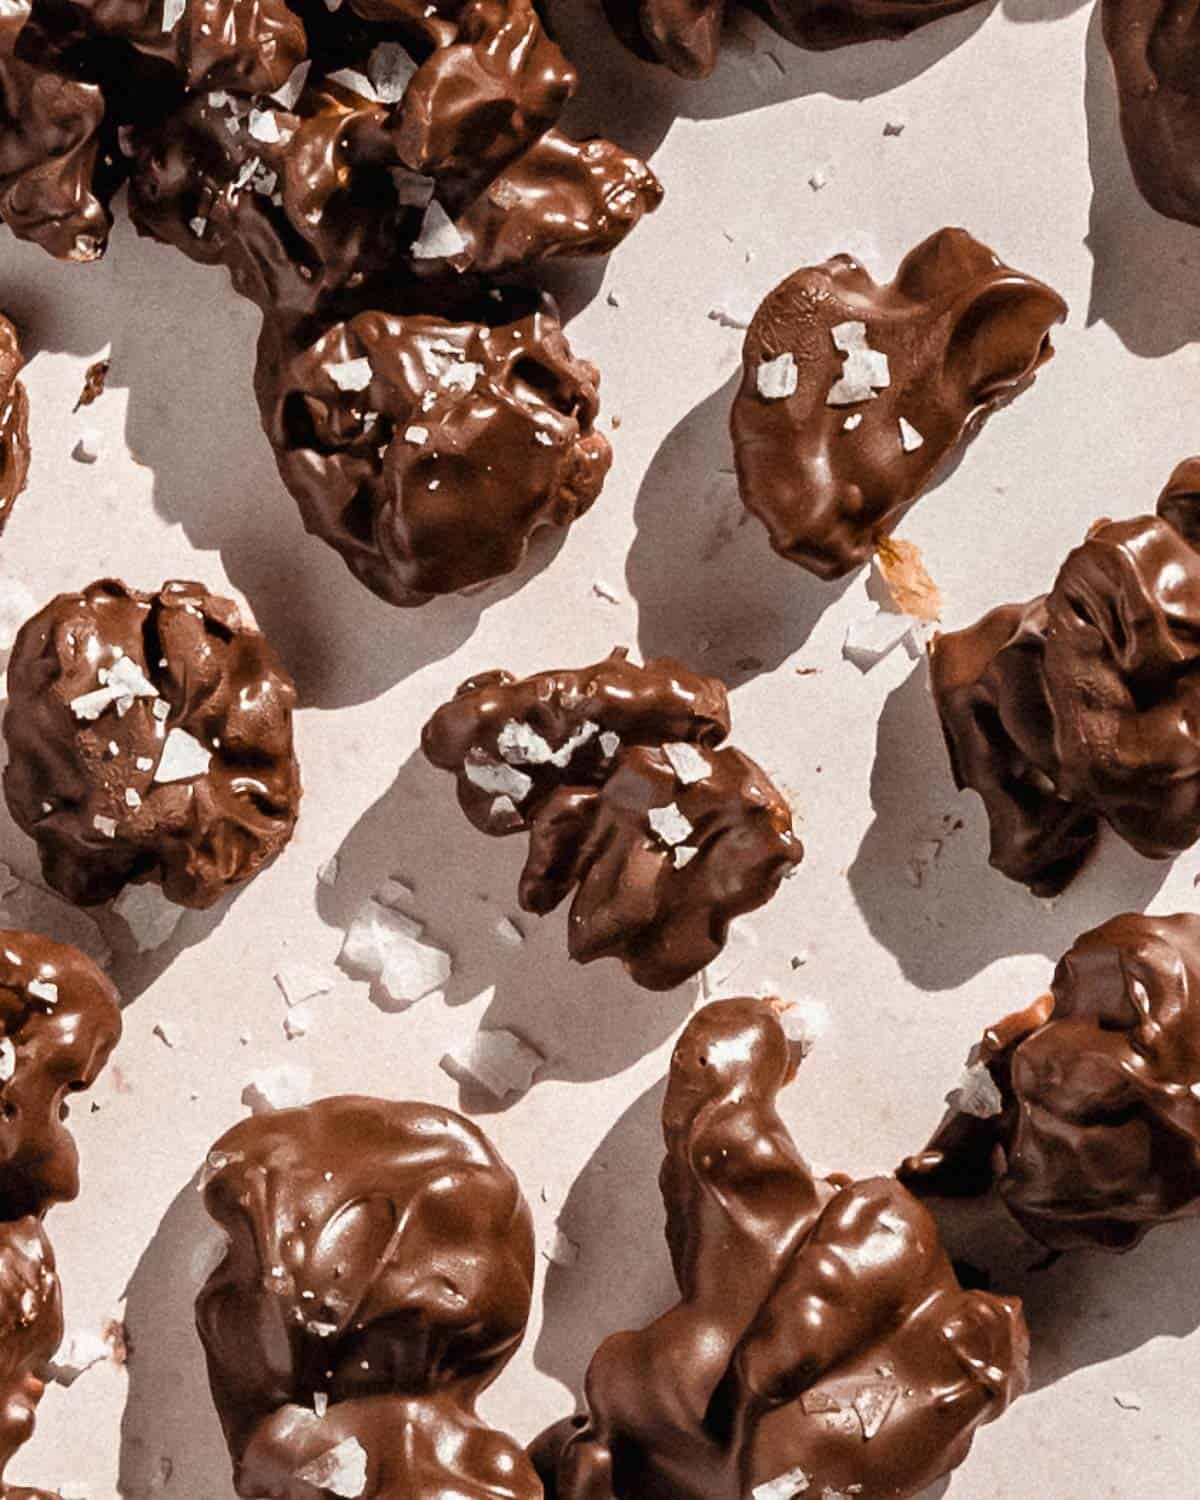
- Toppings: You can also add toppings, such as sea salt, crushed pretzels, sprinkles or chopped nuts. This will add more texture and flavor to the recipe, making it even more delicious.
- Different Types of Nuts: While walnuts are a classic choice for chocolate coated nuts, feel free to experiment with other types of nuts such as almonds, hazelnuts, cashews or macademias. Each nut has a unique flavor and texture that can add a delicious twist to the recipe.
Toppings
- Crushed Nuts: top nuts with nuts! Crushed peanuts, almonds, pistachios, hazelnuts; give them all a try!
- Sea salt: this is a super up market way to top your walnuts
- More Chocolate: Drizzle a second type of chocolate: such as white chocolate for a pretty contrast
- Christmas: crushed candy canes
- Chili flakes for a little heat
- Sprinkles and edible glitter
Make ahead options
This is a great make ahead snack and it can be stored in the fridge for up to 7 days.
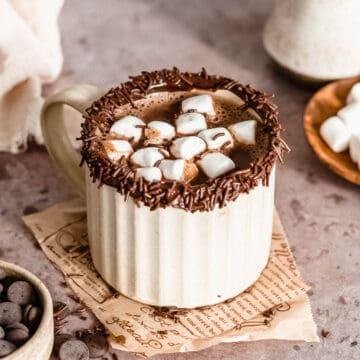
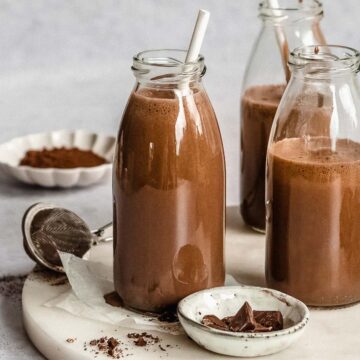
Pairing
These are my favorite drinks to serve with these chocolate walnuts:

Storage
- To store: keep your treats in an airtight container in the refrigerator.
- To freeze: you can store your little bites in the freezer for around 2-3 months. For best results, store them with layers of parchment paper in between so that they don't rub up against each other.
FAQ
Yes, add in peanut butter, vanilla or cinnamon for a lovely taste addition.
Yes, you can, they will freeze well for around 2-3 months.
Yes, works perfectly with pecans, almonds, hazelnuts, macademia nuts; give them all a go.
Place the chocolate and oil into a microwave-safe bowl. Next, fill a pot with about 2 inches of water and heat it until it begins to simmer. Ensure that the pot is smaller than the bowl containing the chocolate mixture. Then, position the bowl with the chocolate mixture over the pot, allowing the steam to melt the chocolate. Take care to use a heat-proof bowl and ensure that it doesn't touch the water, as well as preventing any water from dripping into the chocolate.
Related
Looking for more chocolatey recipes? Try these:
📖 Recipe

Chocolate Walnuts
Ingredients
- 2 cups (200 g) walnuts
- 7,5 oz (215 g) chocolate of choice (dark, semi-sweet, vegan, white...)
- 1 tablespoon coconut oil (optional) *melted
Instructions
- Break chocolate (if using a bar) into smaller chunks. Add coconut oil and chocolate to a microwave-safe bowl and melt together on low heat. Alternatively, you could use the double-boiler method (see notes).7,5 oz chocolate of choice, 1 tbsp coconut oil (optional)
- Add some of the walnuts to the melted chocolate and toss until fully coated.2 cups walnuts
- Using a fork, remove walnuts either individually or in small clusters from the chocolate. Let any extra chocolate drip off.
- Add the walnuts to a surface lined with parchment paper. Repeat with the remaining walnuts.
- Sprinkle with sea salt or other toppings of choice (optional) and put in the fridge to set for about 30 minutes to 1 hour.
- Store in an airtight container in the fridge.
Video
Notes
- Use high-quality ingredients: To get the most delicious snack possible, it's important to use high-quality chocolate (with a high cocoa content and minimal additives) and fresh, good quality nuts.
- Melt chocolate carefully: When melting the chocolate, do it slowly and carefully to avoid burning or scorching it. Use a double boiler or a microwave to melt the chocolate, and stir it frequently to ensure it melts evenly.
- Let excess chocolate drip off: This will prevent the chocolate from pooling and creating a messy appearance.
- I don't have a microwave; how can I melt the chocolate? Using the double boiler method: see FAQs above.

Karyn says
I’ve made this numerous times. It’s easy and always a hit.
Katie says
So glad to hear that! 🙂