
Combining crisp juicy apple slices with a velvety layer of rich chocolate, these chocolate covered apple slices are bursting with tangy and sweet flavors.
They are like a chocolate version of a candy apple and make the perfect healthier snack (and a fun treat). Plus, with only 4 ingredients, they are super quick and easy to make.

If you're a chocolate lover like myself, this recipe is for you! Apples covered with chocolate make a super delicious dessert that's also hightly customizable.
Depending on which type of apples, chocolate (I love dark chocolate but it also works with white or milk chocolate) and toppings you choose- you can easily create them in a way that fits your personal taste.
For more wholesome, chocolatey treats, check out my Chocolate Covered Grapes, Chocolate Dates or these Chocolate Covered Walnuts. I love the idea of making up a batch of each and serving them together as a dessert spread!
Why you'll love this recipe
- Kid-friendly: Apple slices dipped in chocolate are perfect for kids and the young at heart! Most children will love the combination of sweet chocolate and juicy apples. They are a fun holiday treat that the entire family will love.
- Fun to make: Everyone can enjoy dipping, drizzling, and decorating the apple slices with their favorite toppings.
- Healthier treat: While it satisfies your sweet cravings, it also offers a dose of nutrition. Apples are a great source of fiber, vitamins, and antioxidants.
- Easy to make: These chocolate apples are incredibly simple and don't require any special culinary skills or equipment.
- Makes a great gift: They would also make a thoughtful homemade gift.
Best apples to use
Here are a few tips on choosing the perfect type of apples:
- Firm and crisp texture: Granny Smith, Honeycrisp, Gala, or Fuji are perfect for this recipe. Their texture provides a crunch when you bite into them.
- Versatility in flavor: Sweet apple varieties like Fuji or Gala bring a natural sweetness to the treat, balancing the bitterness of dark chocolate or enhancing the creamy sweetness of white chocolate. On the other hand, tart apples like Granny Smith add a refreshing zing!
- Balanced flavor profile: Mix different apple varieties.
Ingredients & substitution notes
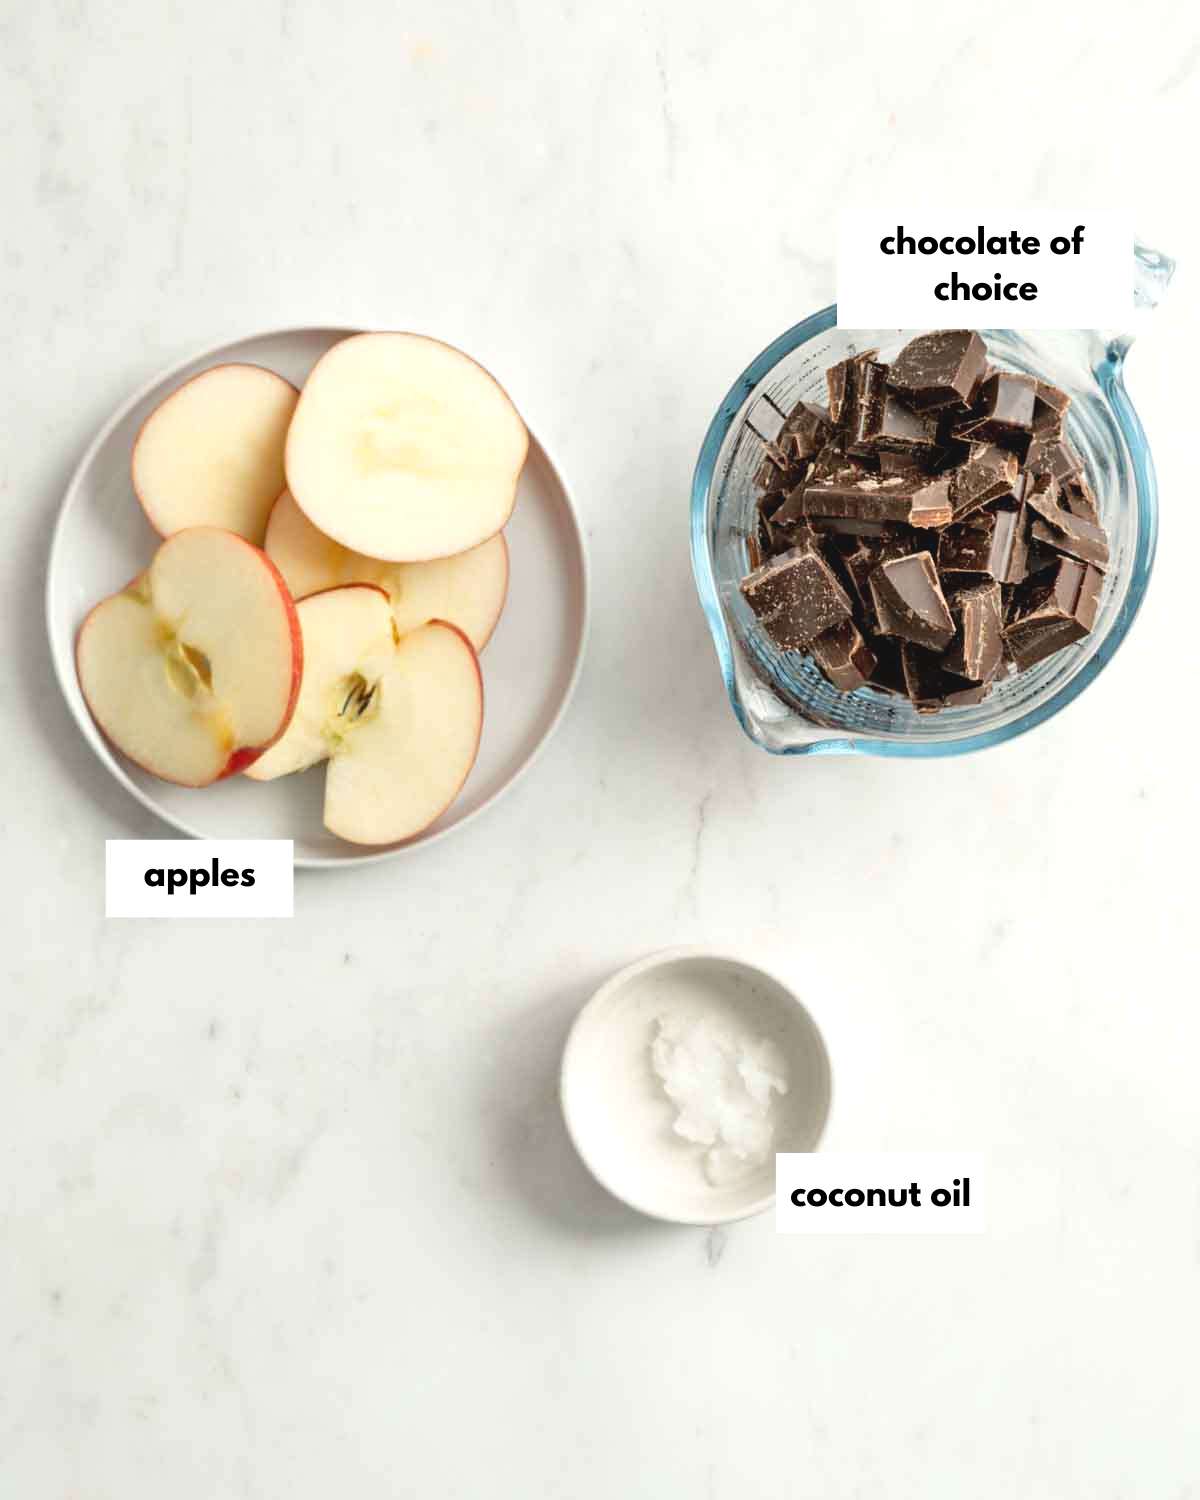
- Apple slices: Choose firm and crisp apples. You can choose tangy (Granny smith apples) or sweet apples (Fuji), depending on your personal preference. Go for small or large apples, depending on how big you want your treats.
- Chocolate:
- Dark chocolate: My favorite chocolate to use in this recipe is dark chocolate. Make sure to choose a high-quality dark chocolate with at least 70% cocoa content.
- Milk chocolate: Also works just fine and makes an even sweeter dessert.
- White chocolate: Probably the sweetest option.
- Vegan chocolate: Look for dairy-free and vegan chocolate options, typically made with ingredients like cocoa butter and non-dairy milk.
- Coconut oil: Is used to thin and melt the chocolate, making it easier to coat the apple slices evenly.
See recipe card for quantities.
How to make chocolate covered apple slices
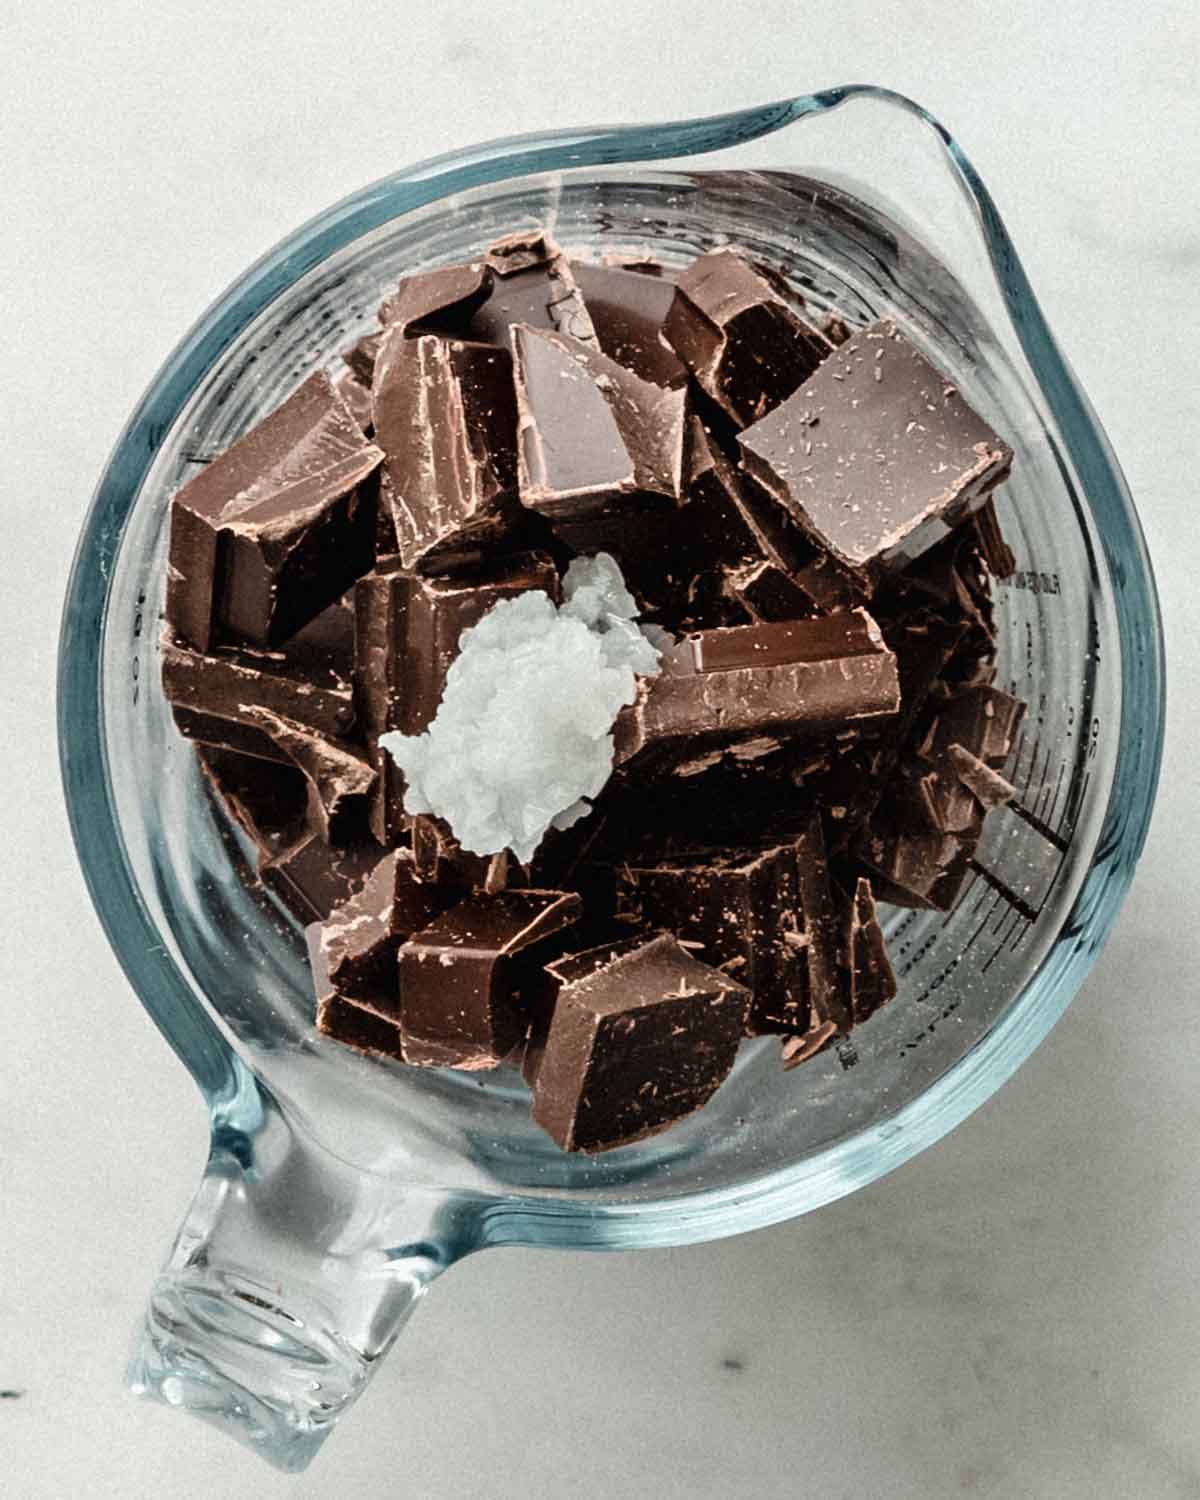
STEP 1: Break the chocolate up into pieces and add it to a microwave-safe, small bowl with the coconut oil. Microwave the contents in 30-second increments until the chocolate mixture is smooth.

STEP 2: Wash and dry the apples. Slice the apples into rounds (½ -¾ inch thick), remove the core and seeds. Insert the skewers or wooden popsicle sticks to ¼ to ⅓ of the way through.

STEP 3: Dip each apple slice one after the other into melted chocolate, letting excess chocolate drip off.

STEP 4: Place the pieces on a wire rack lined with parchment paper and add your toppings. Let them sit in the fridge for 30 minutes or so until the chocolate has hardened.
Top tips
- Choose suitable apples - they should be firm and crisp. Choose a variety if you like.
- Don't burn the chocolate in the microwave; keep an eye on it. Use a double boiler or microwave in short bursts to melt the chocolate gently, avoiding overheating.
- Use high-quality chocolate or chocolate chips for best results.
- Thick-enough slices: don't cut them too thin, or they might break.
- Insert wooden stick: be gentle and careful when inserting the sticks into the slices.
- Sprinkle the dry toppings onto the chocolate-coated apple slices while the chocolate is still wet to ensure they adhere properly.
Topping ideas
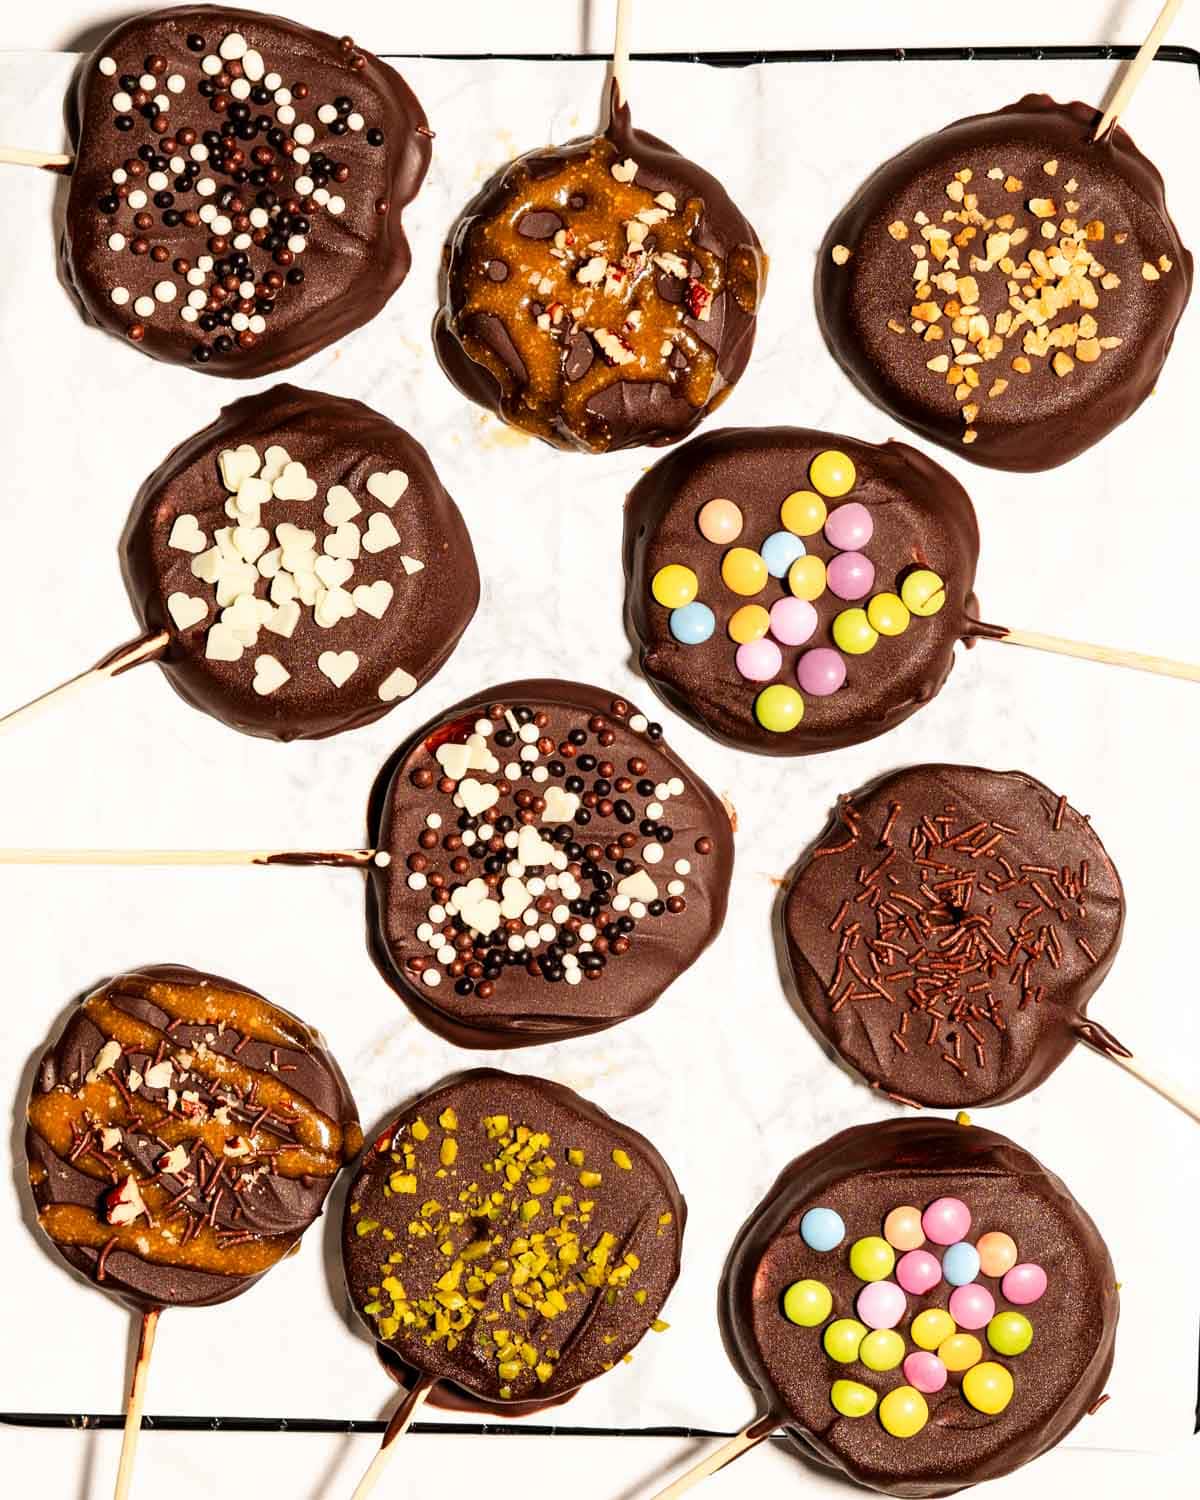
- Caramel drizzle: Create caramel apple slices with my 2-Ingredient Caramel Sauce! I love this as a healthy alternative to candy apple slices.
- Crushed nuts: Pecans, peanuts, walnuts and hazelnuts for some crunchy toppings.
- Nut butter: Drizzle over the chocolate coating using my Roasted Almond Butter or some peanut butter.
- Flaky sea salt: It goes well with dark chocolate.
- Sprinkles: to create a fun Halloween treat.
- Crushed cookies: Think Oreos, chocolate wafers, or chocolate chip cookies.
- Edible glitter/ gold dust - for pretty Valentine's Day treats.
- Coconut flakes or shredded cocoa
- Crushed pretzels or Graham crackers
- Dried fruit
Variations
- Vegan: Use vegan chocolate and make sure that your toppings are vegan.
- Wedges instead of slices: Instead of apple slices you could also cut them into wedges. That way it's a bit easier to insert the stick.
- Whole apples: If you prefer to make chocolate covered apples, feel free to dip the entire apple into the chocolate. You'll need stonger wooden sticks though.

Storage
- To store: To maintain the freshness and quality of your chocolate-covered apple slices, store them in an airtight container in the refrigerator. Eat them within three days for the best taste and texture.
- To freeze: If you plan to enjoy them later, wrap each individual slices in plastic wrap before storing them in the freezer for up to a month.
FAQ
It's best to use firm and crisp apple varieties such as Granny Smith, Honeycrisp, Gala, or Fuji. You can use a mix of sweet and tangy ones.
The type of chocolate you use depends on personal preference. For a classic and slightly bitter contrast to the sweetness of the apple, many people prefer semi-sweet chocolate chips or dark chocolate.
Yes, you can make chocolate-covered apple slices in advance for a party or event. To ensure they stay fresh, store them in an airtight container in the refrigerator for up to three days.
More apple recipes
Looking for other recipes like this? Try these:
📖 Recipe

Chocolate Covered Apple Slices
Equipment
- 12 wooden sticks
- 1 microwave friendly jar
- 1 parchment paper
Ingredients
- 10,5 ounces (30 g) chocolate of choice *dark, vegan, white...
- 1 tablespoon coconut oil
- 12 apple slices ~4 apples
- toppings of choice *see notes
Instructions
- Wash and dry the apples thoroughly. Slice the apples into rounds (~ ½ - ¾ inch thick) and remove the core and seeds.12 apple slices
- Carefully insert a wooden skewer into the center of each apple slice going around ¼ to ⅓ of the way through. Be gentle to avoid breaking the slices.
- Break or cut the chocolate into small pieces (see step-by-step photos) Then add the chocolate and coconut oil to a microwave-safe bowl. Microwave in 30 second intervals until the chocolate is fully melted and smooth. See notes for an alternative melting method.10,5 ounces chocolate of choice , 1 tbsp coconut oil
- Dip each apple slice one after the other into the melted chocolate. Using a spoon can help cover them fully. Allow any excess chocolate to drip off back into the bowl, then transfer the slices onto a wire rack or baking sheet lined with parchment paper.
- Add your favorite toppings (see notes for ideas). Then transfer the baking sheet to the fridge for about 30 minutes or until the chocolate coating has hardened.
Video
Notes
- Double Boiler Method: if you don't have a microwave you can use a different method. Add the chocolate to a small pot placed inside a larger pot filled with simmering water. The steam from the water melts the chocolate evenly and gently, preventing burning or curdling.
- Choose suitable apples - they should be firm and crisp. Choose a variety if you like.
- Don't burn the chocolate in the microwave; keep an eye on it. Use a double boiler or microwave in short bursts to melt the chocolate gently, avoiding overheating.
- Use high-quality chocolate or chocolate chips for best results.
- Thick-enough slices: don't cut them too thin, or they might break.
- Insert wooden stick: be gentle and careful when inserting the sticks into the slices.

Leave a Reply