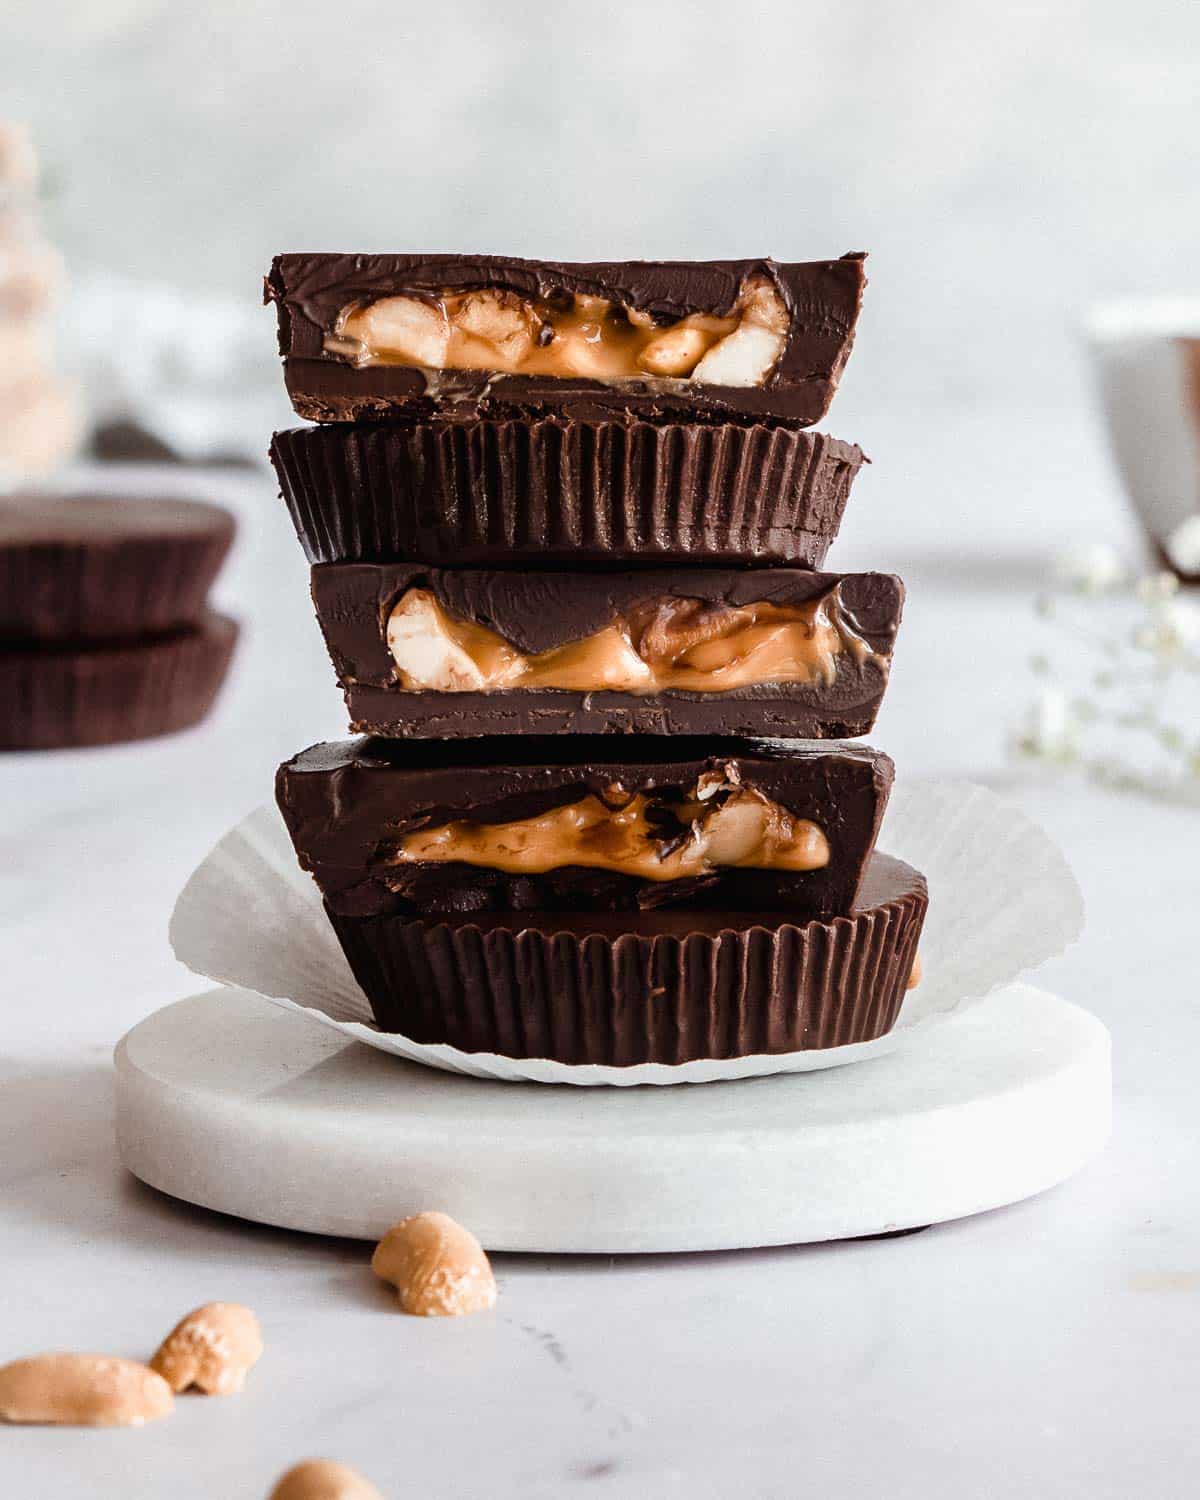
These homemade peanut butter cups are made without powdered sugar and are one of the easiest dessert recipes out there. A crunchy peanut butter layer wrapped in two layers of dark chocolate makes this sweet treat a dream come true for any peanut butter chocolate lovers out there. All you'll need is 2 simple ingredients.
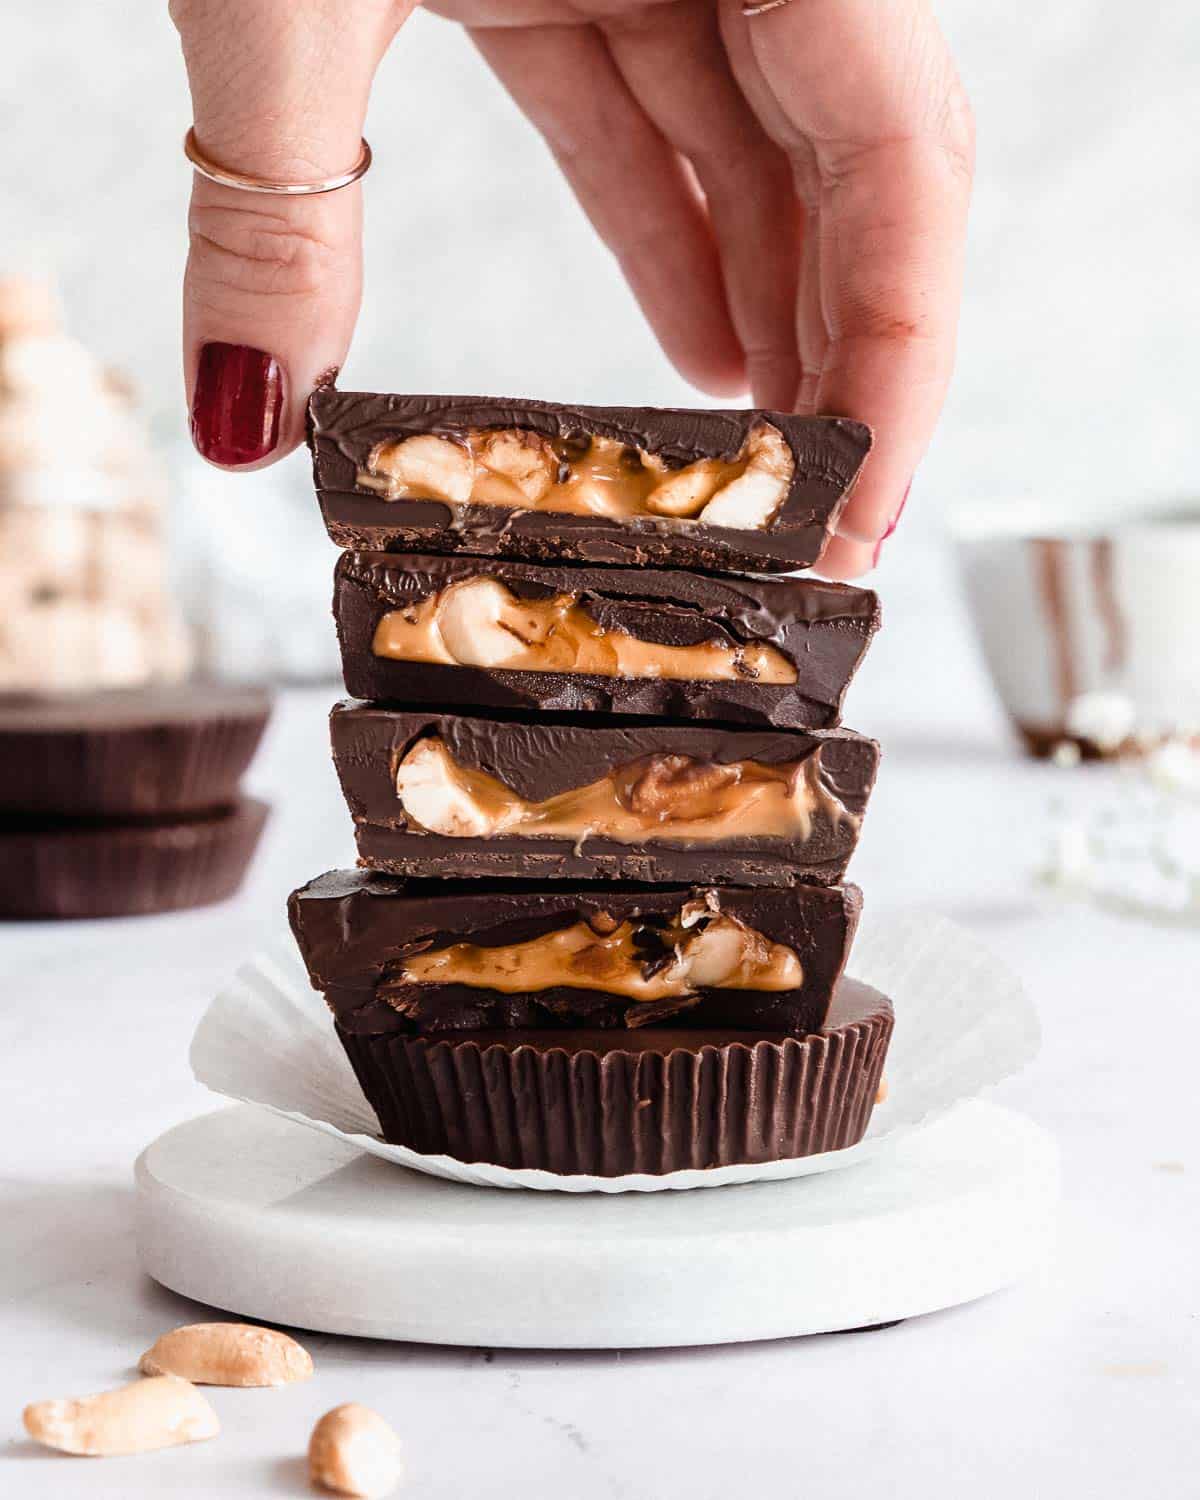
If you're a fan of Reese's peanut butter cups, then you'll be happy to hear that making peanut butter cups at home is super quick and easy. This recipe is a healthier version of most regular peanut butter cups that you can find in the grocery store.
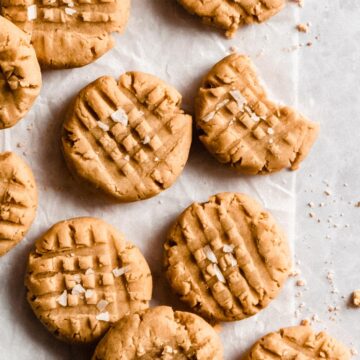
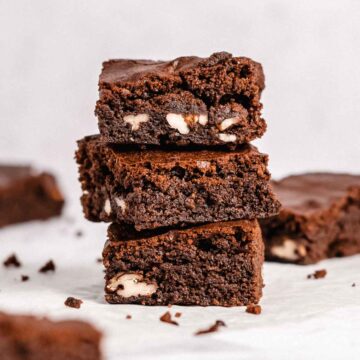
For more peanut butter recipes check out 3 Ingredient Peanut Butter Cookies, 2 Ingredient Peanut Butter Cookies, 3- Ingredient Peanut Butter Brownies or Chocolate Dates.
Why You'll Love This Recipe
- It's a simple no-bake dessert and you'll only need 2 basic ingredients!
- There's no sugar added (apart from the one that's already in the chocolate).
- It's naturally gluten-free and can easily be made dairy-free and vegan!
- It's freezer-friendly. You can make a big batch and store it in the freezer.
Ingredients & Substitution Notes
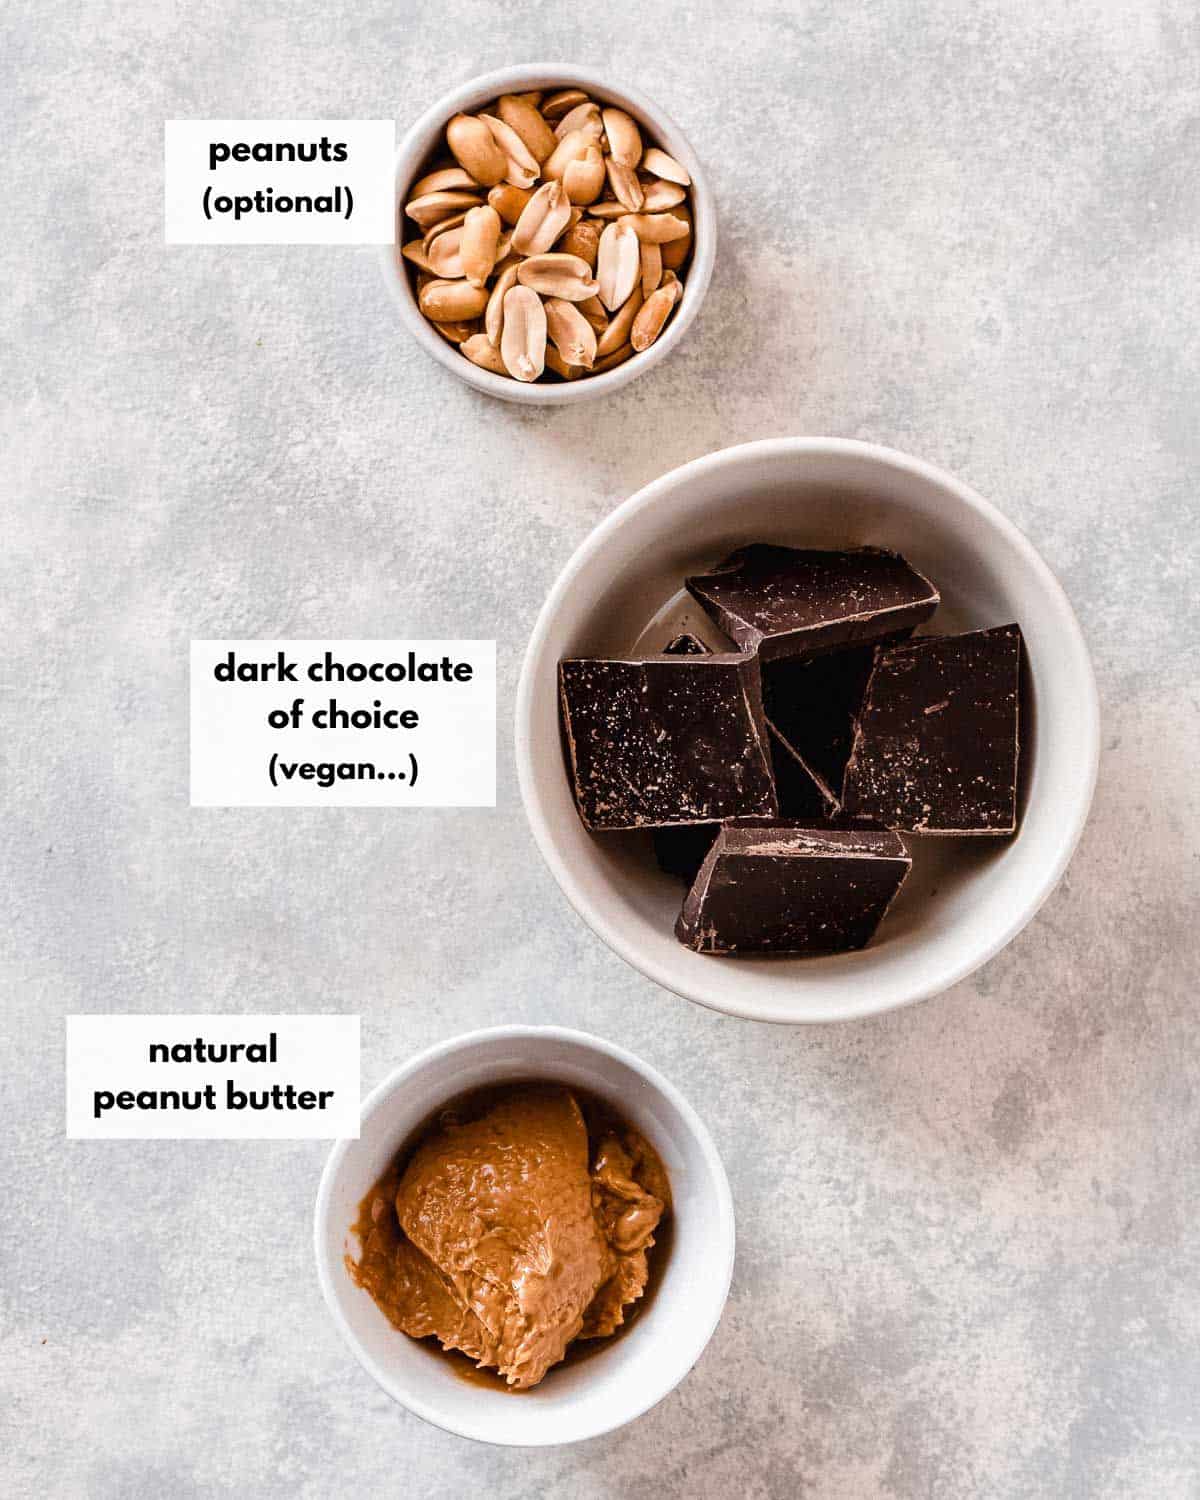
- Dark Chocolate: Dark chocolate goes very well with the taste of peanut butter. We like to use dairy-free (or vegan) dark chocolate that contains at least 70% cocoa. I also recommend checking the ingredients and buying dark chocolate that includes as little extra ingredients as possible. Instead of a chocolate bar, you could buy dark chocolate chips. If you don't like dark chocolate, this recipe also works with traditional milk chocolate.
- Peanut Butter: For this recipe to turn out perfect, use natural peanut butter that contains 100% peanuts and nothing else (except for a pinch of salt that's fine). Look for peanut butter without any additives like palm oil or added sugar. You can use smooth or crunchy peanut butter, depending on your personal preference.
- Peanuts (optional): For some extra crunchy peanut layer, I recommend adding a couple of peanuts. It's optional though and depends on your personal preferences.
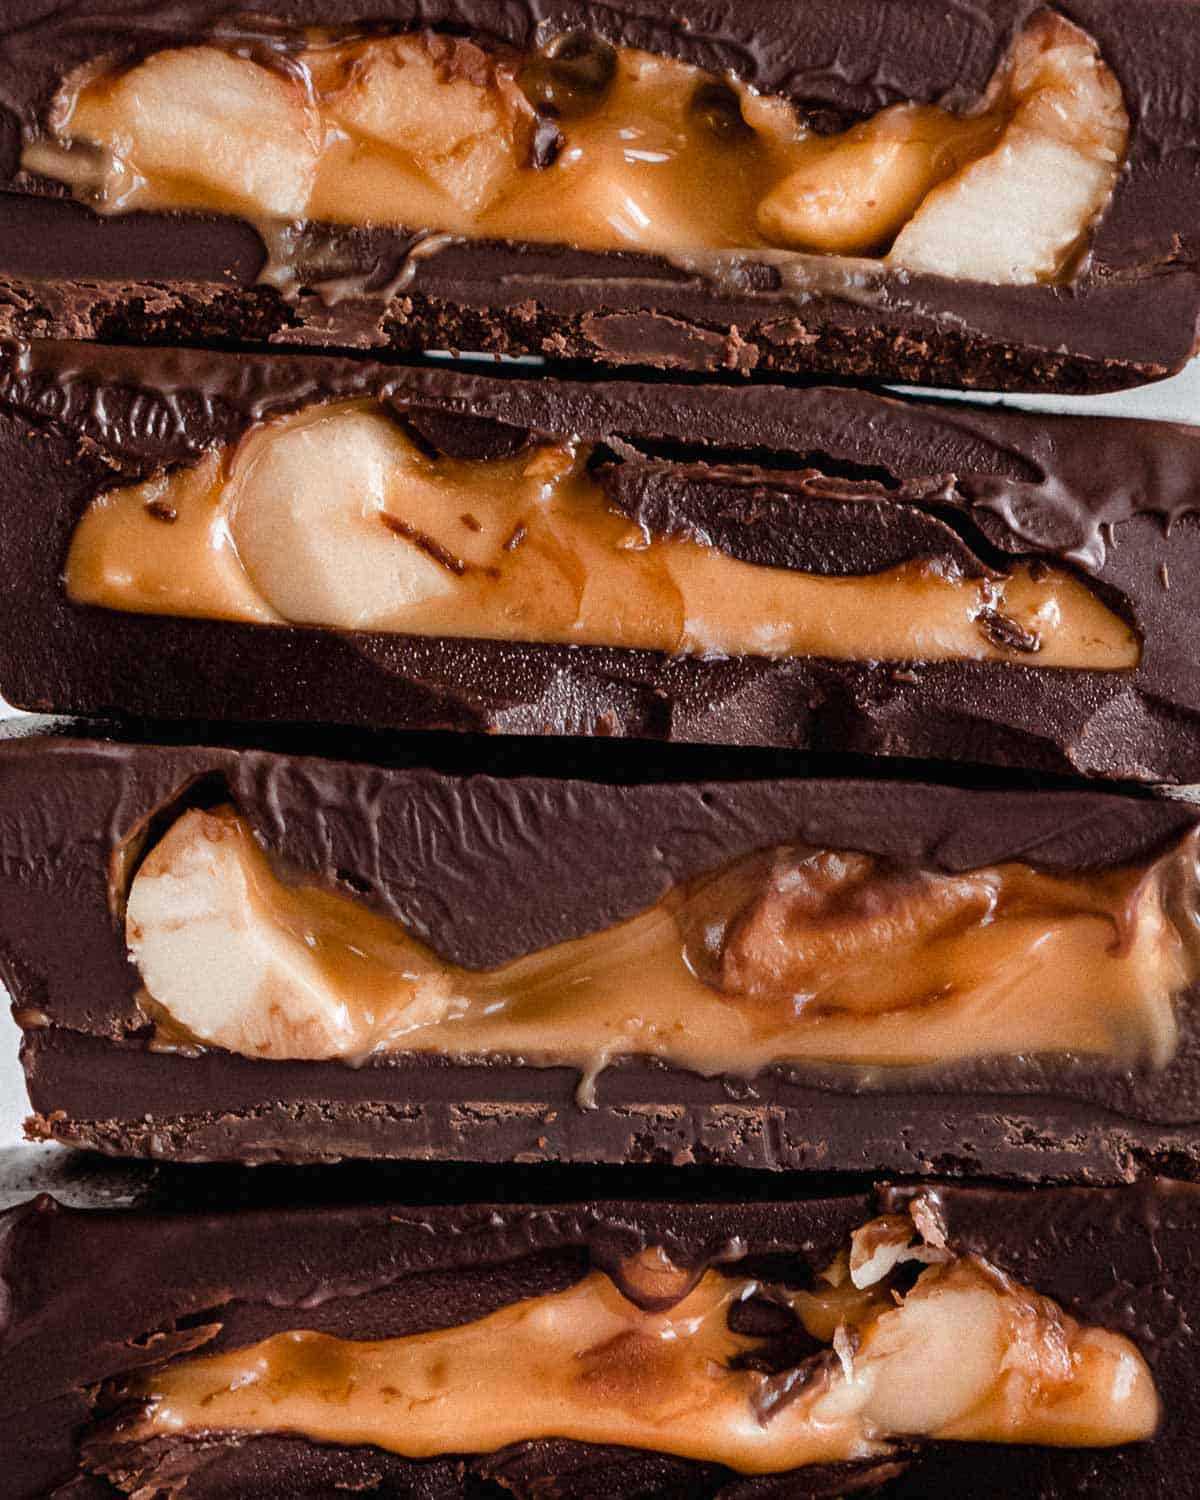
How to Make Homemade Peanutbutter Cups without Powdered Sugar
The recipe for this sweet treat is super quick and simple to make. There's no special equipment required.
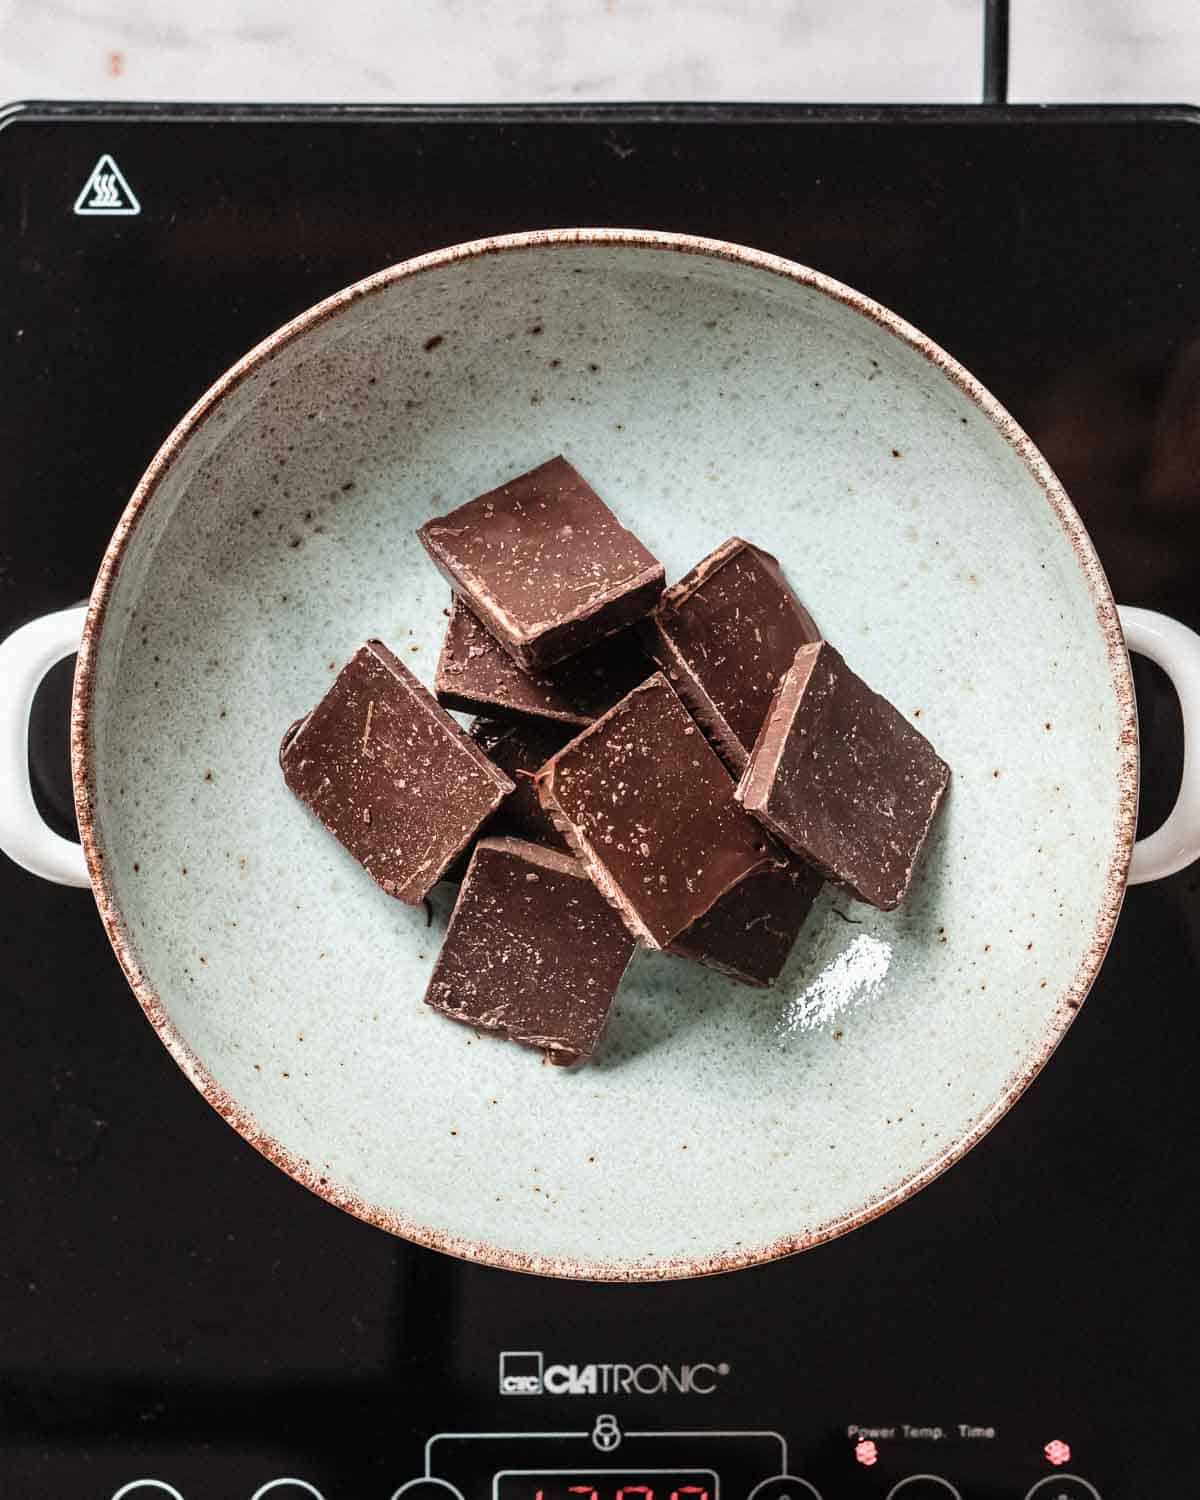
STEP 1: Melt the chocolate. You could either melt it on the stove using a water bath (as seen here). Add a big bowl on top of a saucepan with simmering water and let chocolate melt.
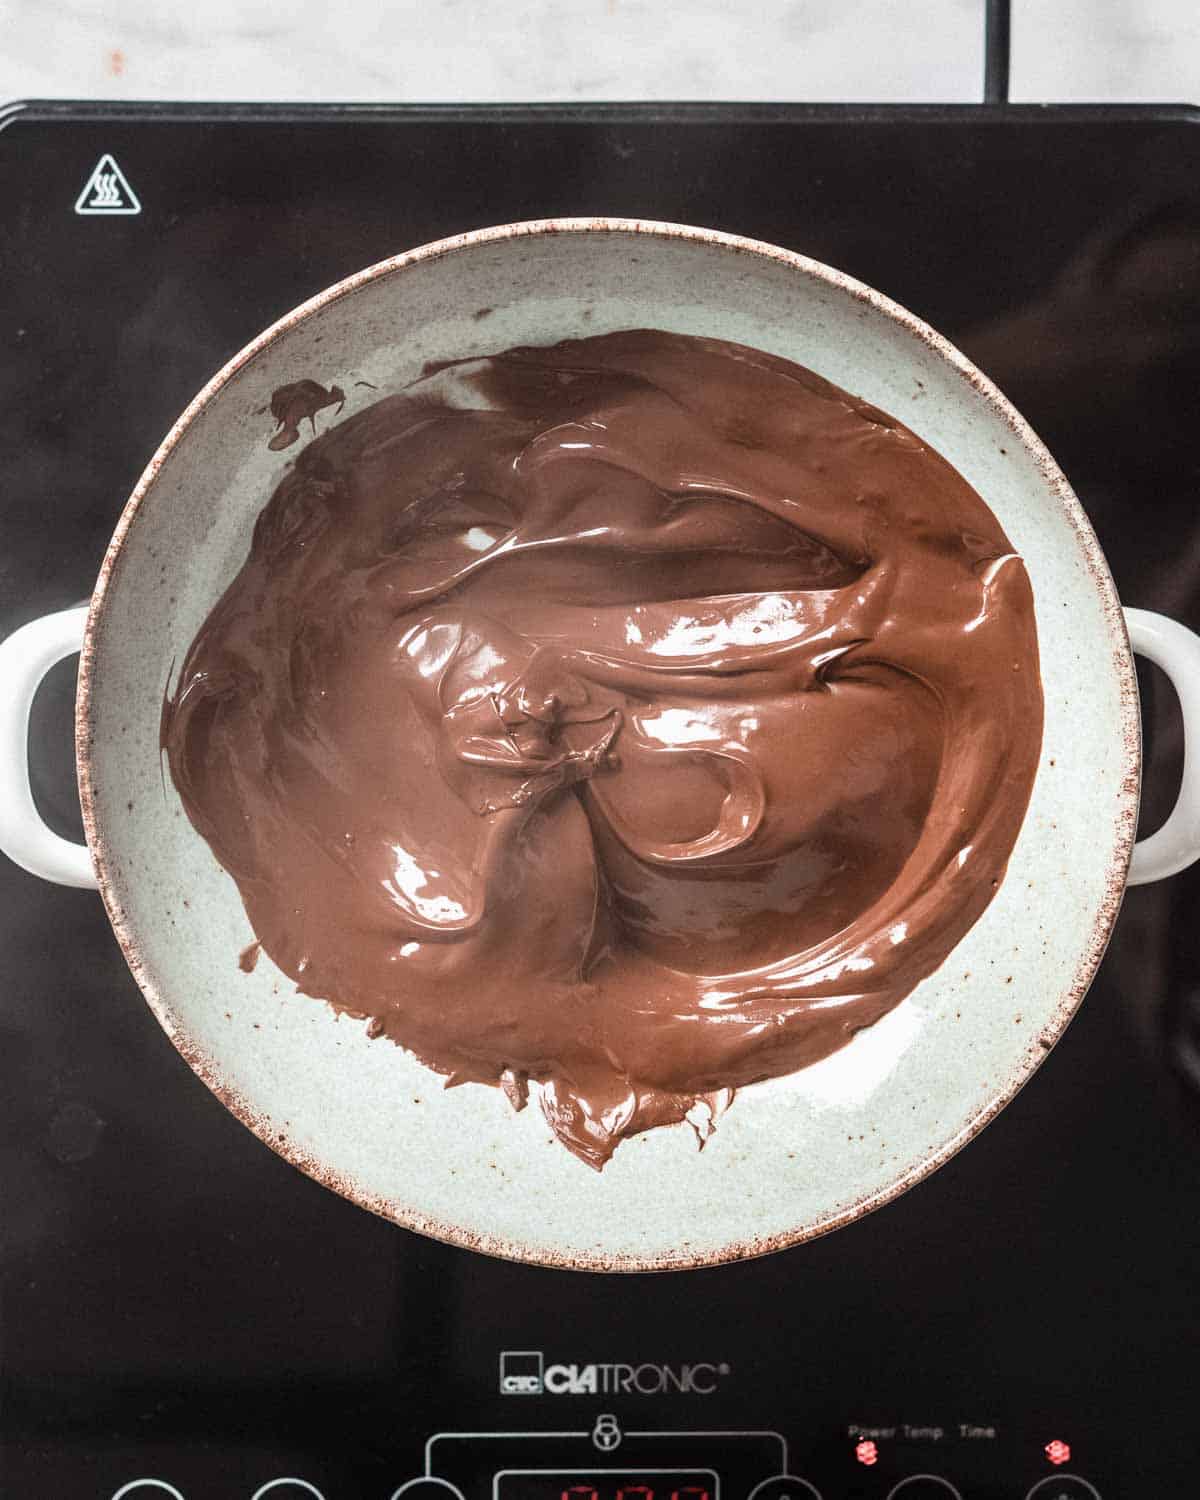
Or melt it in a microwave-safe bowl in the microwave. Your third option would be melting the chocolate in the oven using an oven-safe bowl.
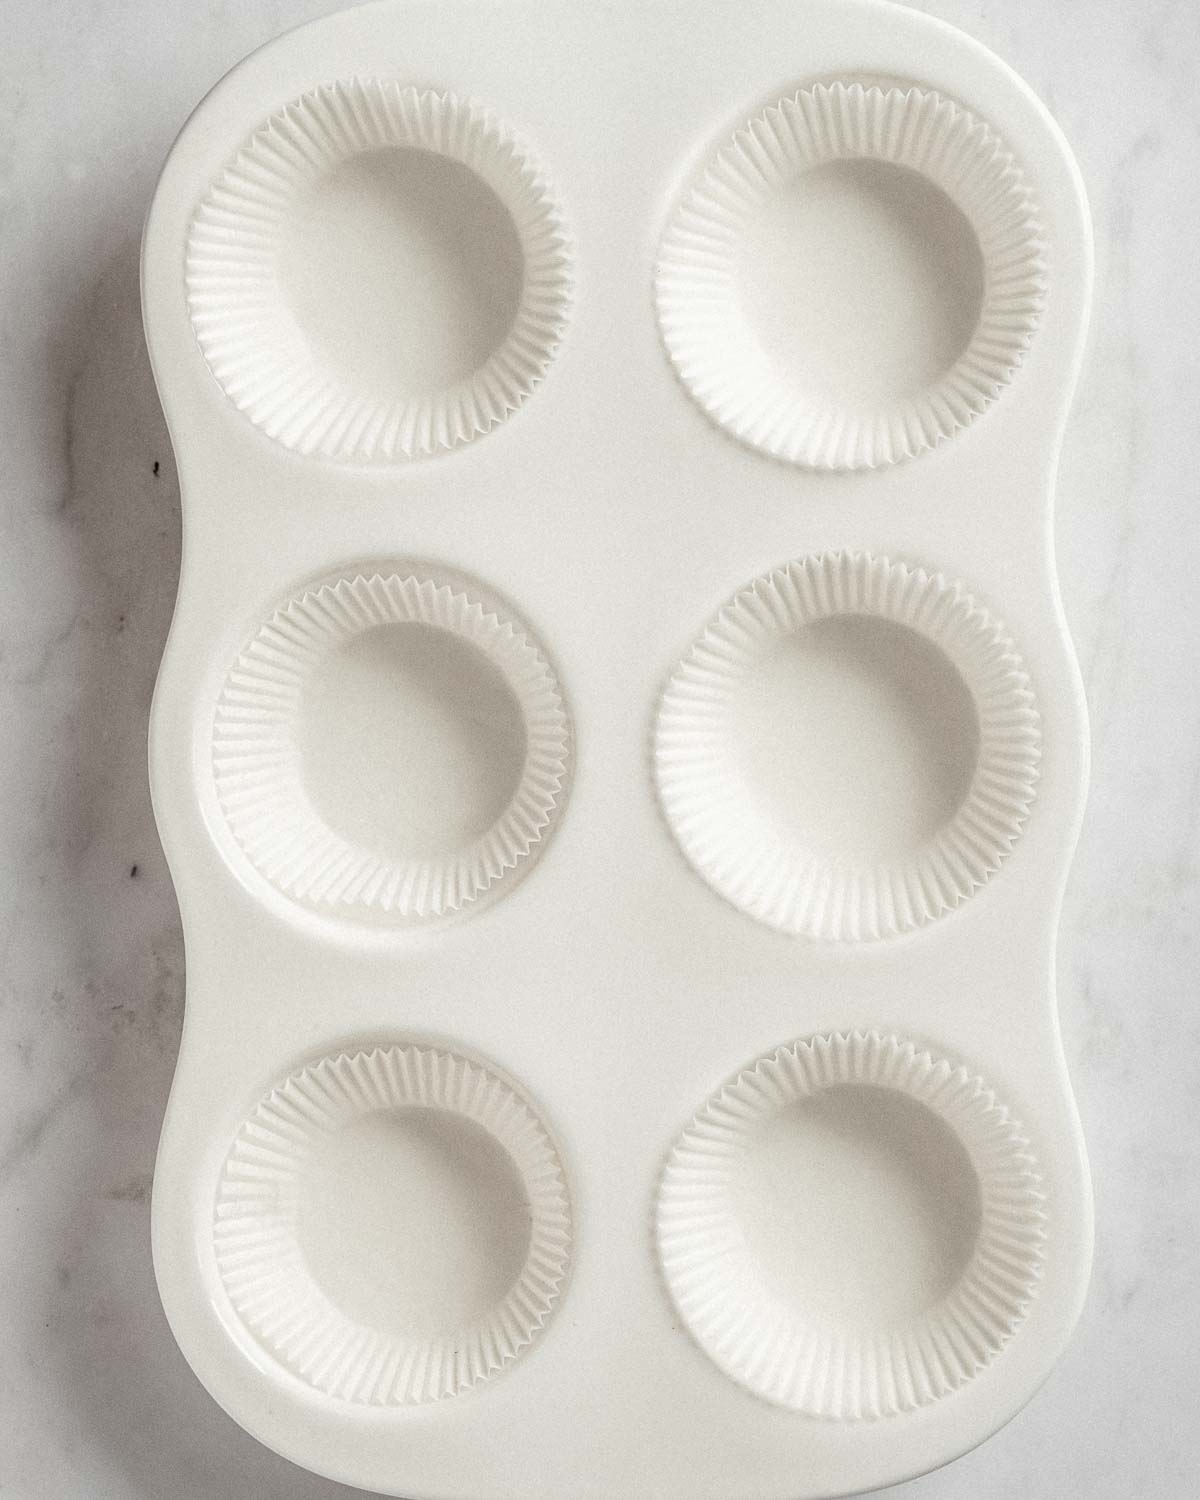
STEP 2: Add 1st chocolate layer. Line a muffin tin with 6 paper muffin liners.
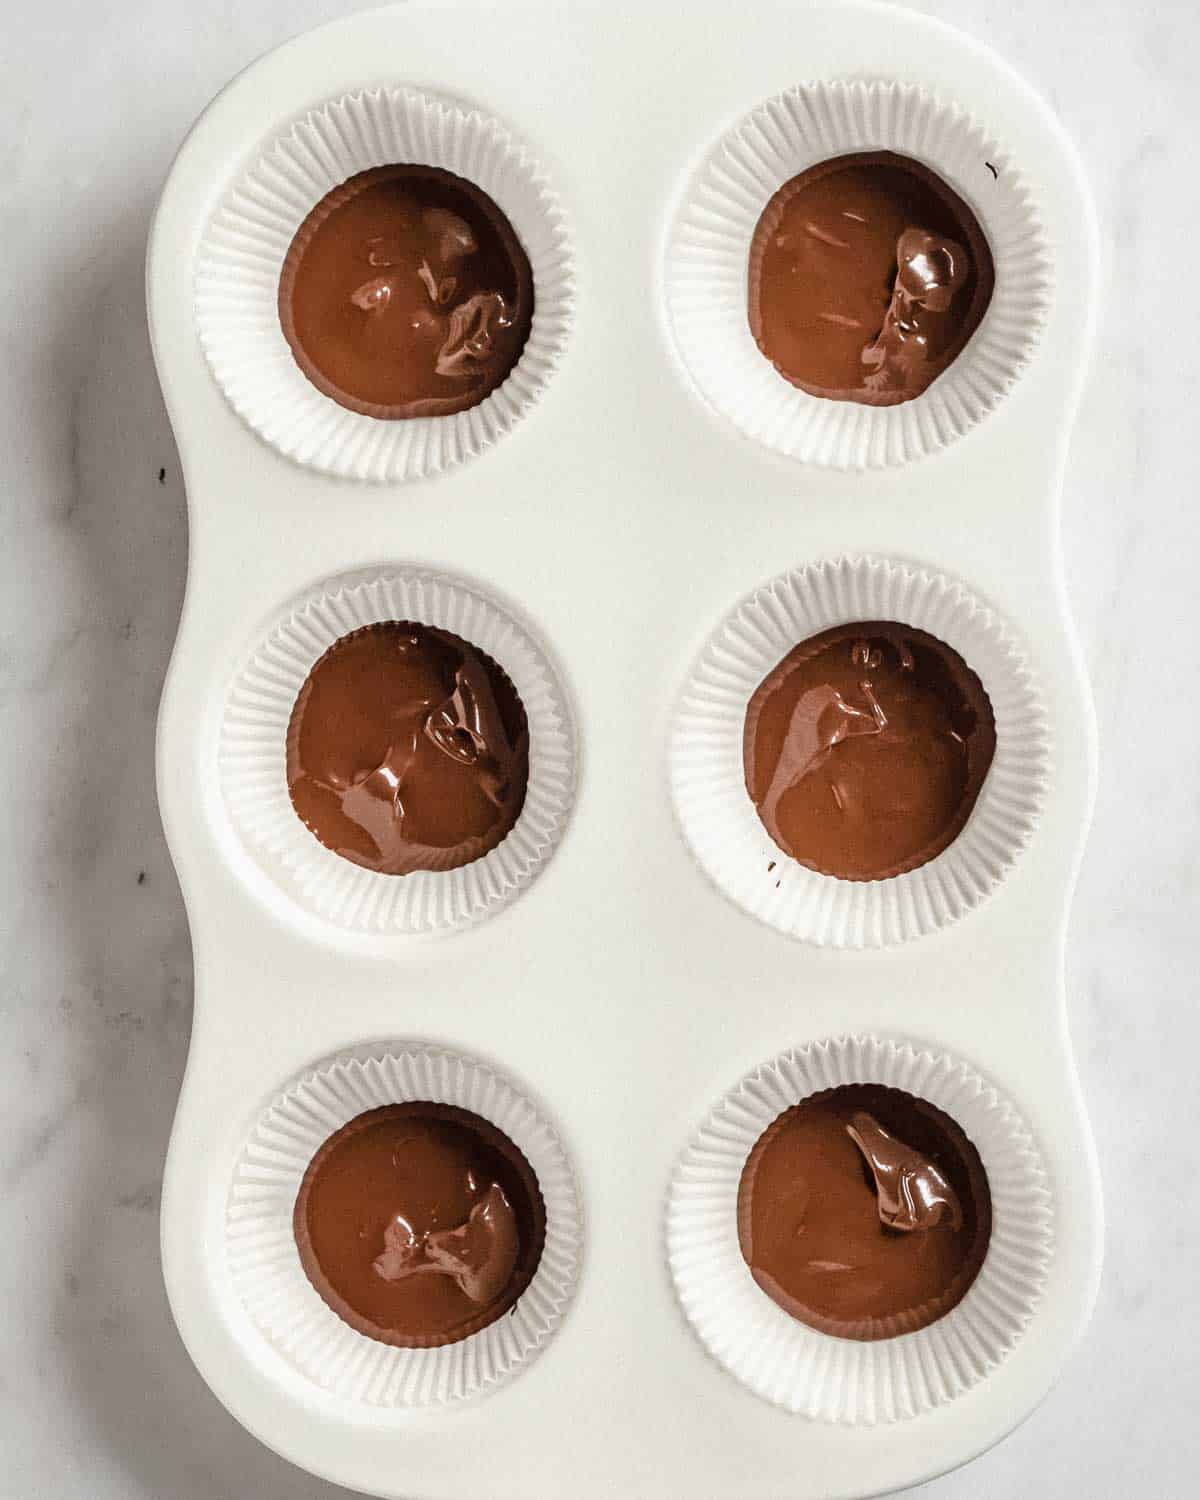
Once the chocolate has melted, spoon about 1,5 tablespoons of chocolate into each liner. Then put the muffin tin into the freezer for the chocolate to set (~15 minutes).
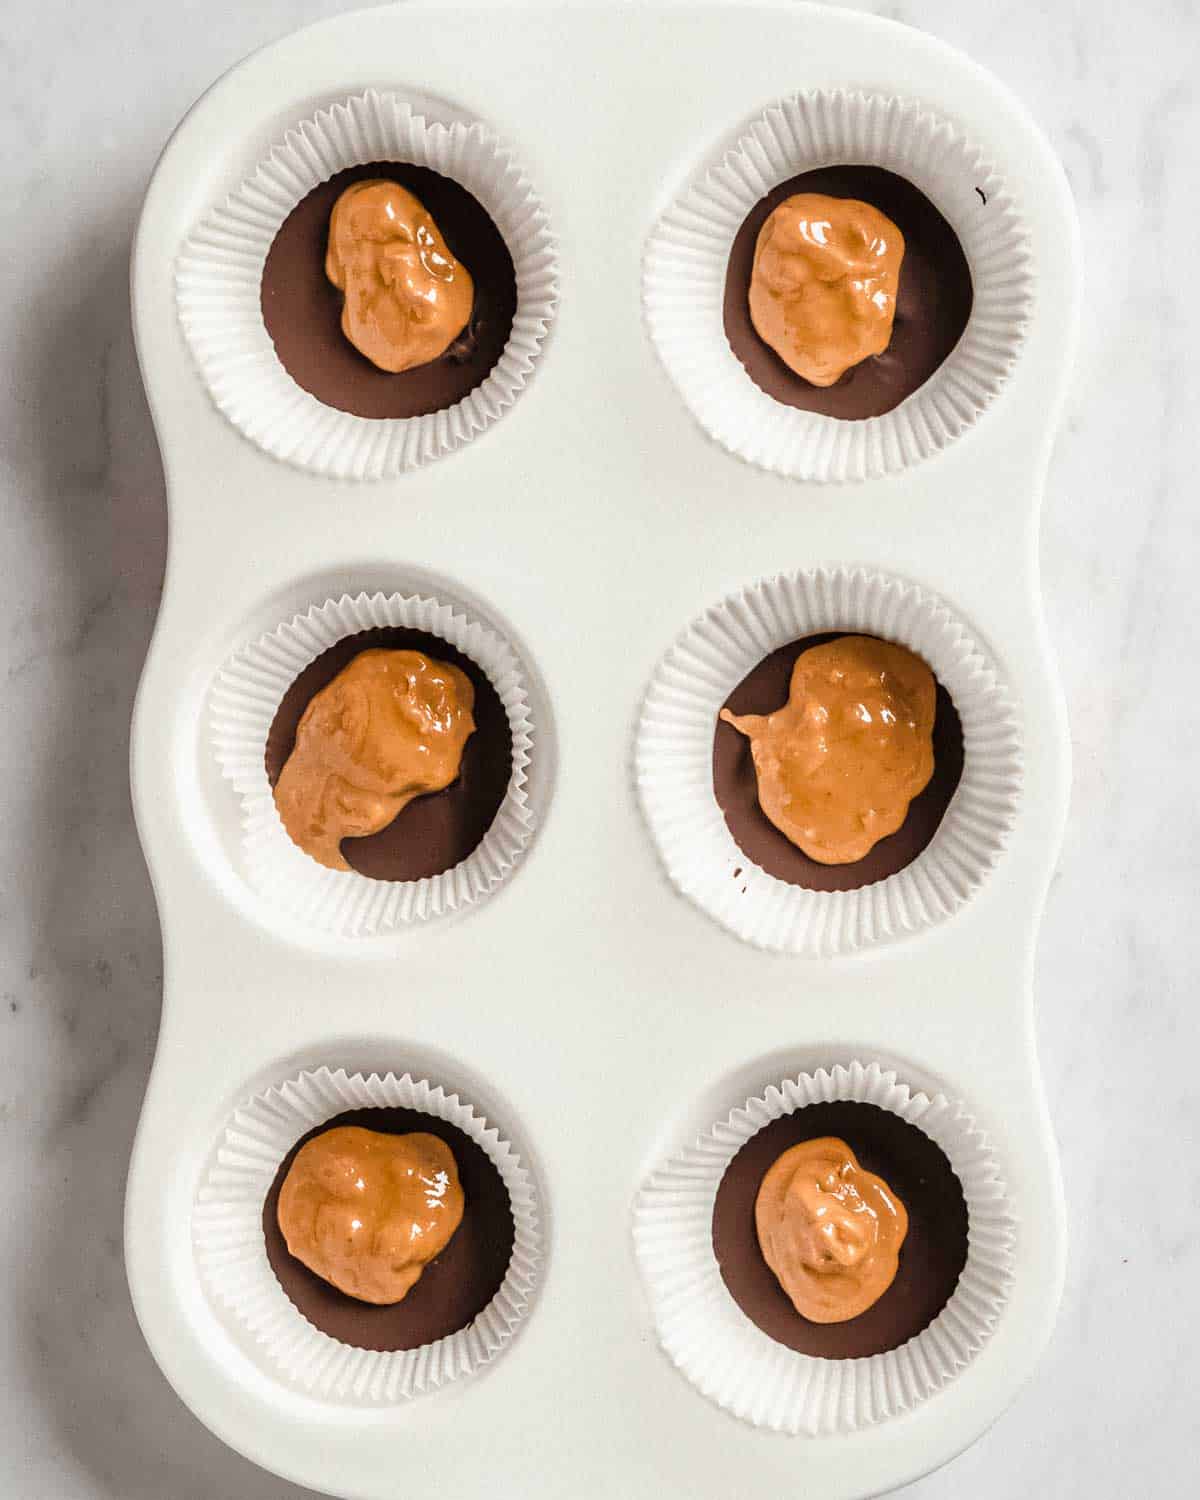
STEP 4: Add peanut butter. Take the chocolate cups out of the freezer and add a generous teaspoon of the peanut butter into the middle of each of the six molds. Don't spread out the peanut butter until the edge but leave a little room there.
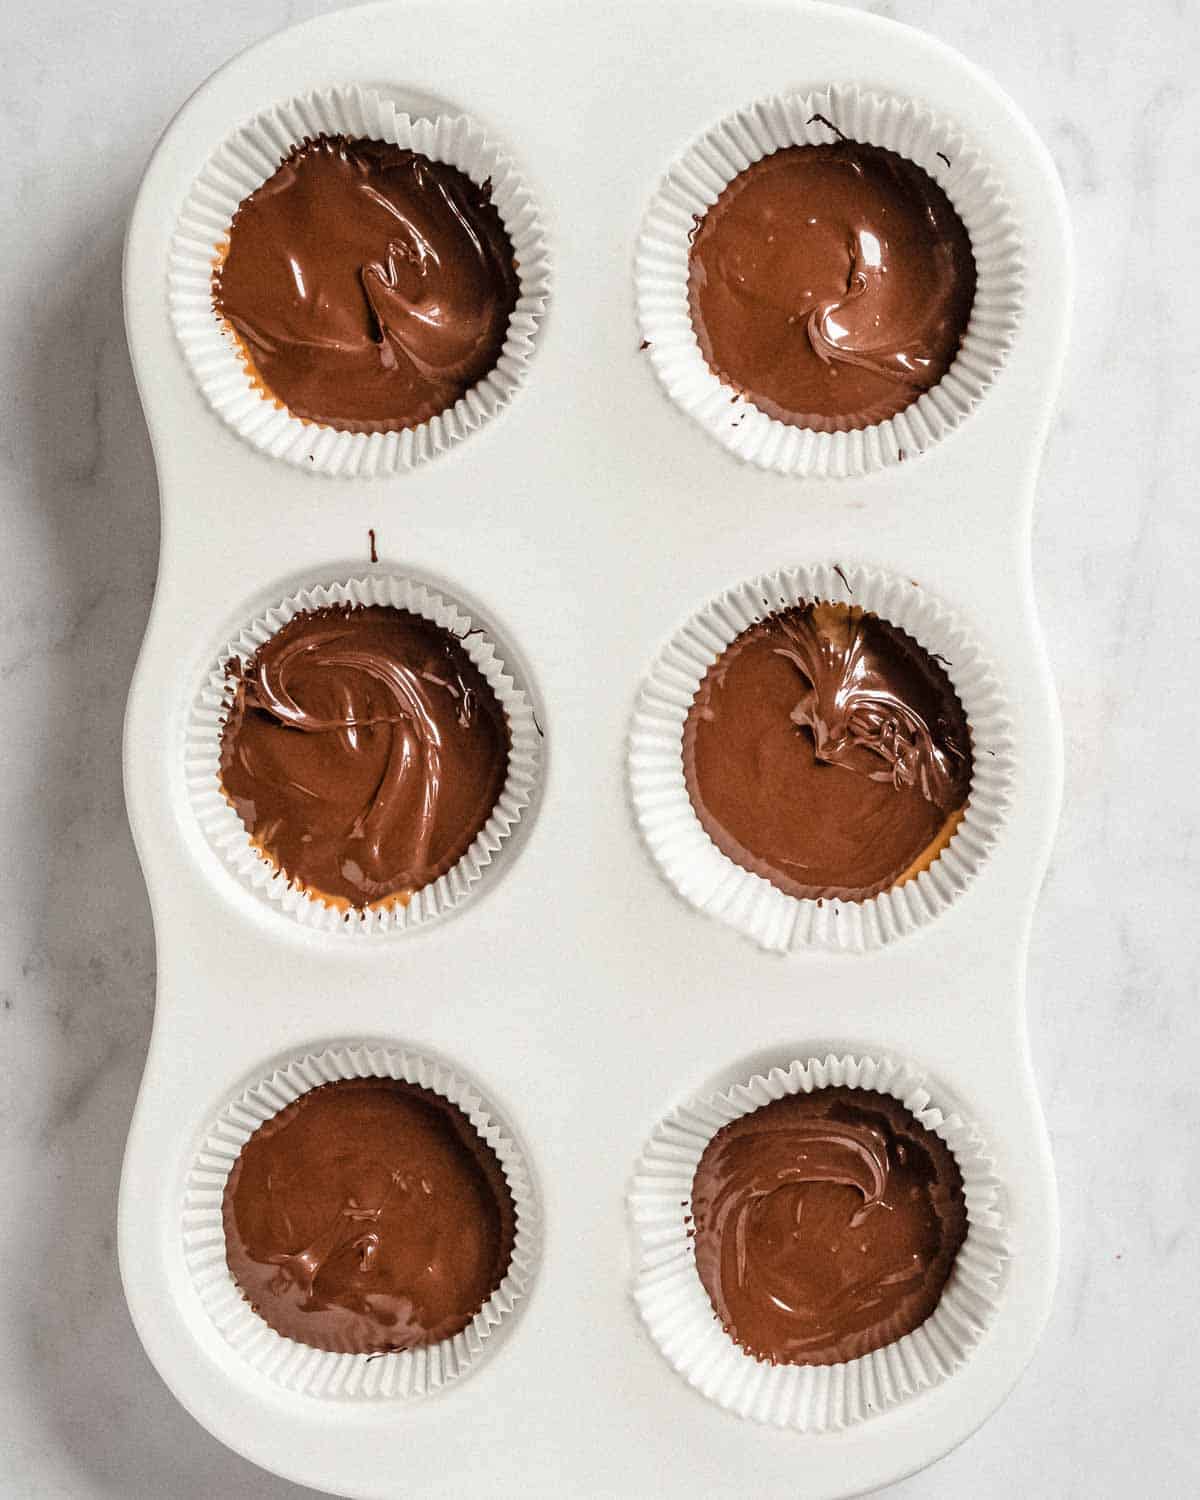
STEP 5: Add 2nd chocolate layer. Cover each dollop of peanut butter with a second layer of chocolate. Then place the cups into the fridge to set for another 45 minutes - 1 hour.
Top Tips
- Natural Peanut Butter: For best results, I recommend using natural peanut butter that's made from just peanuts and no additives!
- Room Temperature: Take the peanut butter cups out of the fridge about 30 minutes before you want to serve them. That way they are soft and more flavorful.
Variations
- Vegan: Simply choose dark vegan chocolate of choice to keep the recipe vegan.
- Whole Peanuts: If you want to include whole peanuts, sprinkle them on top of the peanut butter.
- Peanut Butter-Free: Instead of peanut butter you could use almond butter or cashew butter but the taste of the cups will be a bit different.
Optional Add-Ins
- Vanilla Extract: Add ½ teaspoon of vanilla extract to the melted chocolate for some additional, suble vanilla flavors.
- Whole Peanuts: For extra crunchy peanut butter cups, add a couple of whole peanuts to the peanut butter.
- Sea Salt: If you're into sweet and salty combinations, then sprinkle the peanut butter cups with a little bit of sea salt. Alternatively, you could use slightly salted peanut butter.
- Honey: These peanut butter cups are lightly sweetened from the dark chocolate. If you prefer a sweeter version, add 1 tablespoon of honey or maple syrup to the peanut butter and stir well.
Storing
- To store: Store leftover peanut butter cups in an airtight container in the fridge for up to 1 week. I do not recommend storing them at room temperature.
- To freeze: Store in a freezer-friendly container for up to 1 month. Let thaw for 15 minutes before serving.
FAQs
Absolutely, just use your vegan dark chocolate or chocolate chips of choice. Often times, dark chocolate is naturally vegan, so it's worth checking the label!
In contrast to many store-bought ones, this recipe includes only 2 ingredients. There's no added powdered sugar, corn syrup or other unnessasary ingredients included. Cocoa contains a number of minerals and antioxidants but is particularly rich in flavonoids. Natural peanut butter contains vitamin E, vitamin B3 and B6, folate and is high in protein.
Yes, if the sweetness from the chocolate alone is not sweet enough for you, you could add a splash of maple syrup or honey to the peanut butter and whisk until well combined. That way you'll end up with a sweeter version.
If you tried this or any other recipe on the blog let me know how you liked it by leaving a comment/rating below! SIGN UP for the WSK newsletter and get the newest recipes delivered right to your inbox!
📖 Recipe
Peanut Butter Cups (no powdered sugar)
Ingredients
Chocolate Layers
- 9 oz dark chocolate of choice *chocolate bar, chocolate chips, see notes
Peanut Filling
- 3 tablespoon natural peanut butter smooth or crunchy, seet notes
- ¼ cup peanuts *optional
Instructions
1st Chocolate Layer
- Start by melting the chocolate. Place a wide skillet or big bowl, covered with about 1 inch (2,5 cm) of water on the stovetop.
- Add your chopped chocolate to a heatproof bowl and put the bowl directly in the water.
- Bring the water to a simmer and let the chocolate melt while stirring every now and then.
- Other than that, you could also melt your chocolate in the microwave using a microwave-safe bowl or in the oven using an oven-saft bowl.
- In the meantime, place 6 paper or silicone muffin liners into a muffin tin.
- Add about 1 ½ tablespoons of melted chocolate to the bottom of each paper liner.
- Place them in the freezer for about 15 minutes for the chocolate to set.
Peanut Butter Layer
- Optional: If you're including the whole peanuts, add them to the peanut butter and give it a good stir.
- Once the chocolate layer has set, put a generous teaspoon of peanut butter onto the chocolate layer of each muffin tin (make sure to leave some edges).
2nd Chocolate Layer
- Cover each dollop of peanut butter with the remaining melted chocolate.
- Place the cups in the fridge for about 45 min to 1 hour or until chocolate has set. (It will be quicker in the freezer).
Notes
- Make sure not to splash water into the chocolate! This changes the texture of the chocolate!
- Dark Chocolate: I prefer using dark chocolate that contains about 70% cocoa. Any higher percentage than that and the chocolate is not that sweet anymore.
- Peanut Butter: For best results, use natural peanut butter that contains 100% peanuts and nothing else (except for a pinch of salt that's fine). . You can use smooth or crunchy peanut butter, depending on your personal preference.
- Peanuts (optional): For some extra crunchy peanut layer, I recommend adding a couple of peanuts. It's optional though and depends on your personal preferences.
- Make them sweeter: These peanut butter cups are lightly sweetened from the dark chocolate only. If you prefer a sweeter version, add 1 tablespoon of honey or maple syrup to the peanut butter and stir well.
- To store: Store leftover peanut butter cups in an airtight container in the fridge for up to 1 week. I do not recommend storing them at room temperature.
- To freeze: Store in a freezer-friendly container for up to 1 month. Let thaw for 15 minutes before serving.

Leave a Reply