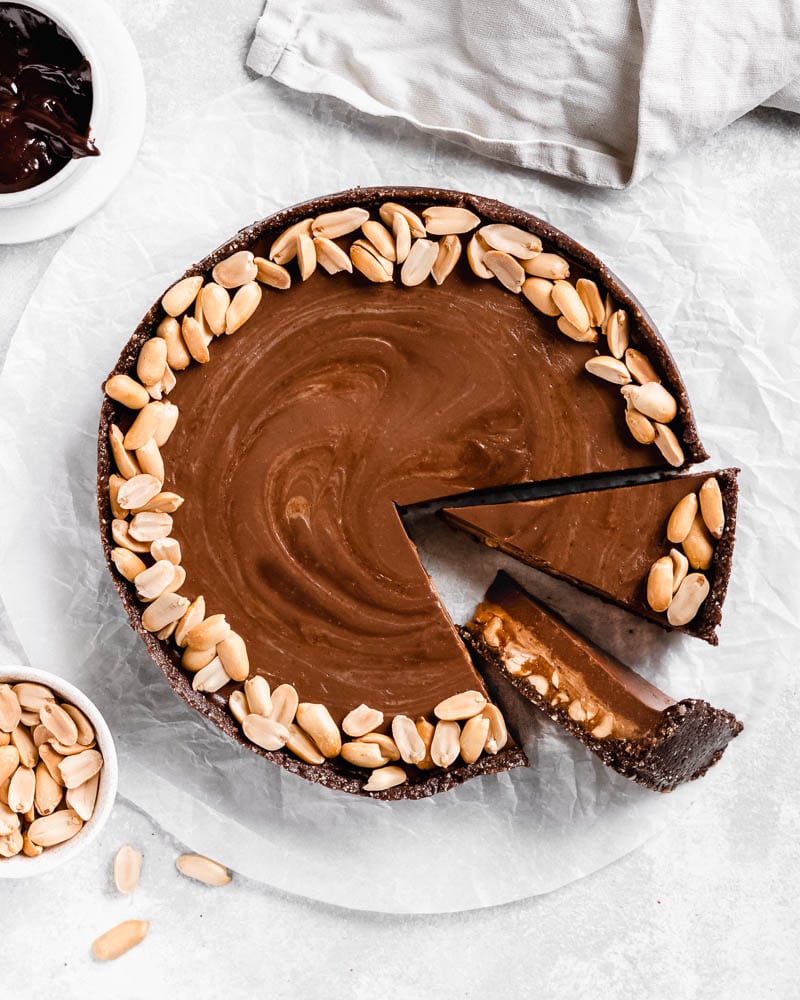
No Oven Required
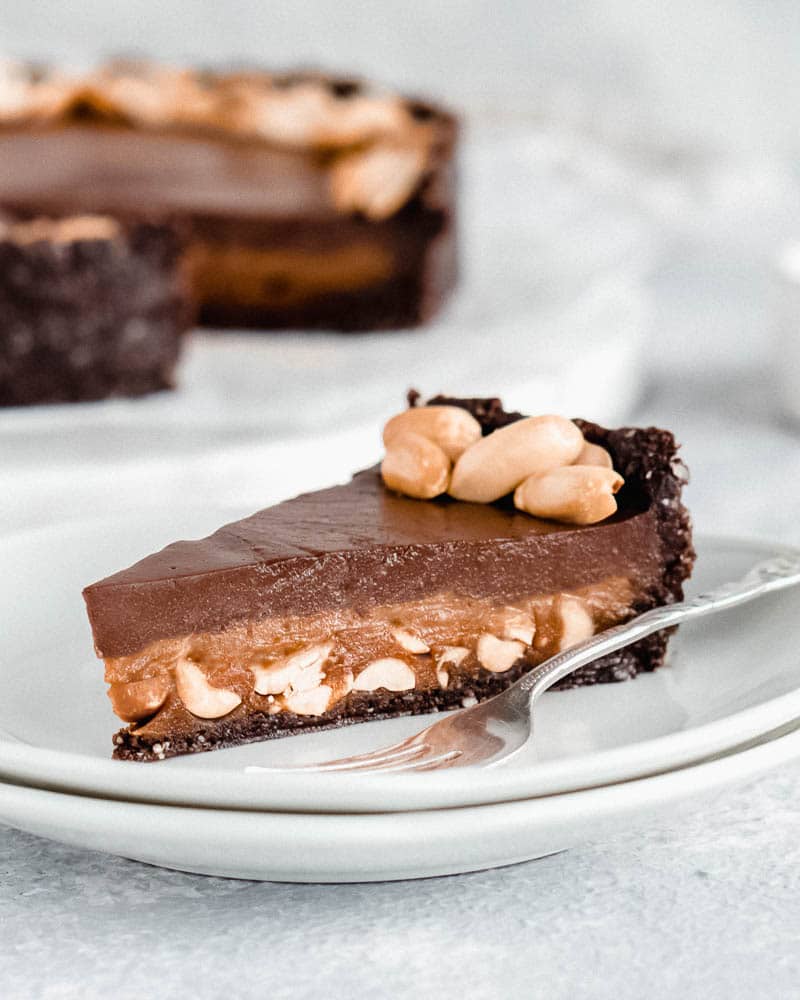
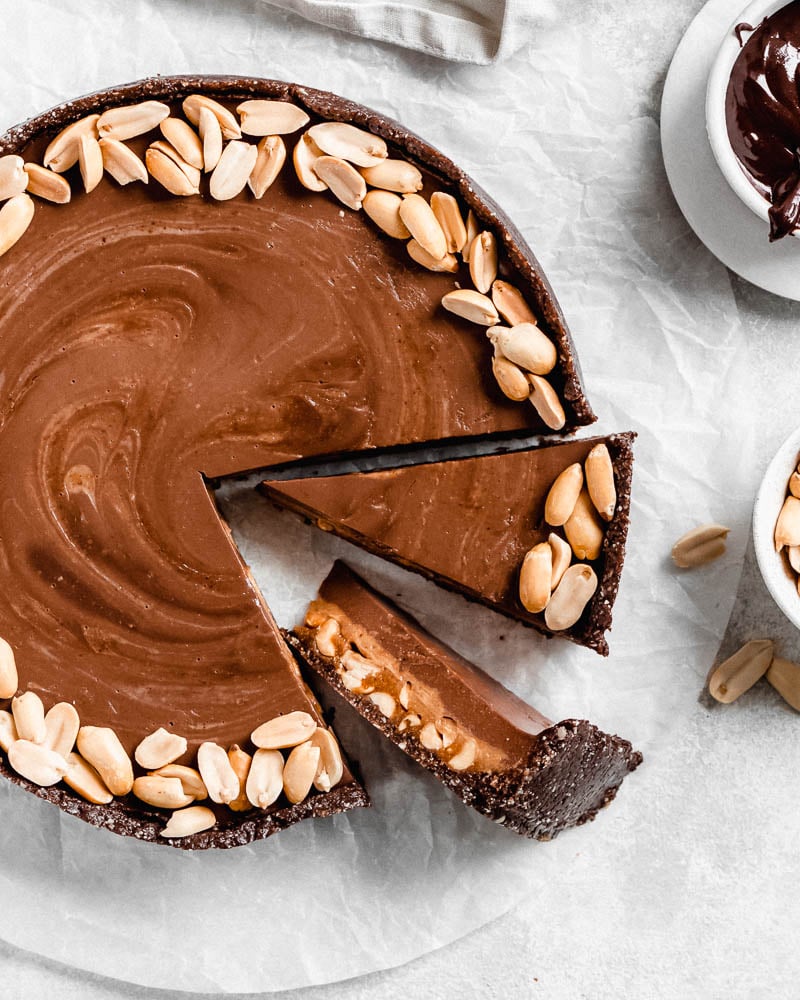
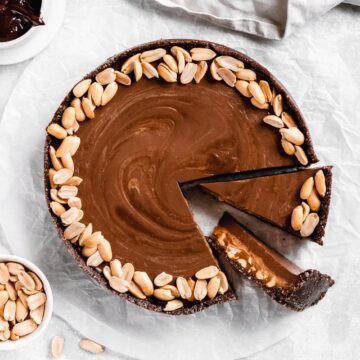
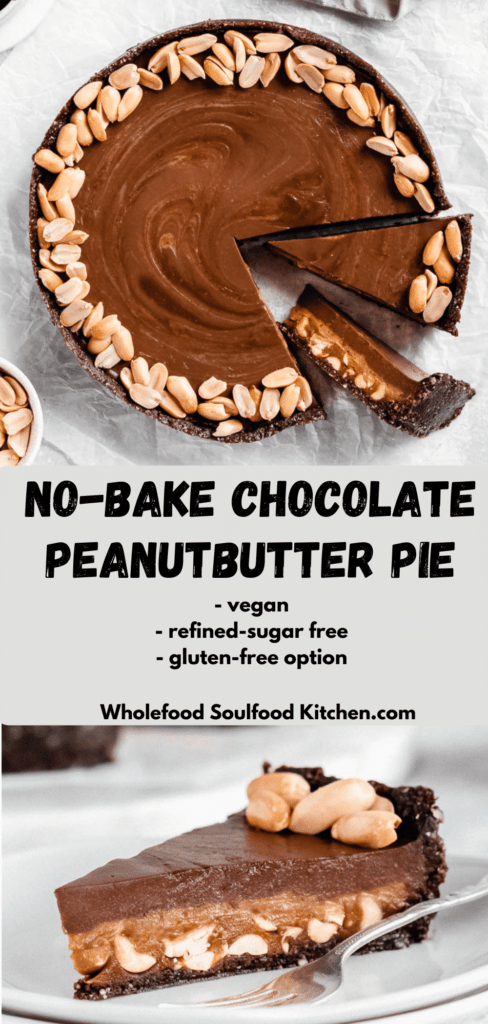
This No Bake Vegan Chocolate Peanutbutter Pie is refined-sugar free, oil-free and can easily be made gluten-free. With a crust that consists almost only of wholefood ingredients, a creamy peanutbutter layer in the middle and a chocolate ganache on top, this cake sure is a flavour explosion!
How to Make This No Bake Vegan Chocolate Peanutbutter Pie
For making this recipe, you'll need a (fairly strong) food processor. Since this is not a traditional pie but rather includes a lot of wholefood ingredients, we will need the help of a food processor in order to break down our ingredients.
To prepare the crust, simply put all the ingredients into a food processor and blend until a sticky mass forms. Make sure however, to soak your dates in very hot water for about 10 minutes in case they are not very soft. Otherwise they will give your food processor a very hard time. Once the crust is ready, line a cake tin (mine was about 22cm) with parchment paper or grease it with oil. Then press the crust into the tin using your fingers or a spoon/ spatula. Don't forget to also include the sides of tin.
Now it's time to prepare your peanutbutter layer. Add the dates to your food processor first, and blend for a couple of seconds, before adding all the remeinaing peanutbutter layer ingredients. Fold in whole peanuts and pour peanut layer onto your crust. Place the pie into the freezer while preparing your chocolate ganache.
For our third and final chocolate layer, heat plant milk, chocolate and coconut cream in a sauce pan until melted down. Then add in agar agar powder and let simmer for 2-4 minutes while constantly stirring with a whisk to avoid clumps. This step is really important since it will activate the agar agar. Pour chocolate layer onto peanutbutter layer and place it in the fridge to set for 4+ hours or overnight.
About The Ingredients
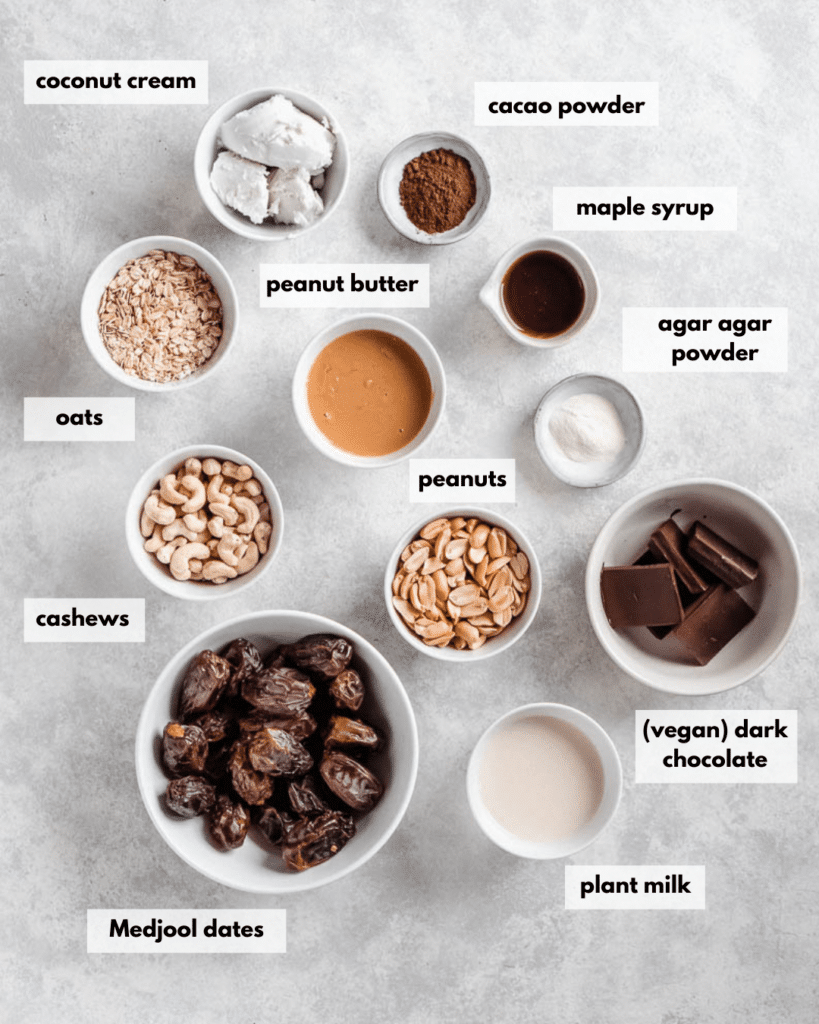
- Agar Agar Powder: Is the plant- based alternative of gelatine and can be found in most healthfood stores.
- Cashews: You will need to soak your cashews before using them in the recipe. You could either soak them overnight or if you’re short on time you could also quick-soak them in very hot water for about 10 minutes.
- Gluten Free Oats: In order for this recipe to be gluten-free, use gluten-free oats. If you don’t need these bars to be gluten-free you could also use regular oats.
- Medjool Dates: This recipe calls for Medjool dates which are my absolute favourite. However, they are not always easy to find and can also be quite expensive. Alternatively, you could also simply use “normal” small ones. Make sure however, that they are soft enough. If they aren’t, soak them in hot water for about 10 minutes before using them otherwise they might give your food processor a very hard time. Also you might need about double the amount since they are much smaller.
- Cacao Powder:I use non-sweetened cacao powder for this recipe.
- Maple Syrup: If you don't care about this recipe not being vegan you could also use honey instead.
- Plant Milk: I prefer using non-sweetened plant milks. For sweet recipes I prefer using oat milk because it's naturally sweeter than other types of plant milks.
- Peanut Butter: For this recipe to turn out perfect, use peanut butter that contains 100% peanuts and nothing else (except for a pinch of salt maybe, then you won’t need to add it afterwards). No additional oils or any other additives.
- Coconut cream: Make sure to put your coconut milk in the fridge the evening/day before you want to make this recipe. Coconut milk, when put in the fridge, separates into two layers: a solid cream at the top and liquid water at the bottom. For this recipe to work, it is really important that you only use the white, solid part of the coconut milk. It only remains at the top of the tin if the milk is cool enough. Secondly, it is really important that your coconut milk is a full-fat milk and has a high content of coconut extract, otherwise there won’t be a lot of cream on top. I prefer using a coconut milk that contains 90% coconut extract, whereas I also tried using a 55% version and it didn’t work. It might take some time to find an appropriate brand but it’s absolutely worth it.
- Peanuts: I used raw, unroasted, unsalted peanuts. Feel free to use roasted ones.
Other Sweet Recipes you might like:
📖 Recipe
No Bake Vegan Chocolate Peanutbutter Pie
Ingredients
Crust
- 1 cup (150g) cashews
- ¾ cup (90g) oats *use gluten-free oats to keep this recipe gf
- 3 teaspoon cacao powder
- 1 tablespoon peanut butter
- 4 tablespoon maple syrup
- 5 Medjool Dates
Peanut Layer
- ½ cup (140g) peanut butter
- 12 (200g) Medjool dates
- ¼ cup (50g) coconut cream *see notes
- ⅓ cup (50g) peanuts
Chocolate Layer
- 1 cup (230ml) plant milk
- 100 g (3.5 oz) (vegan) dark chocolate
- heaped ½ cup (125g) coconut cream
- 1 teaspoon agar agar powder
Toppings
- ⅓ cup (50g) peanuts *optional
Instructions
Crust
- In case your Medjool dates are not soft, place them in very hot water for about 10 minutes before using them.
- Then place all the ingredients for the curst in a food processor and blend until a sticky mass forms (this mighttake the food processor a couple of minutes to fully break everything down) .
- Line a cake tin with parchment paper (or grease with oil) and press the crust into the tin using your fingers (or a spoon).
Peanut Layer
- Place Medjool dates into your food processor and process until they are chopped up into smaller pieces.
- Then add peanut butter and coconut cream and continue blending until the cream is soft and without any clumps.
- Fold in peanuts and spoon the peanut layer on top of your crust layer.
- Transfer cake to the freezer while preparing the chocolate layer.
Chocolate Layer
- Heat a saucepan over medium heat and add plant milk, dark chocolate and coconut cream.
- Let simmer on very low heat until fully melted.
- Then add in agar agar powder while constantly stirring with a whisk in order to avoid any clumps and let simmer for another 2-4 minutes while constantly whisking (this will activate the agar agar)
- Pour chocolate cream over peanutbutter layer and place it in the fridge to set (about 4 hours or overnight).
Notes
- Coconut cream: It is really important that your coconut milk has a is a full-fat milk and has a high content (of coconut extract, otherwise there won’t be a lot of cream on top. I prefer using a coconut milk that contains 90% coconut extract, whereas I also tried using a 55% version and it didn’t work. How many coconut milk tins you need, in order to get 1 cup of coconut cream also depends on the coconut content of your milk. If the content is high, one milk is definitely enough.

Leave a Reply